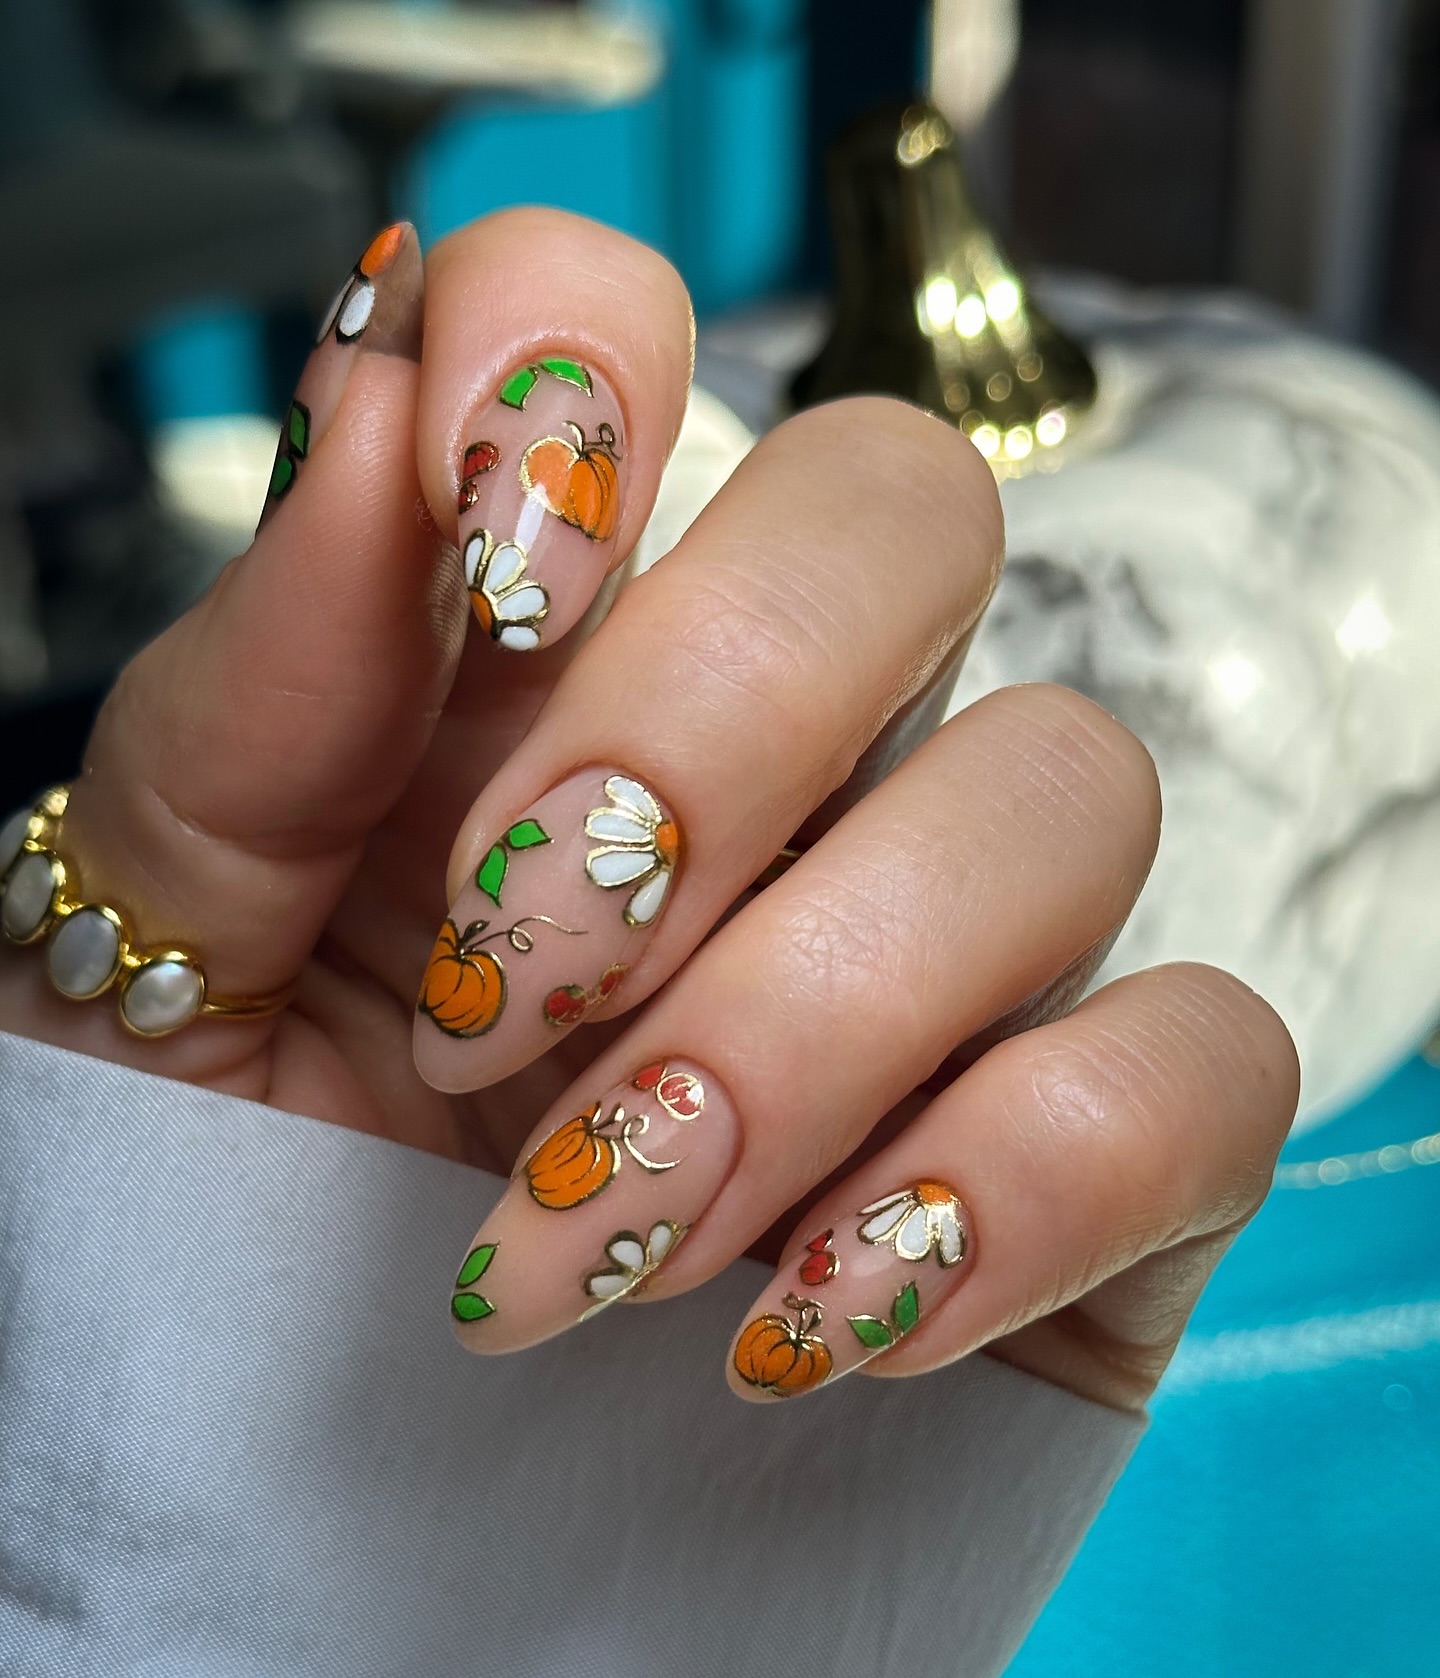
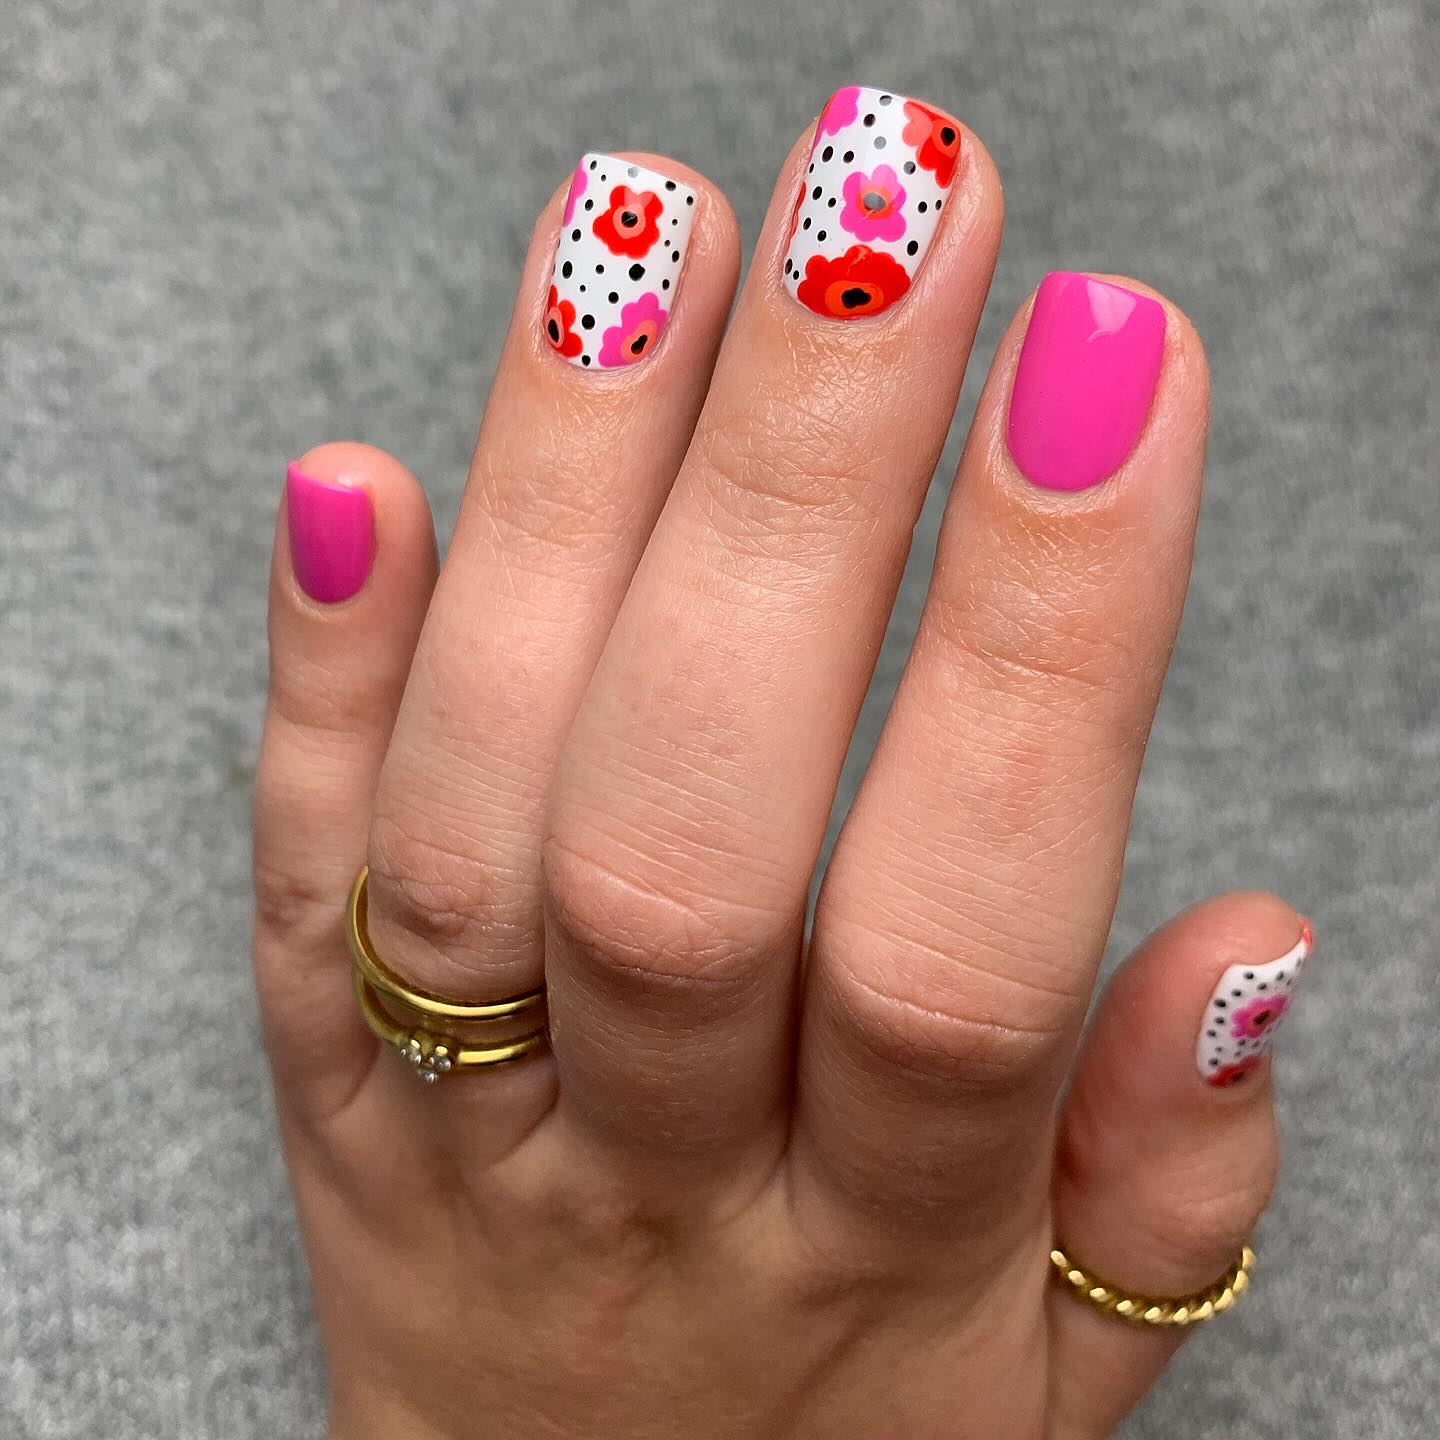
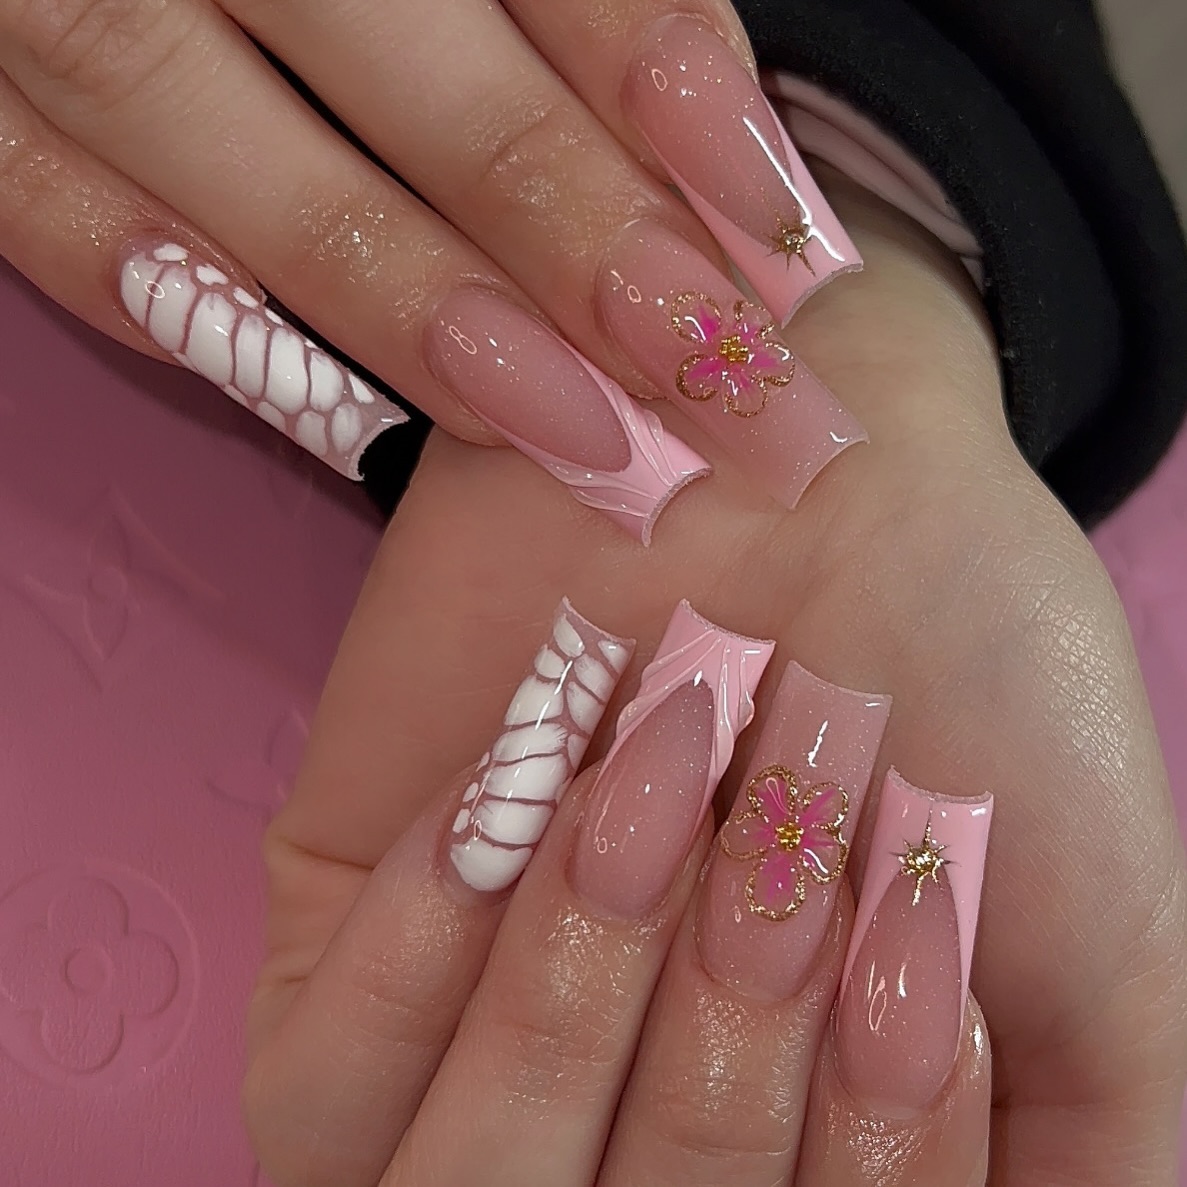
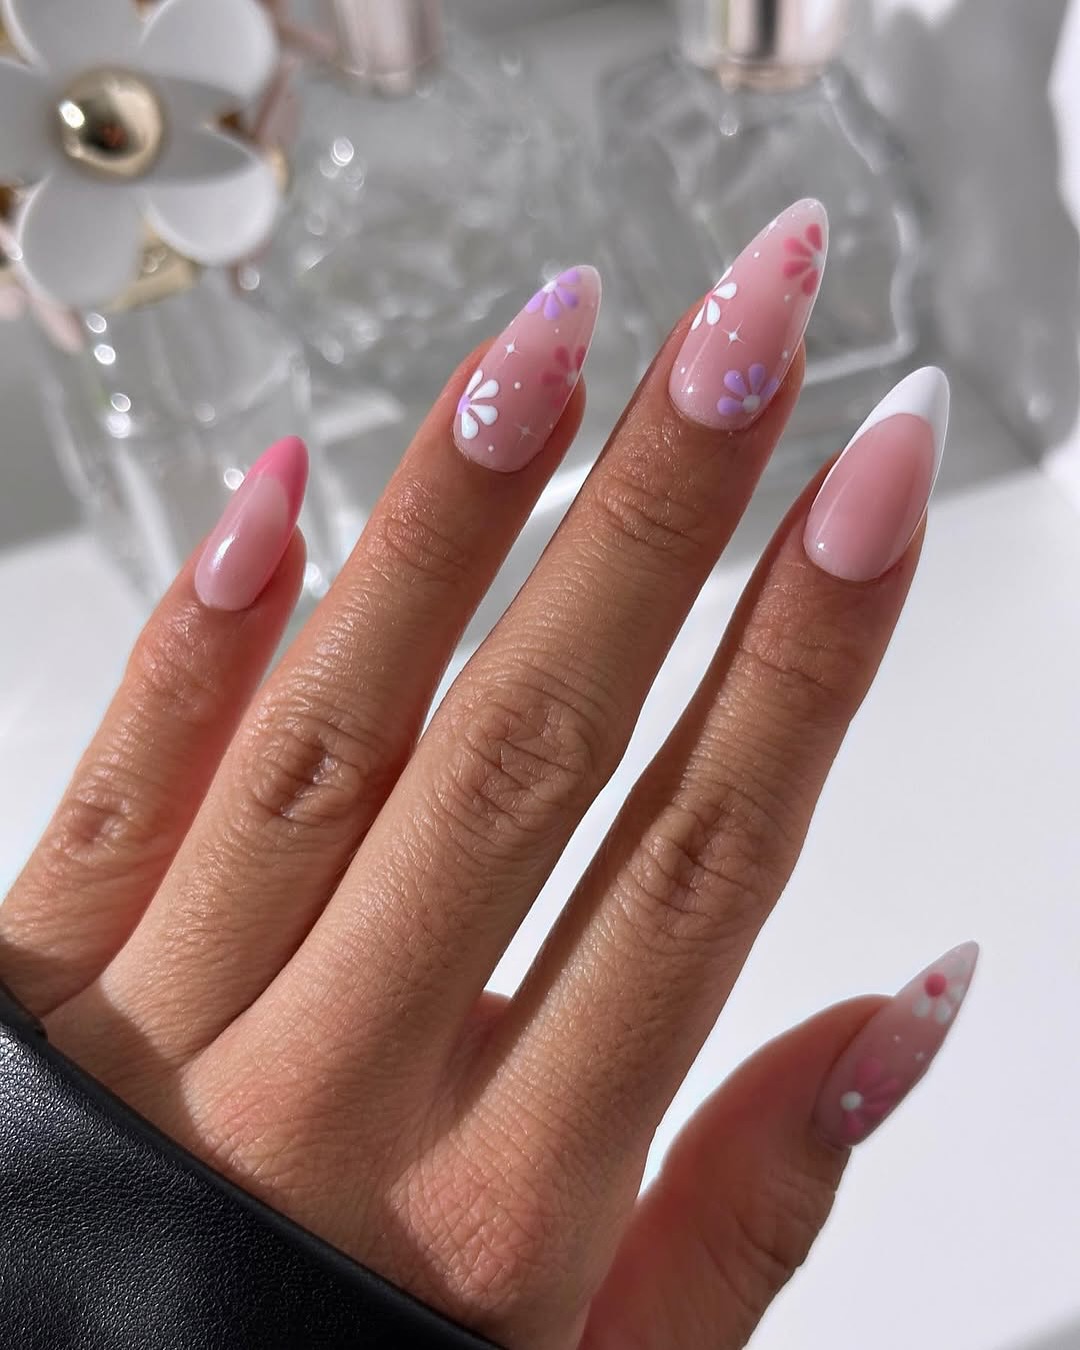
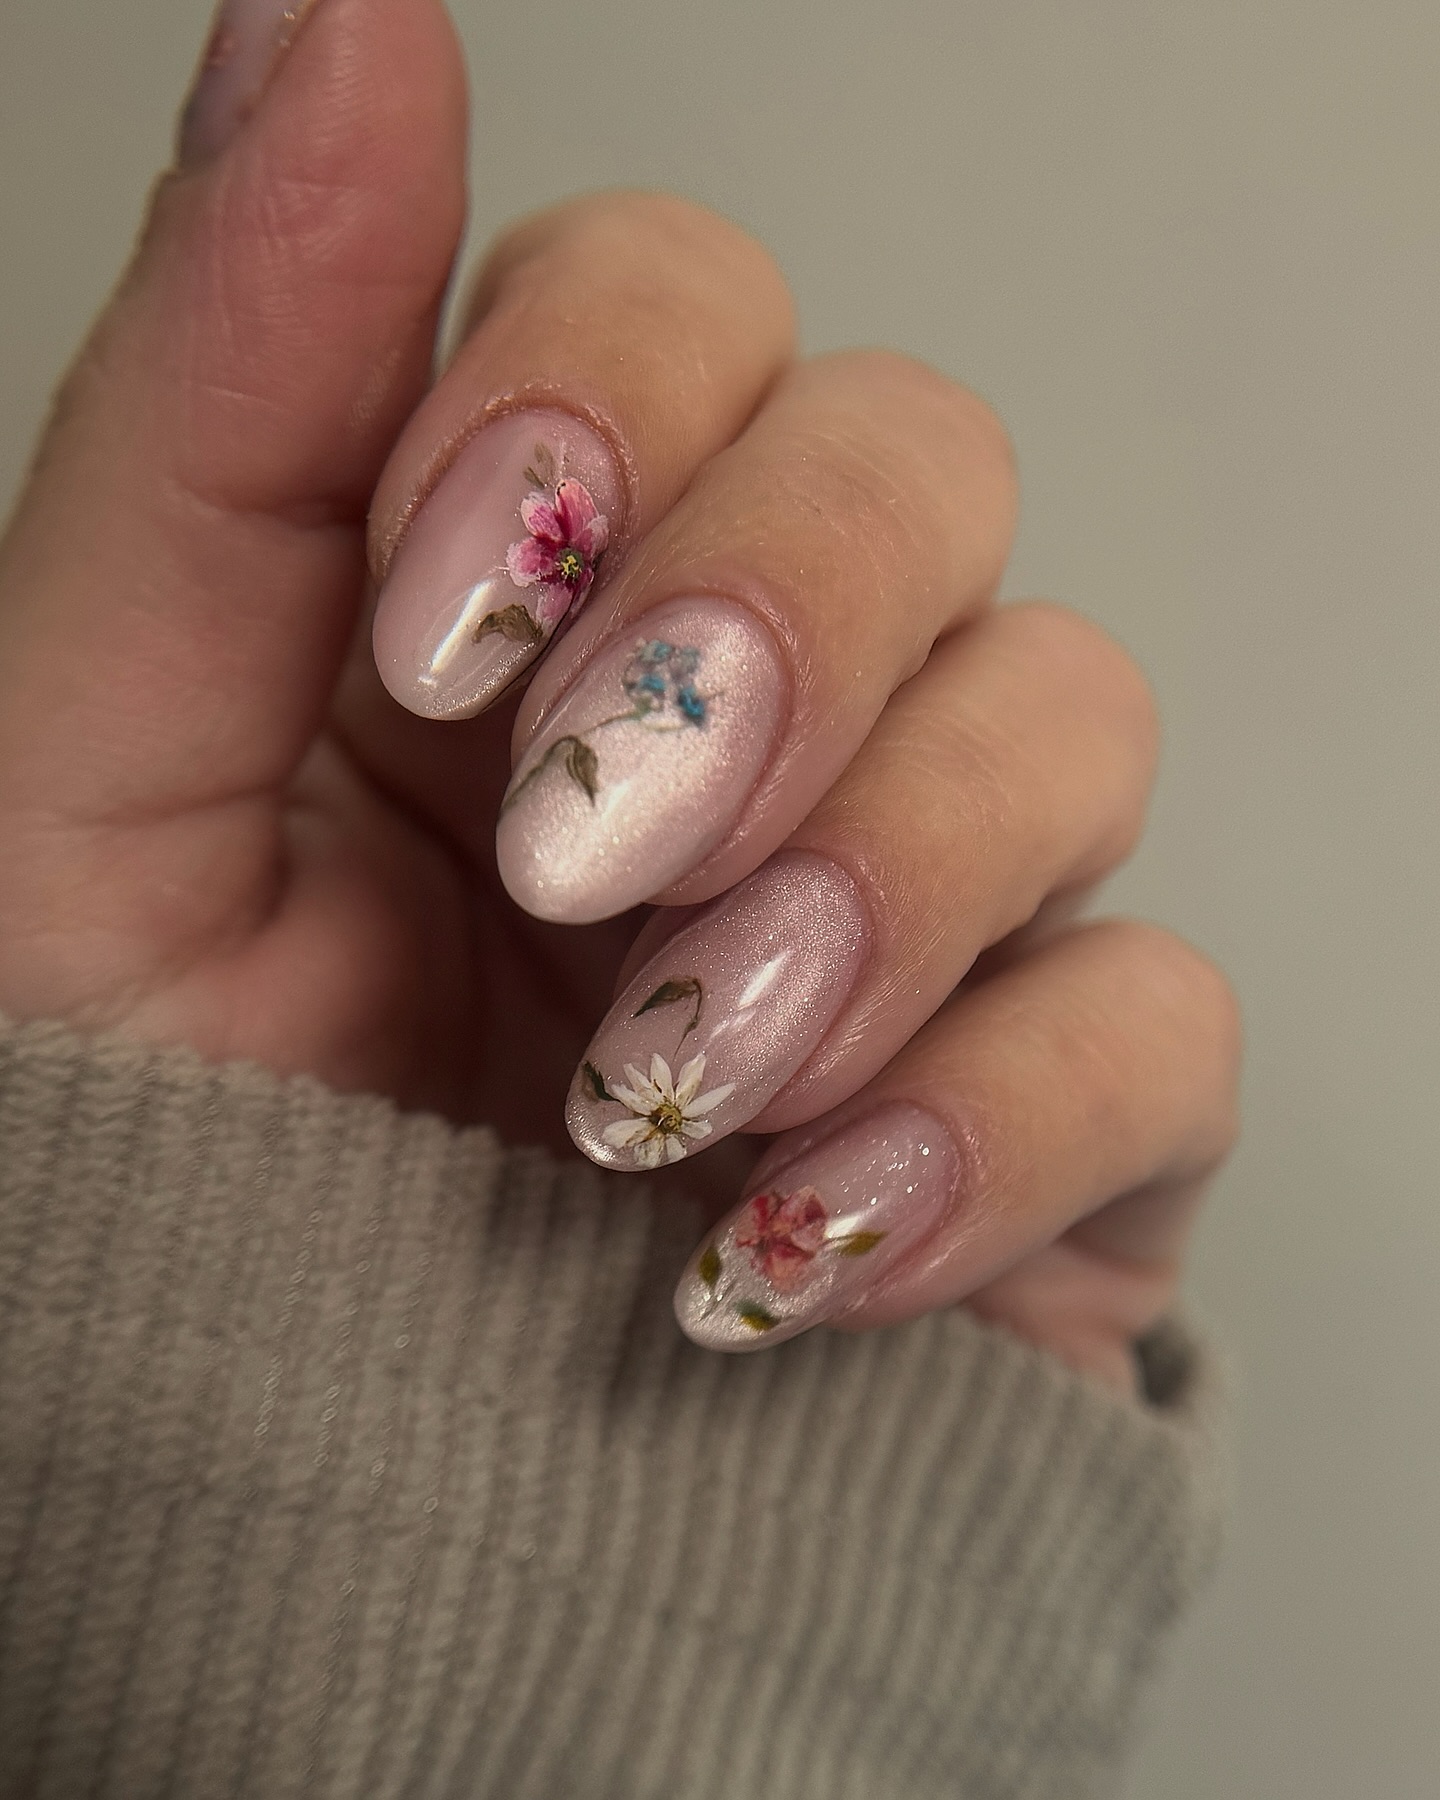
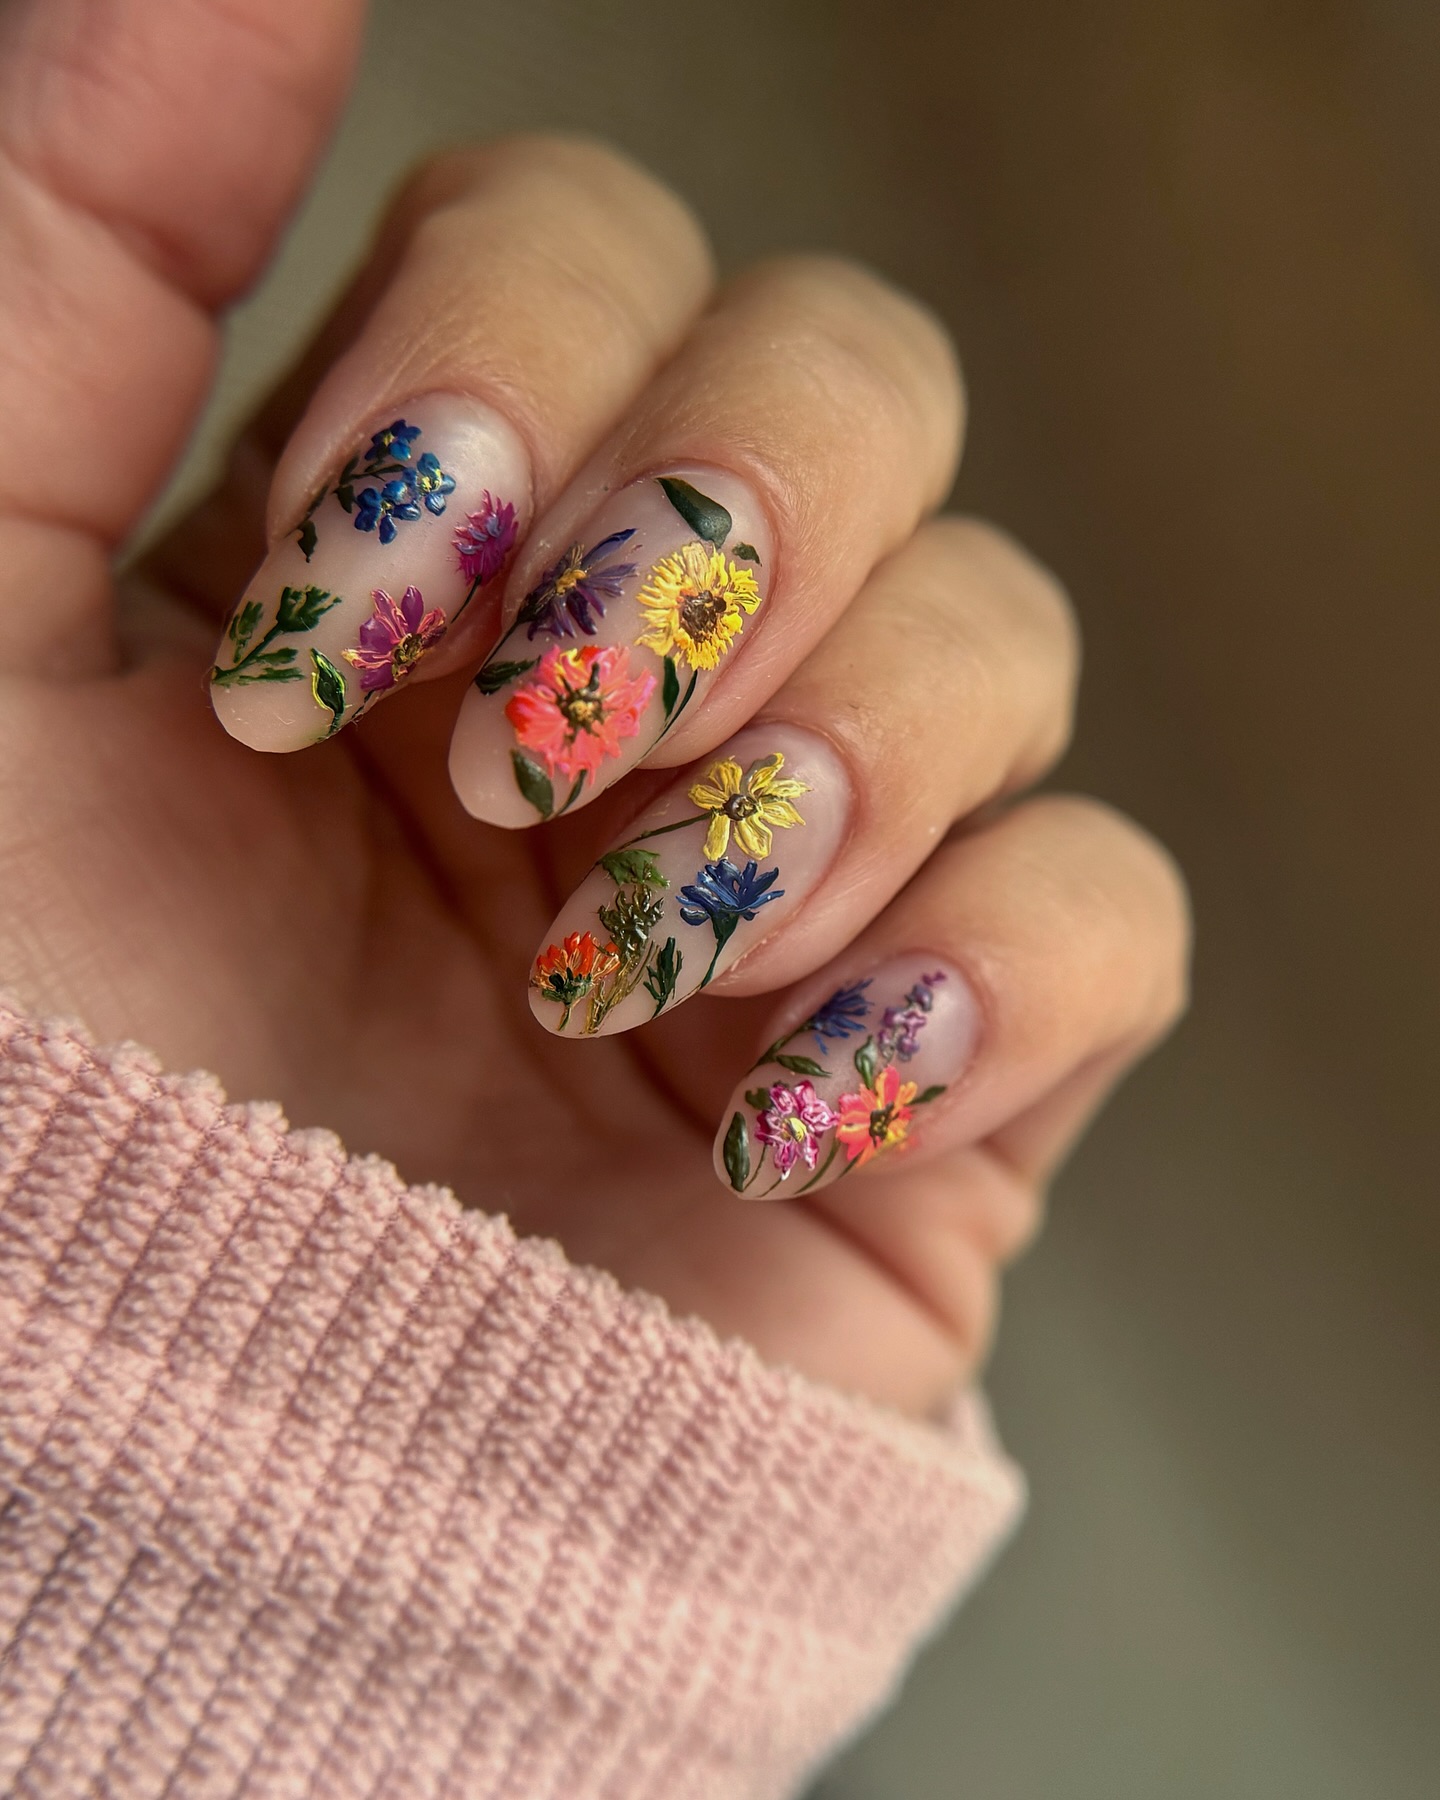
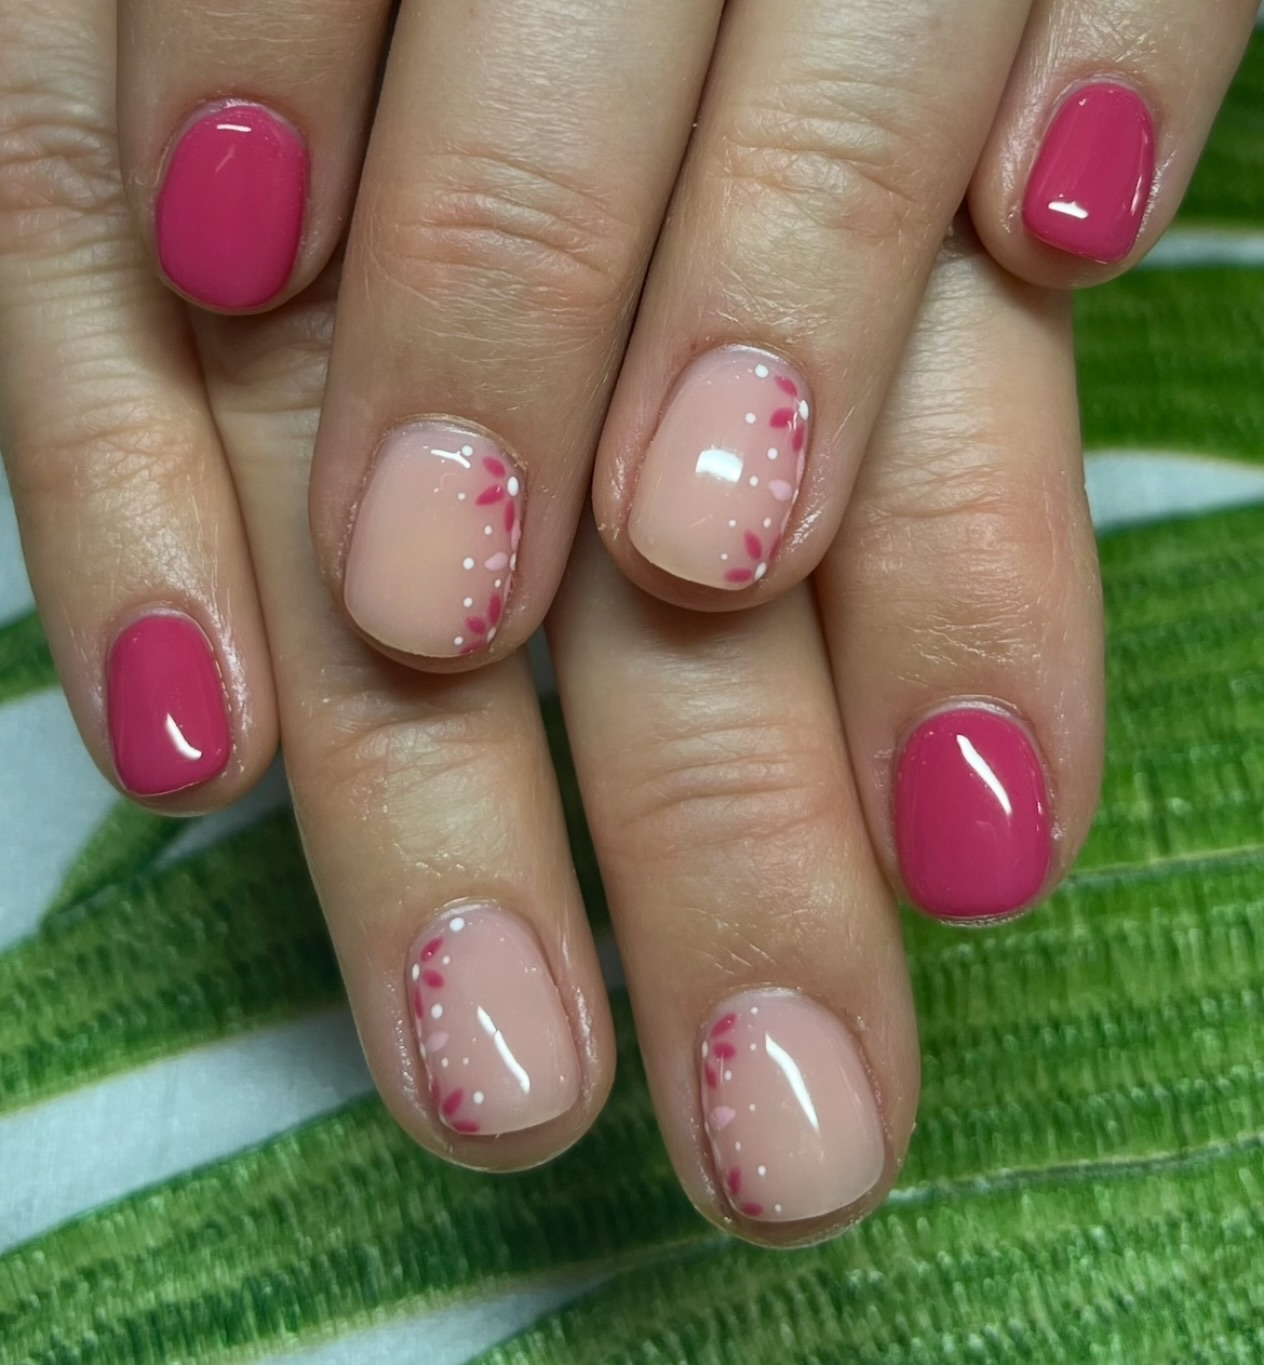
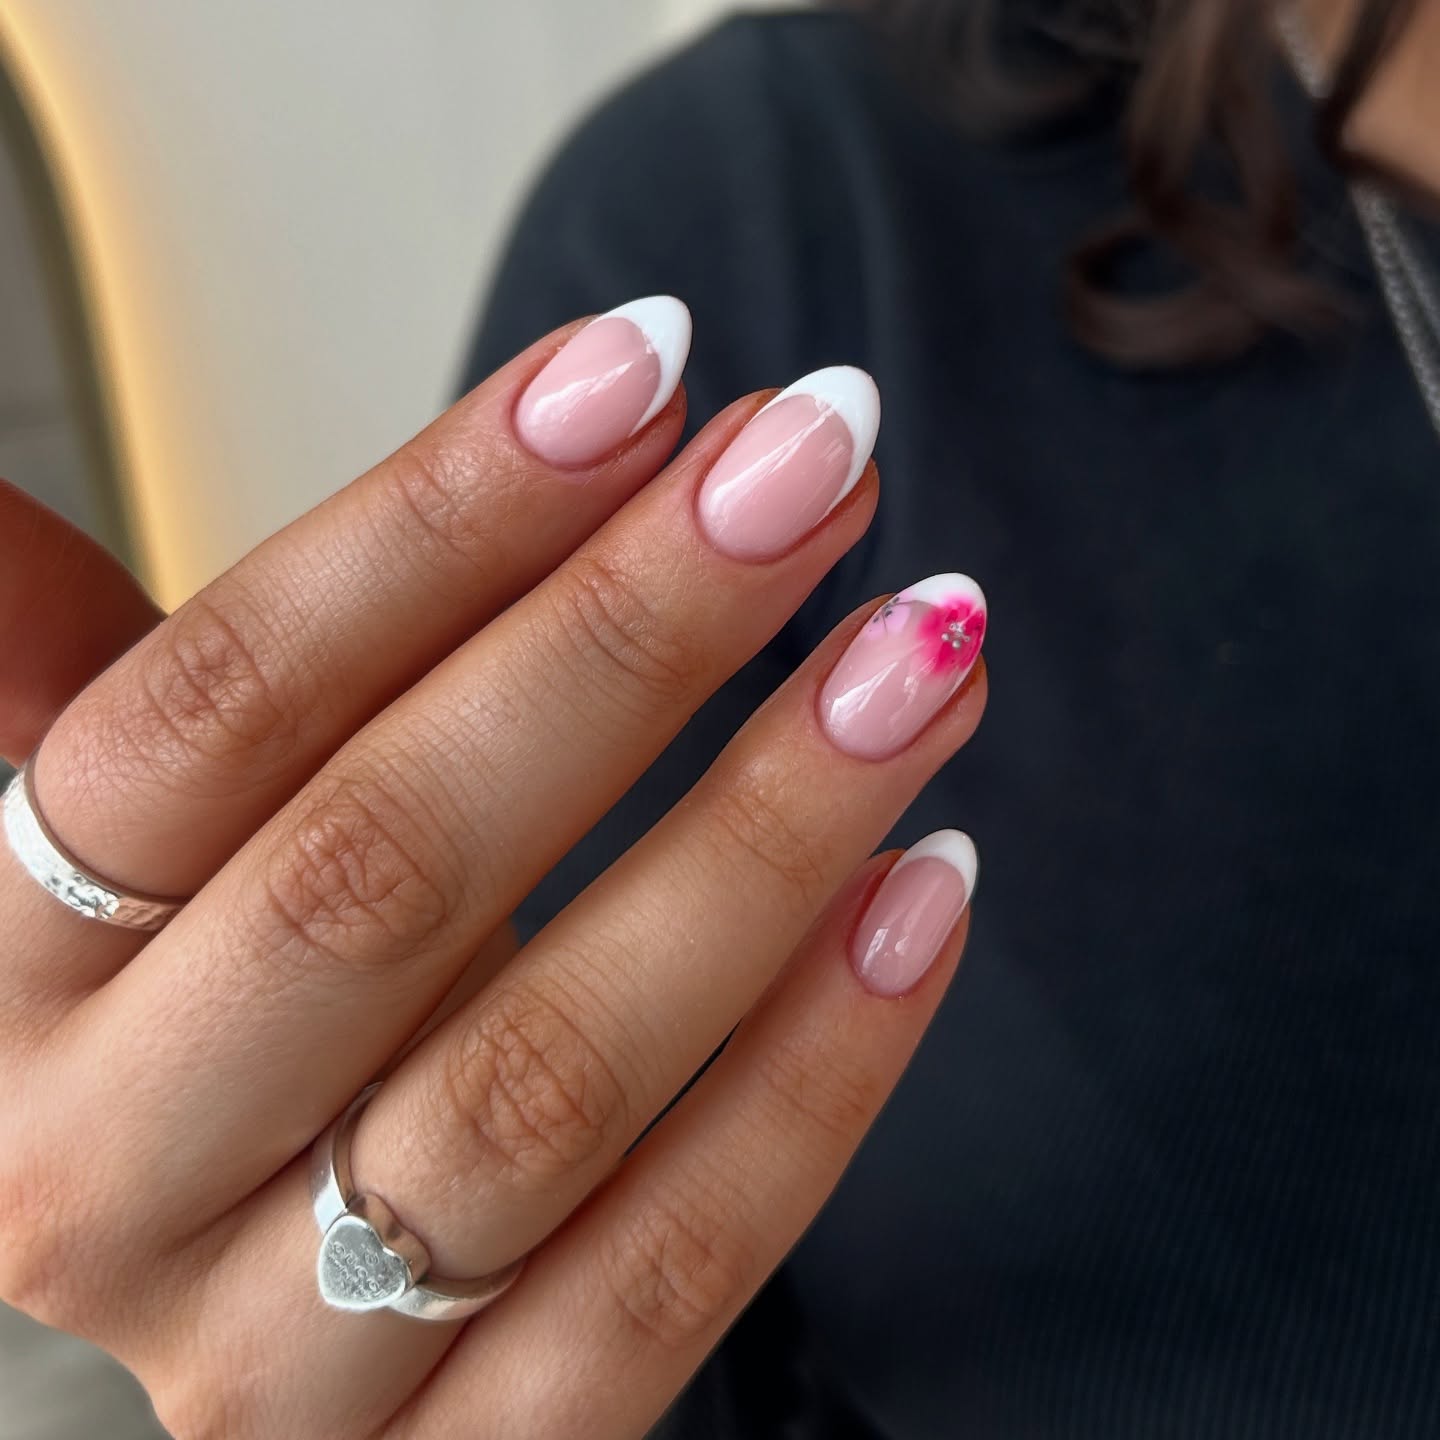
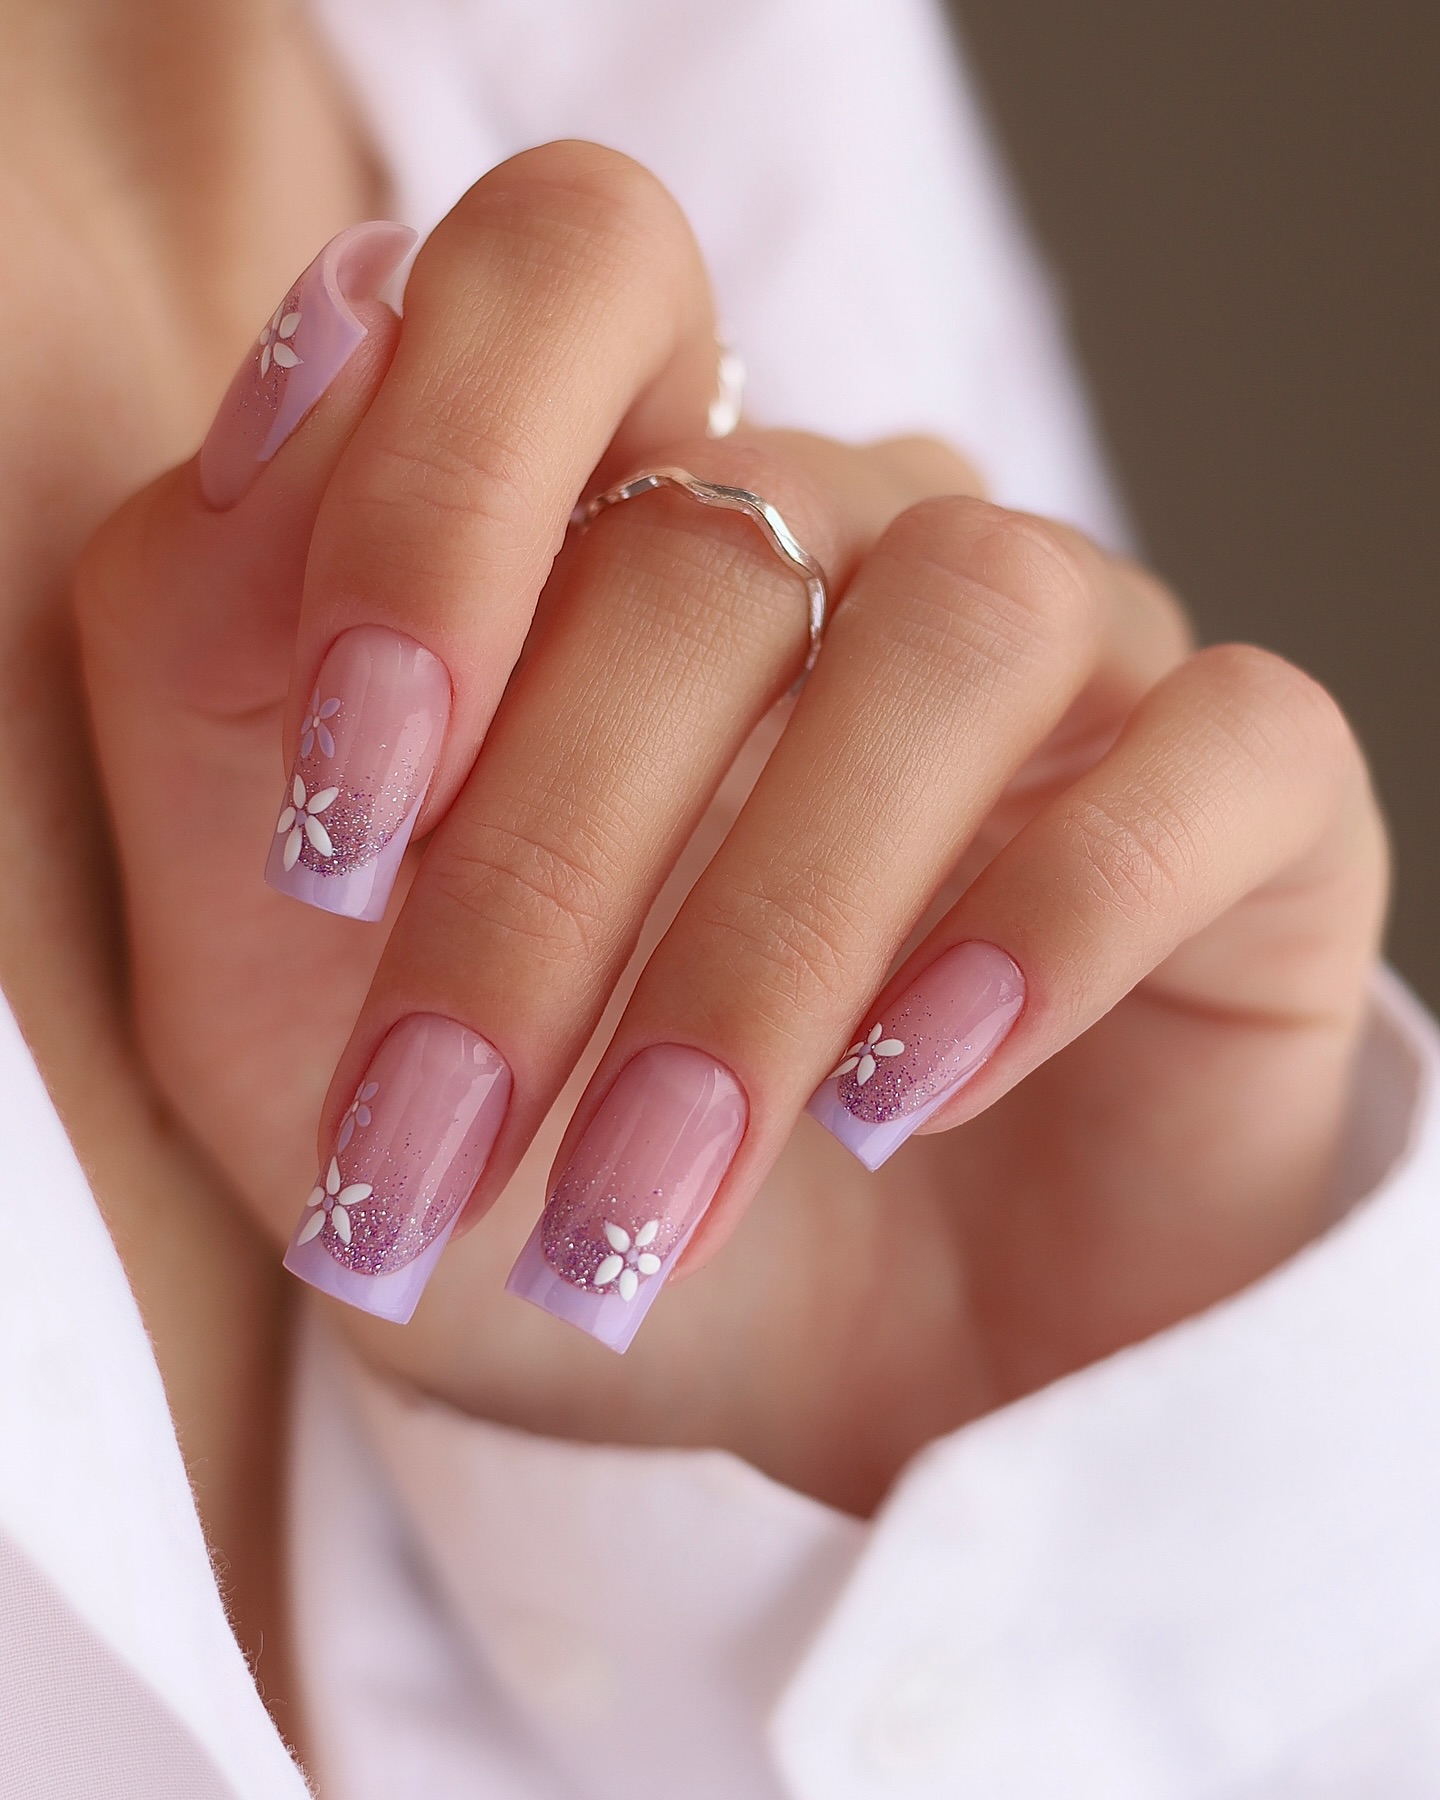
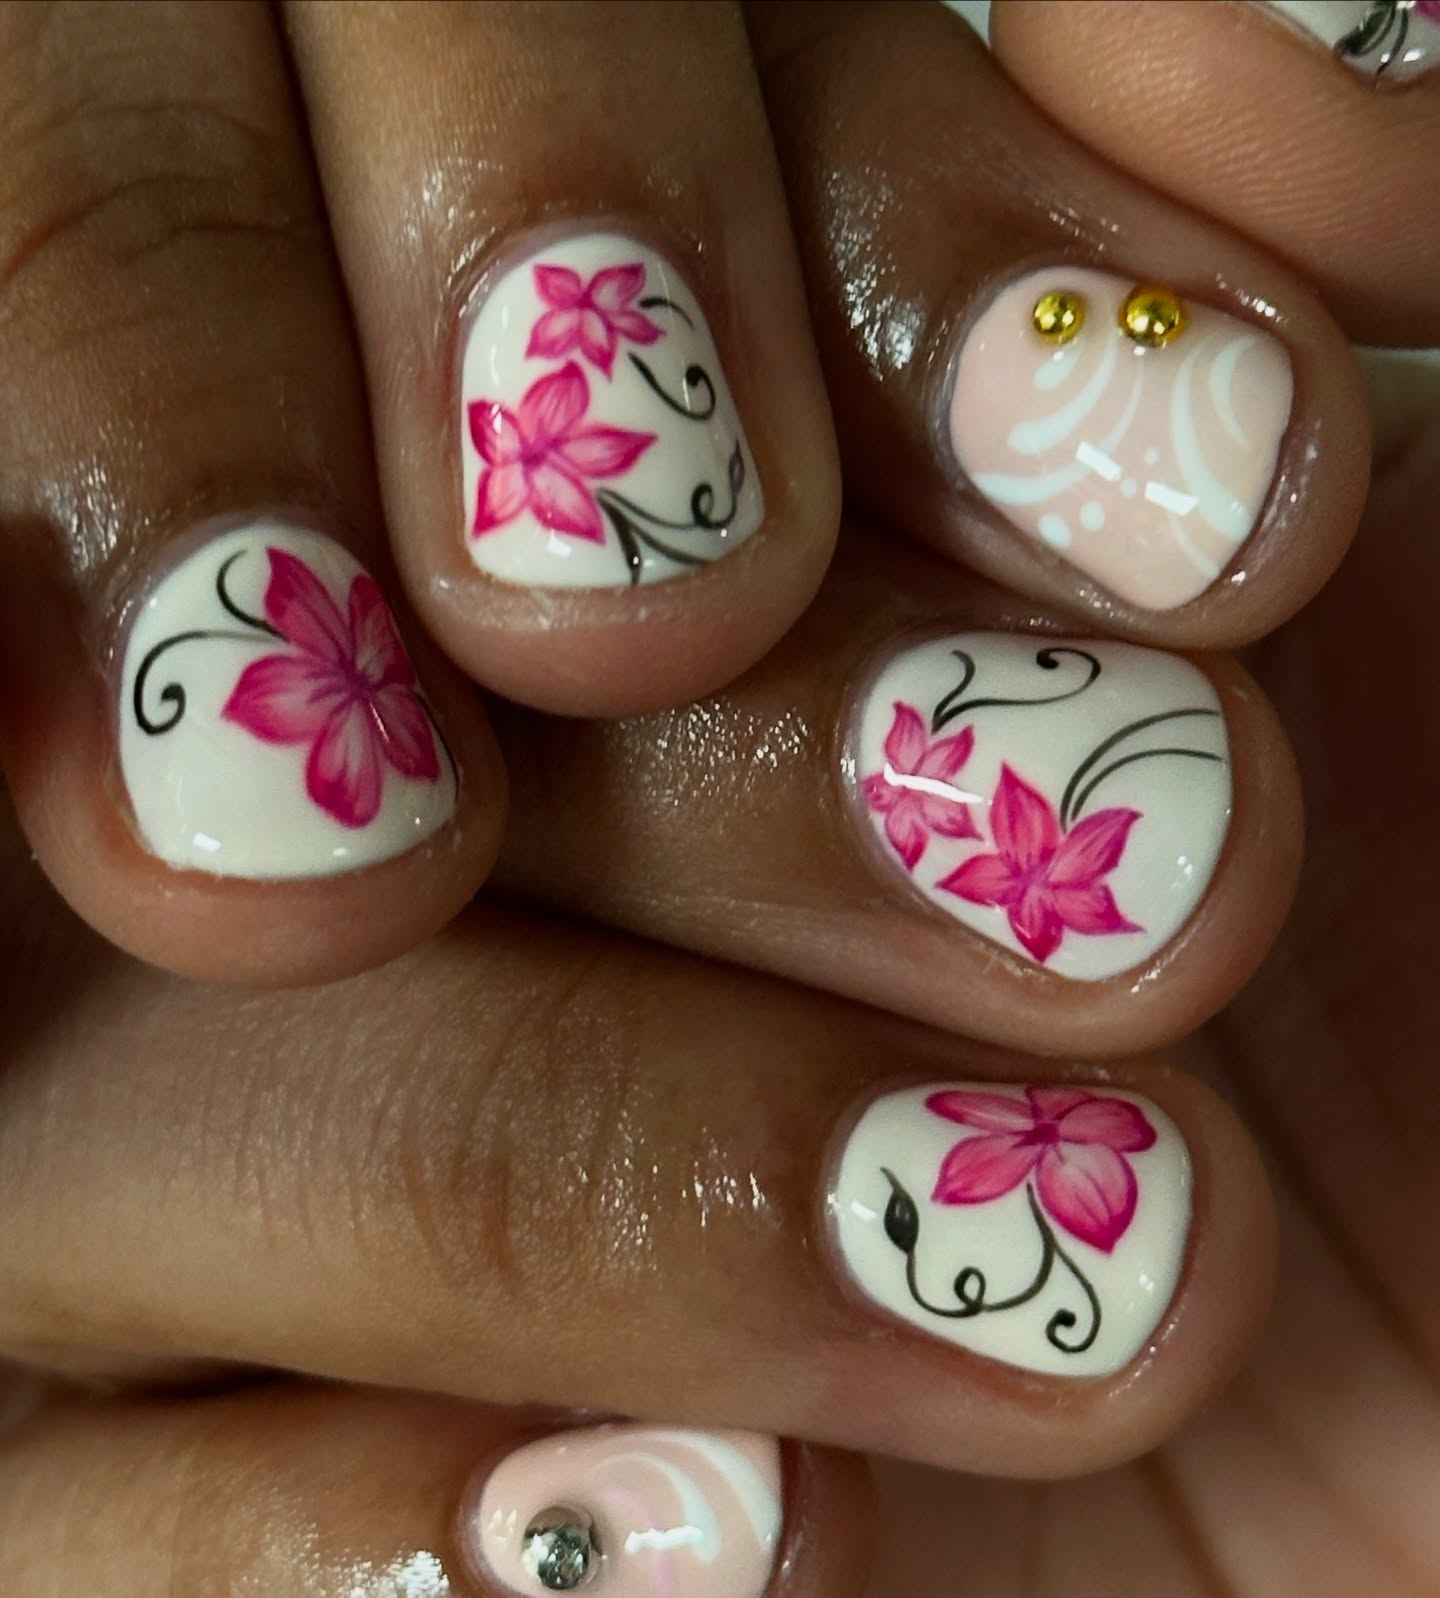
46+ Full Bloom: Captivating Spring Nail Designs Inspired by Nature’s Awakening
Have you ever noticed how your mood lifts when you spot those first spring flowers pushing through the soil? There's something undeniably magical about nature's awakening after winter's slumber. Now imagine carrying that same joyful energy with you everywhere you go—right at your fingertips. Spring bloom nail designs don't just beautify your hands; they connect you to the season's renewal in a deeply personal way.
"Floral nail art isn't just about aesthetics," explains renowned nail artist Emma Chen. "It's about capturing a fleeting moment of natural beauty and preserving it. When clients choose bloom-inspired designs, they're often seeking that emotional connection to spring's promise of new beginnings."
This emotional resonance explains why bloom-inspired nail art consistently ranks among the most requested designs during the transitional months. But beyond their popularity, these botanical creations offer surprising therapeutic benefits. Studies have shown that simply looking at nature-inspired patterns can lower stress levels and improve mood—making your spring manicure not just a fashion statement but a form of everyday wellness.
This Season's Bloom Inspirations
Nature provides an endless palette of inspiration for spring nail designs, but certain blooms capture the essence of the season particularly well.
Cherry Blossoms: Delicate Pink Petals for Romantic Designs
"Cherry blossoms represent the ephemeral beauty of spring," shares Japanese-inspired nail artist Yuki Tanaka. "Their delicate pink petals and brief blooming period make them perfect for capturing spring's fleeting magic."
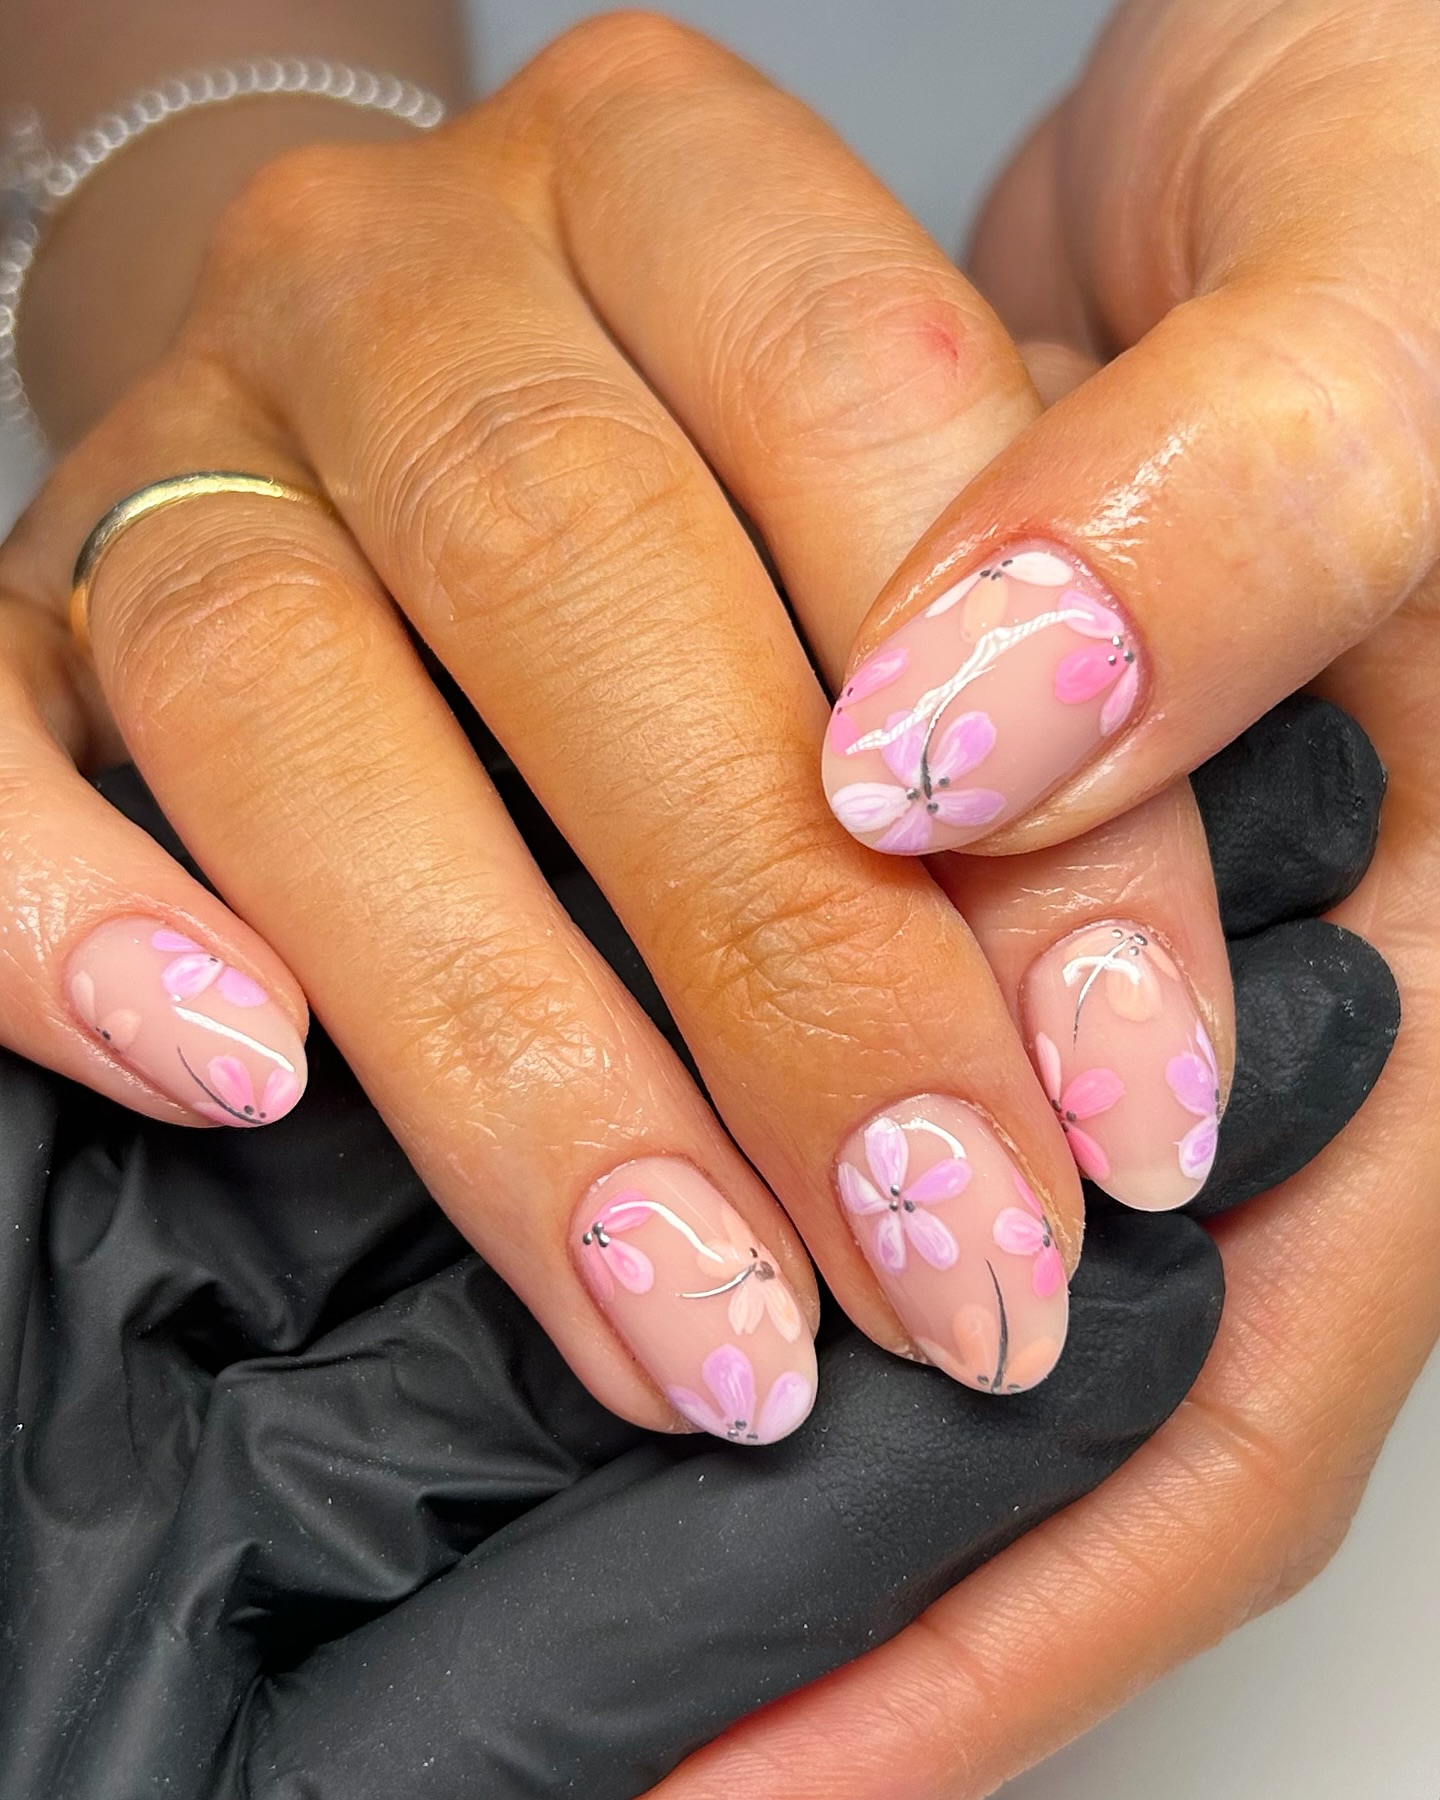
Creating cherry blossom nail art typically involves a soft, neutral background—pale pink, subtle lavender, or even a sheer nude—with delicate branches extending across one or more nails. The blossoms themselves are created with small, clustered dots in varying shades of pink, sometimes with tiny yellow centers for realism.
What makes cherry blossom designs so versatile is their inherent minimalism. A single branch with a few scattered blossoms can create a sophisticated accent nail for professional settings, while fuller coverage designs make romantic statements for special occasions.
Tulips and Daffodils: Bold and Cheerful Statement Nails
"When clients want something that screams 'spring is here!' nothing delivers quite like tulips and daffodils," explains botanical nail specialist Sarah Johnson. "These flowers have such distinctive, recognizable shapes and come in vibrant colors that instantly lift the spirits."
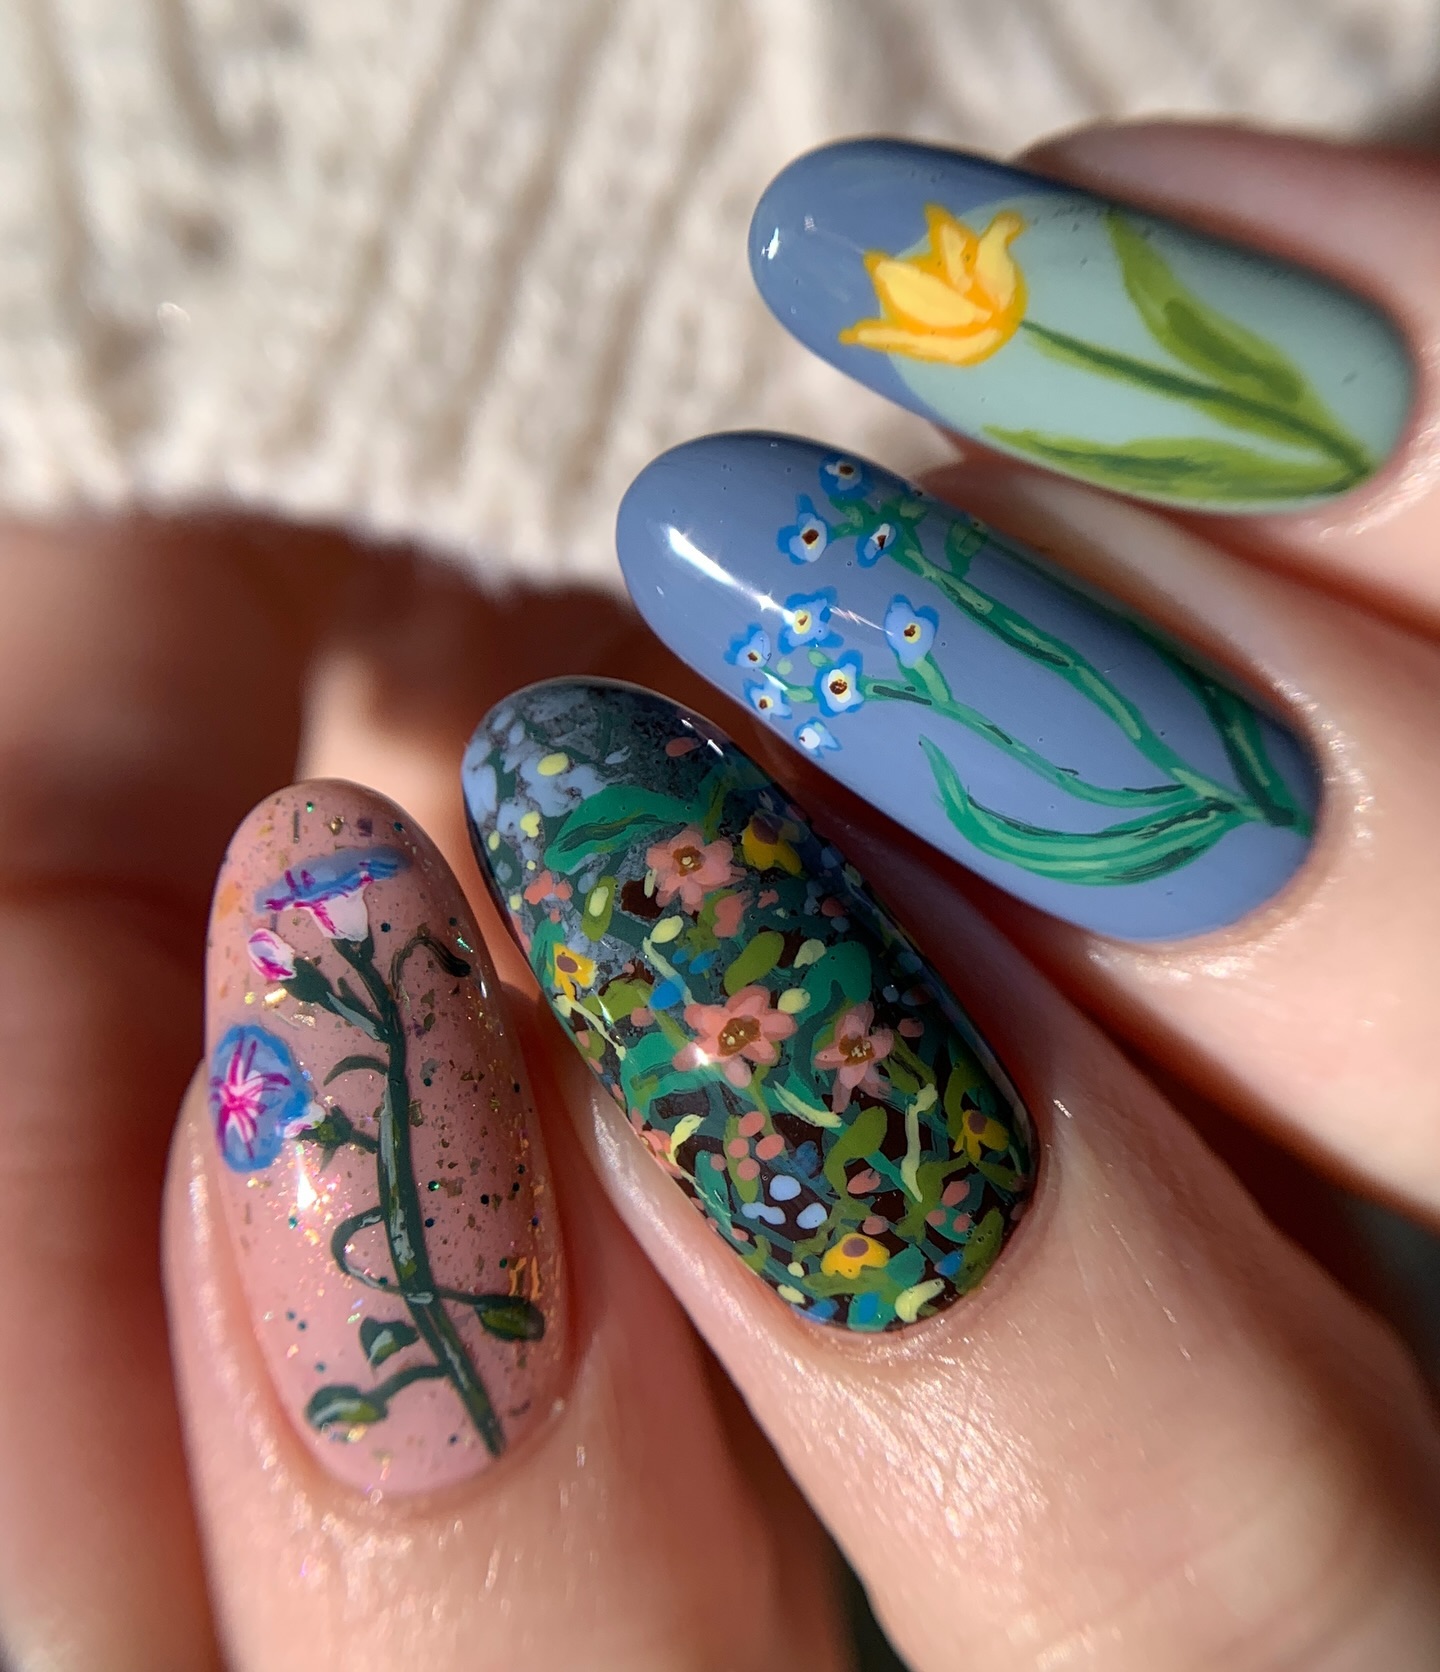
Tulip designs typically feature the flower's characteristic cup shape, often in bright reds, yellows, or purples against a contrasting background. The simplicity of the tulip's form makes it accessible even for nail art beginners, while still creating maximum impact.
Daffodils, with their trumpet-shaped centers and star-like petals, create slightly more complex designs but offer that iconic yellow brightness that's synonymous with spring awakening. Their distinctive shape makes them instantly recognizable even when simplified for nail art.
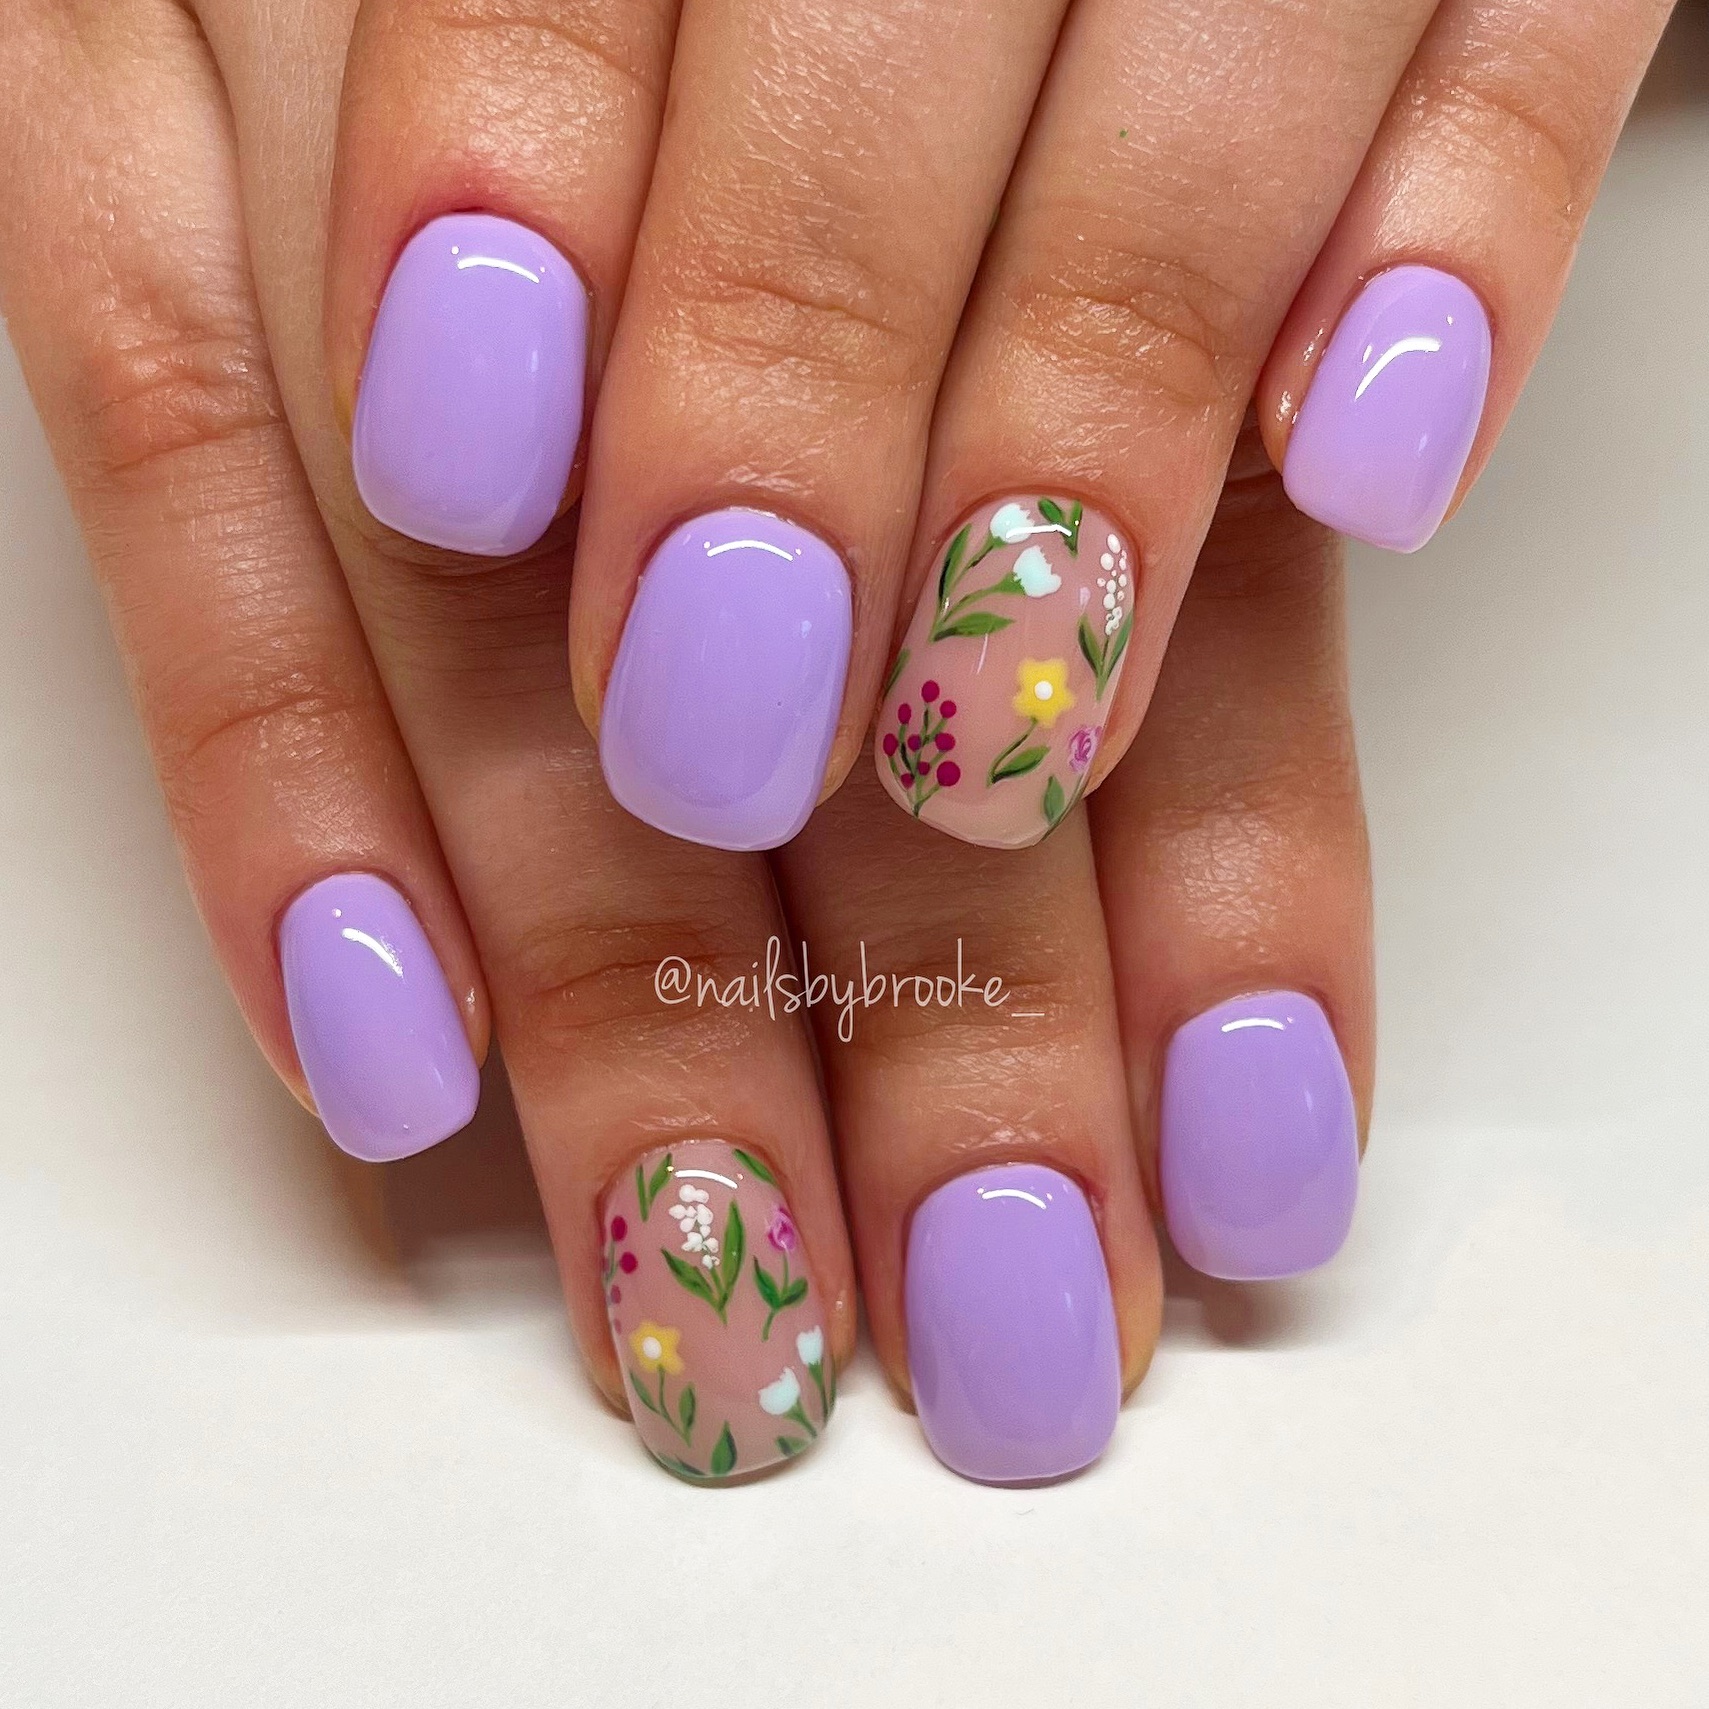
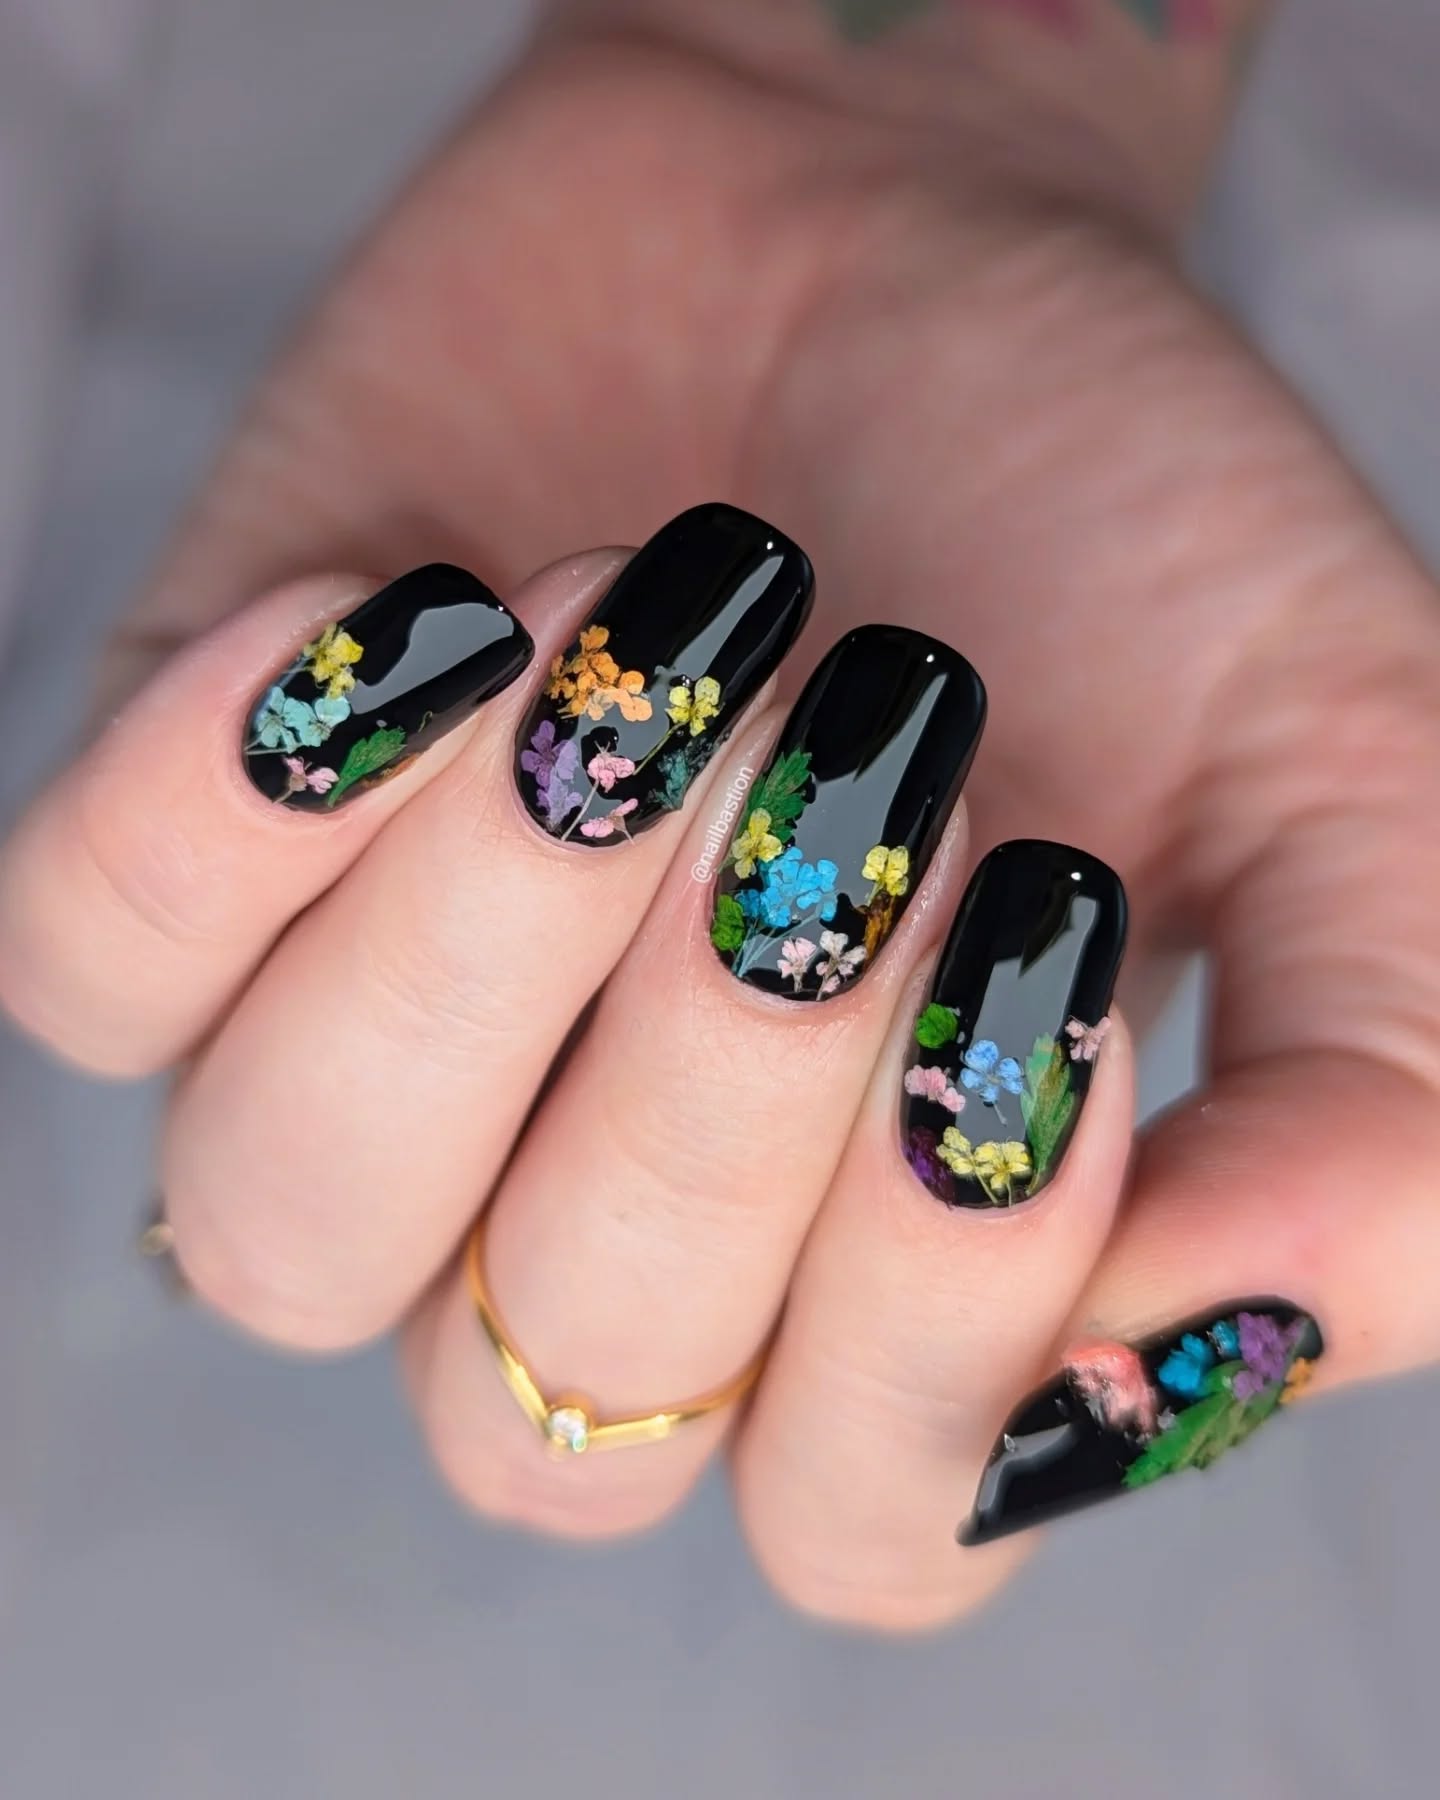
Wildflower Meadows: Multicolored Tiny Blooms for Playful Looks
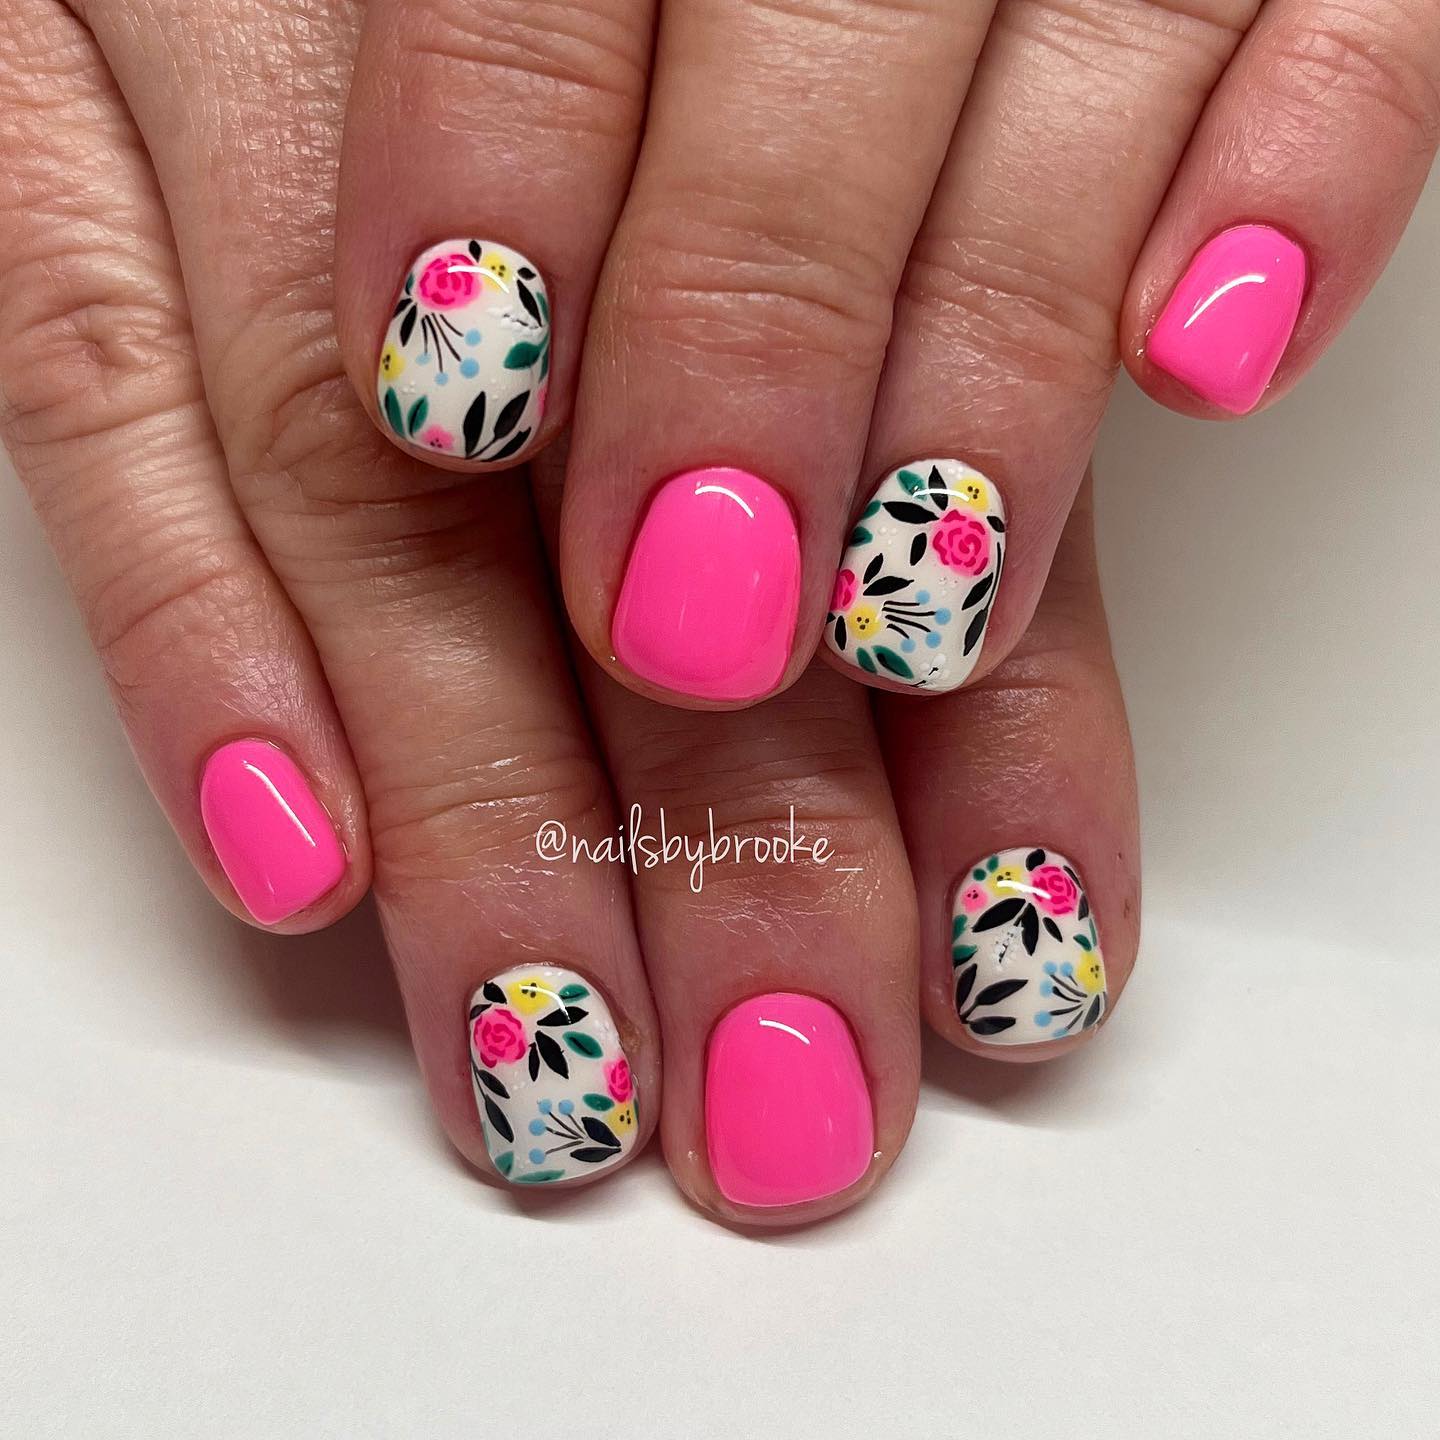
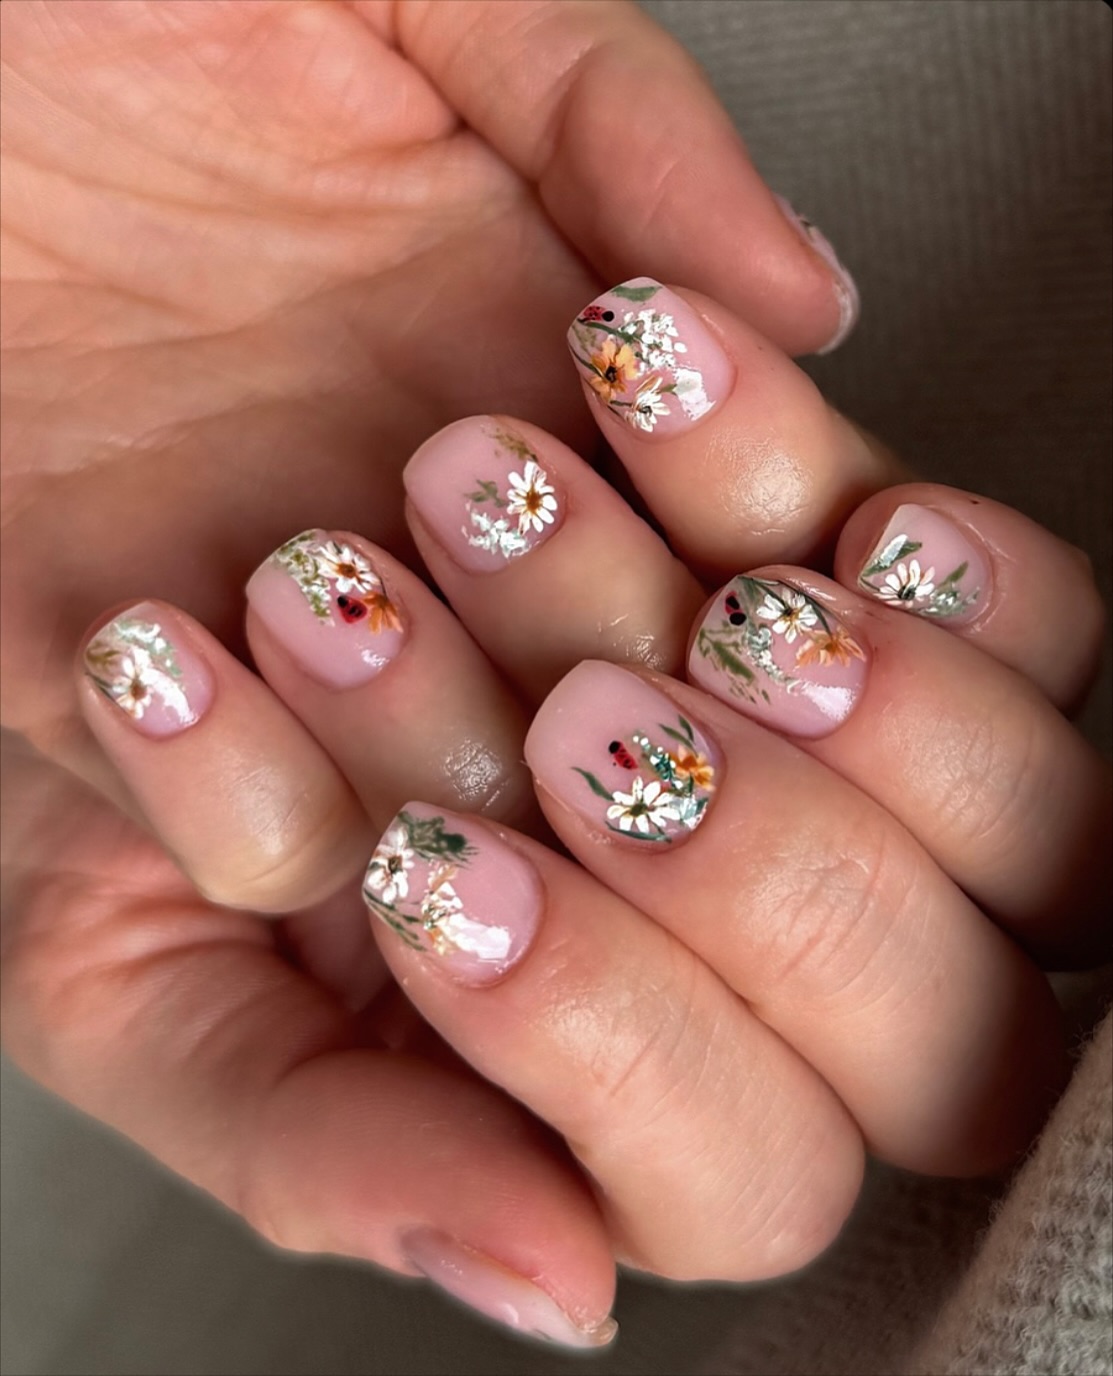
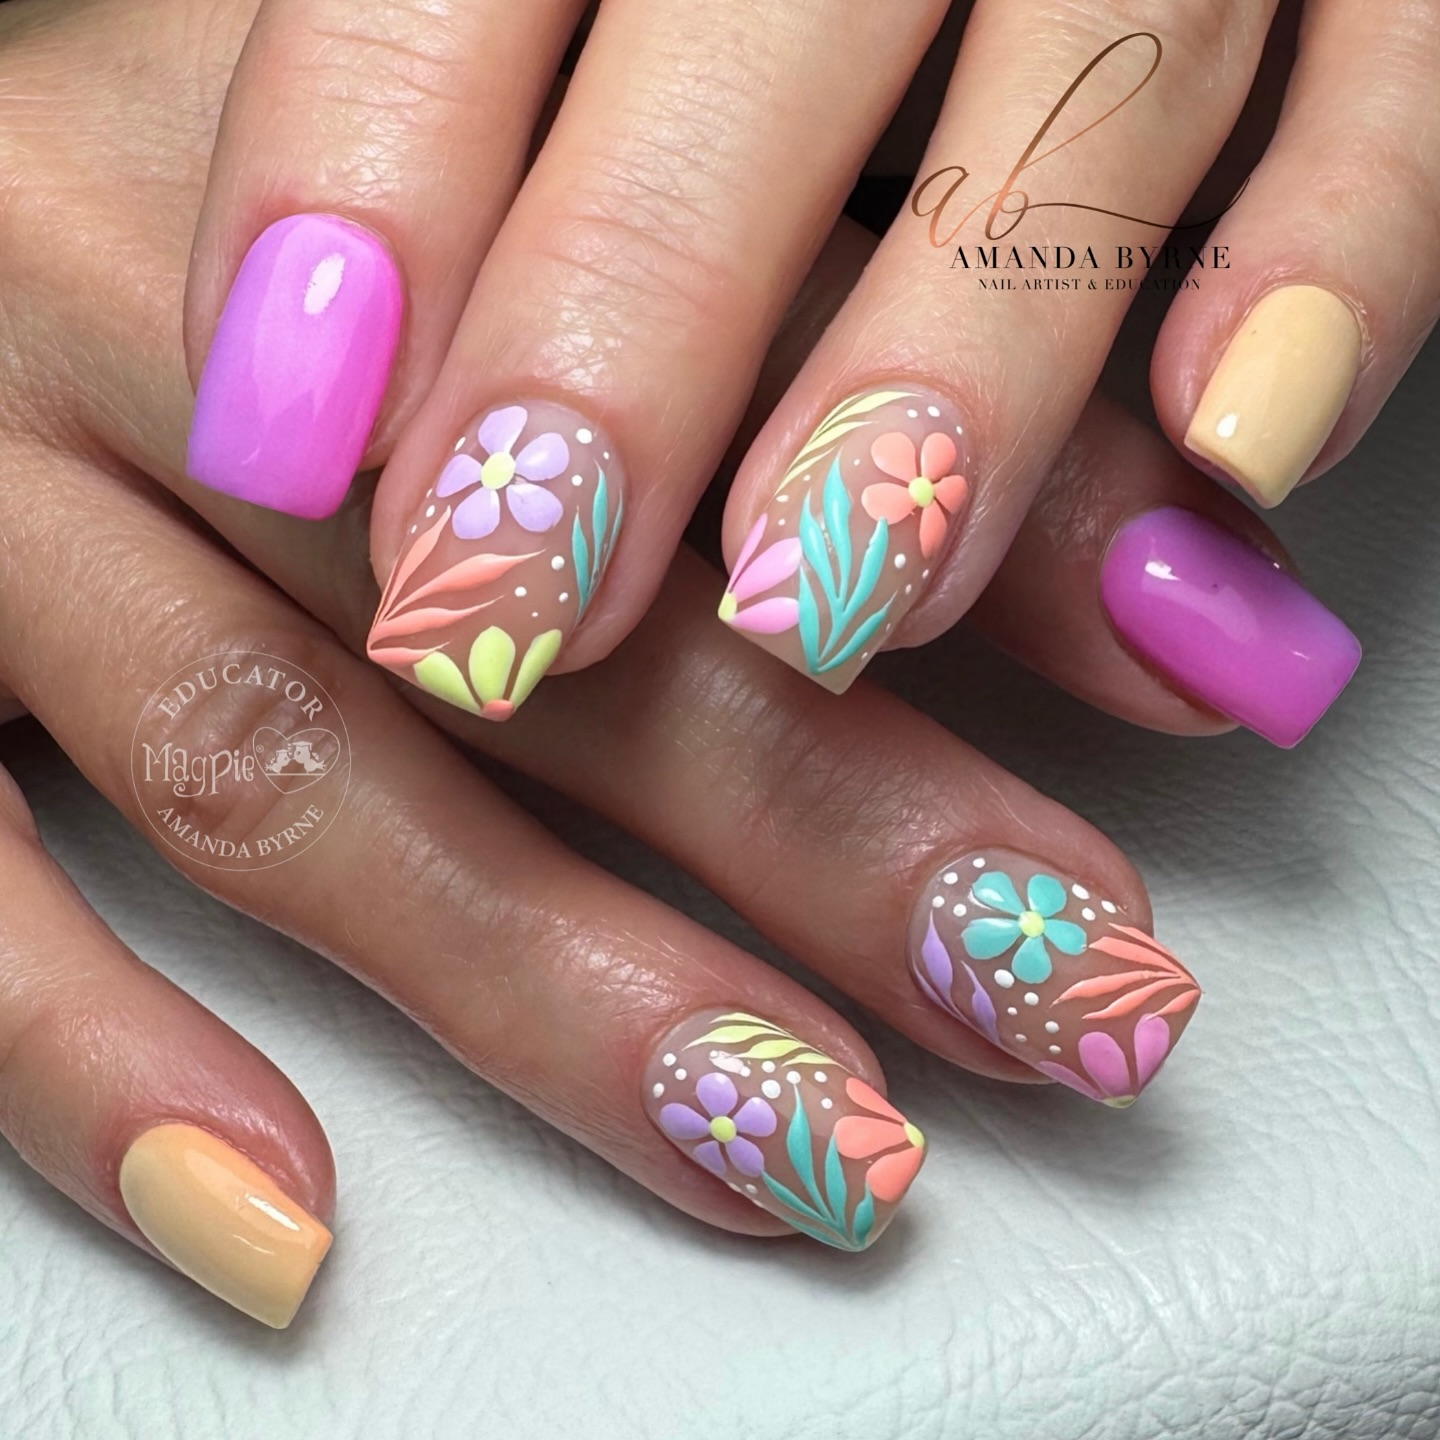
"Wildflower-inspired designs are perfect for those who can't choose just one bloom," laughs free-spirited nail artist Maya Williams. "They're deliberately imperfect, which makes them both easier to create and more natural-looking."
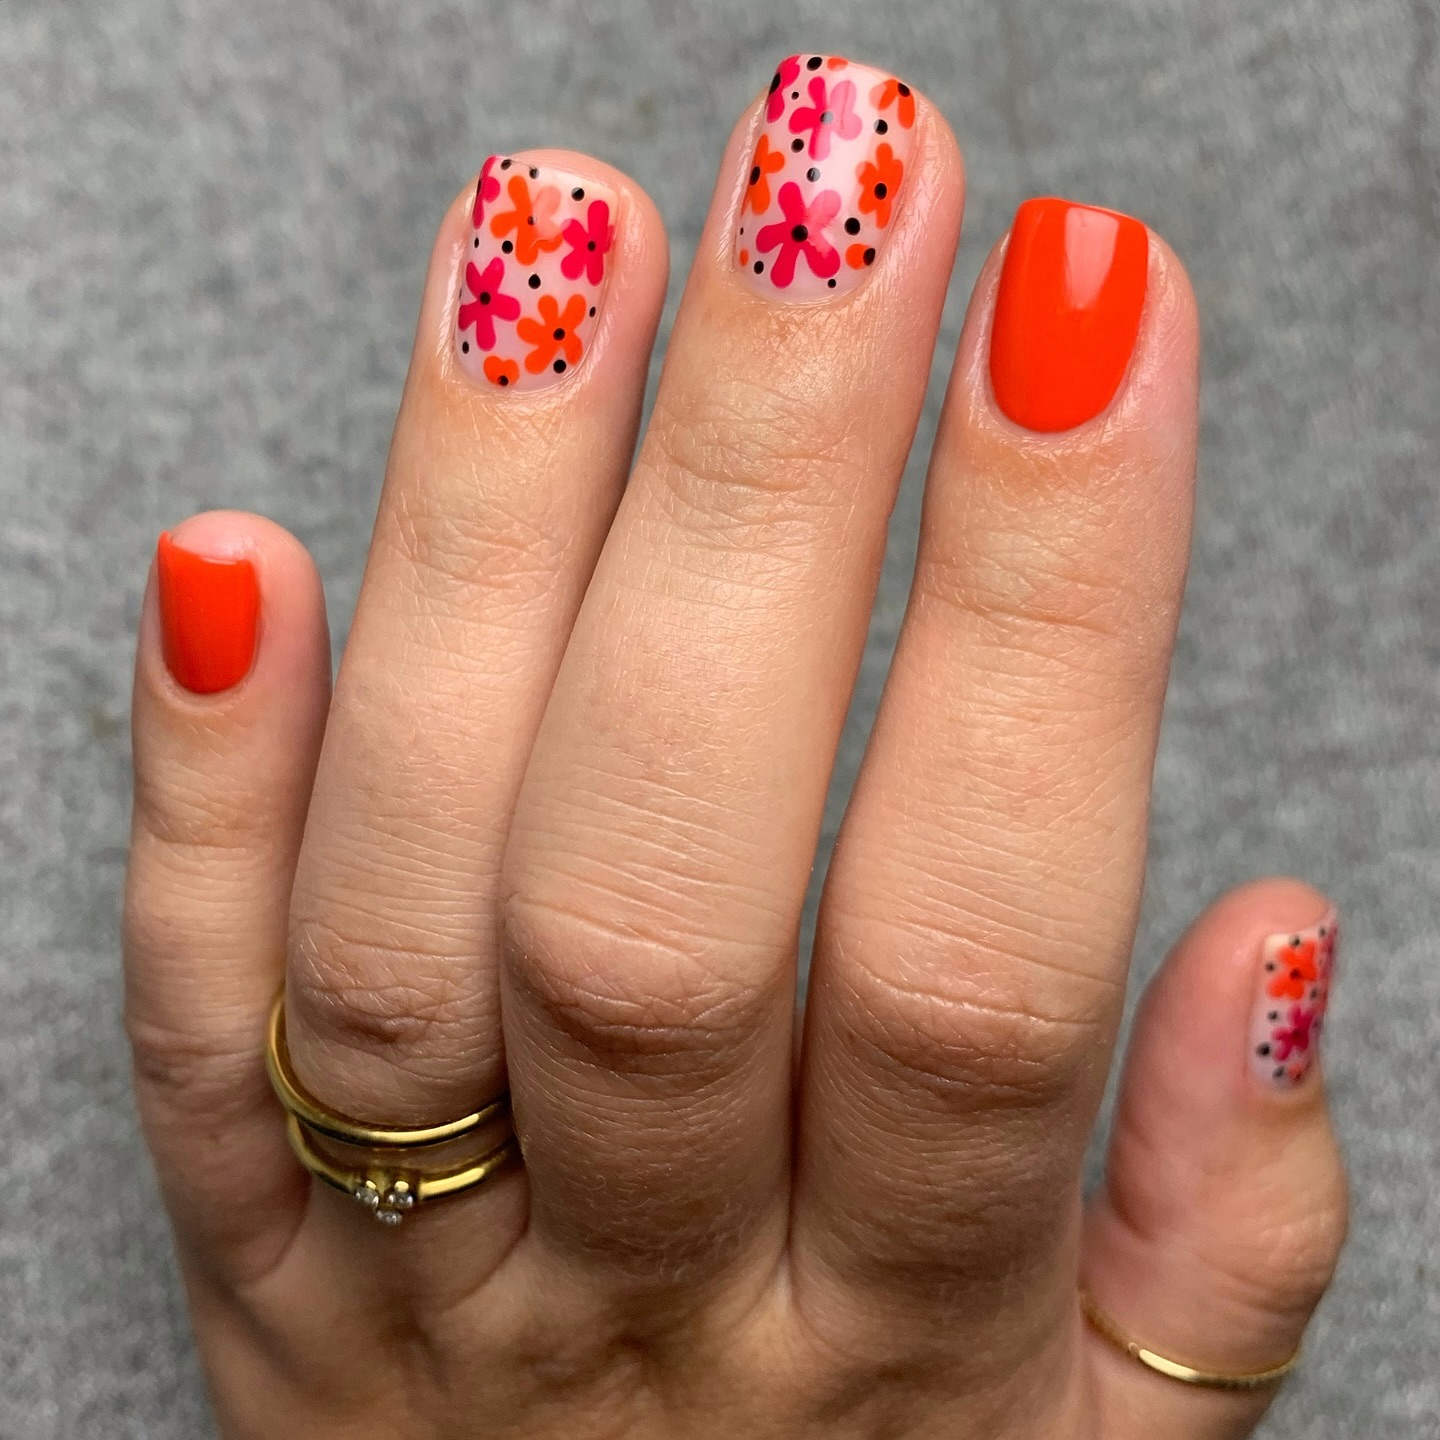
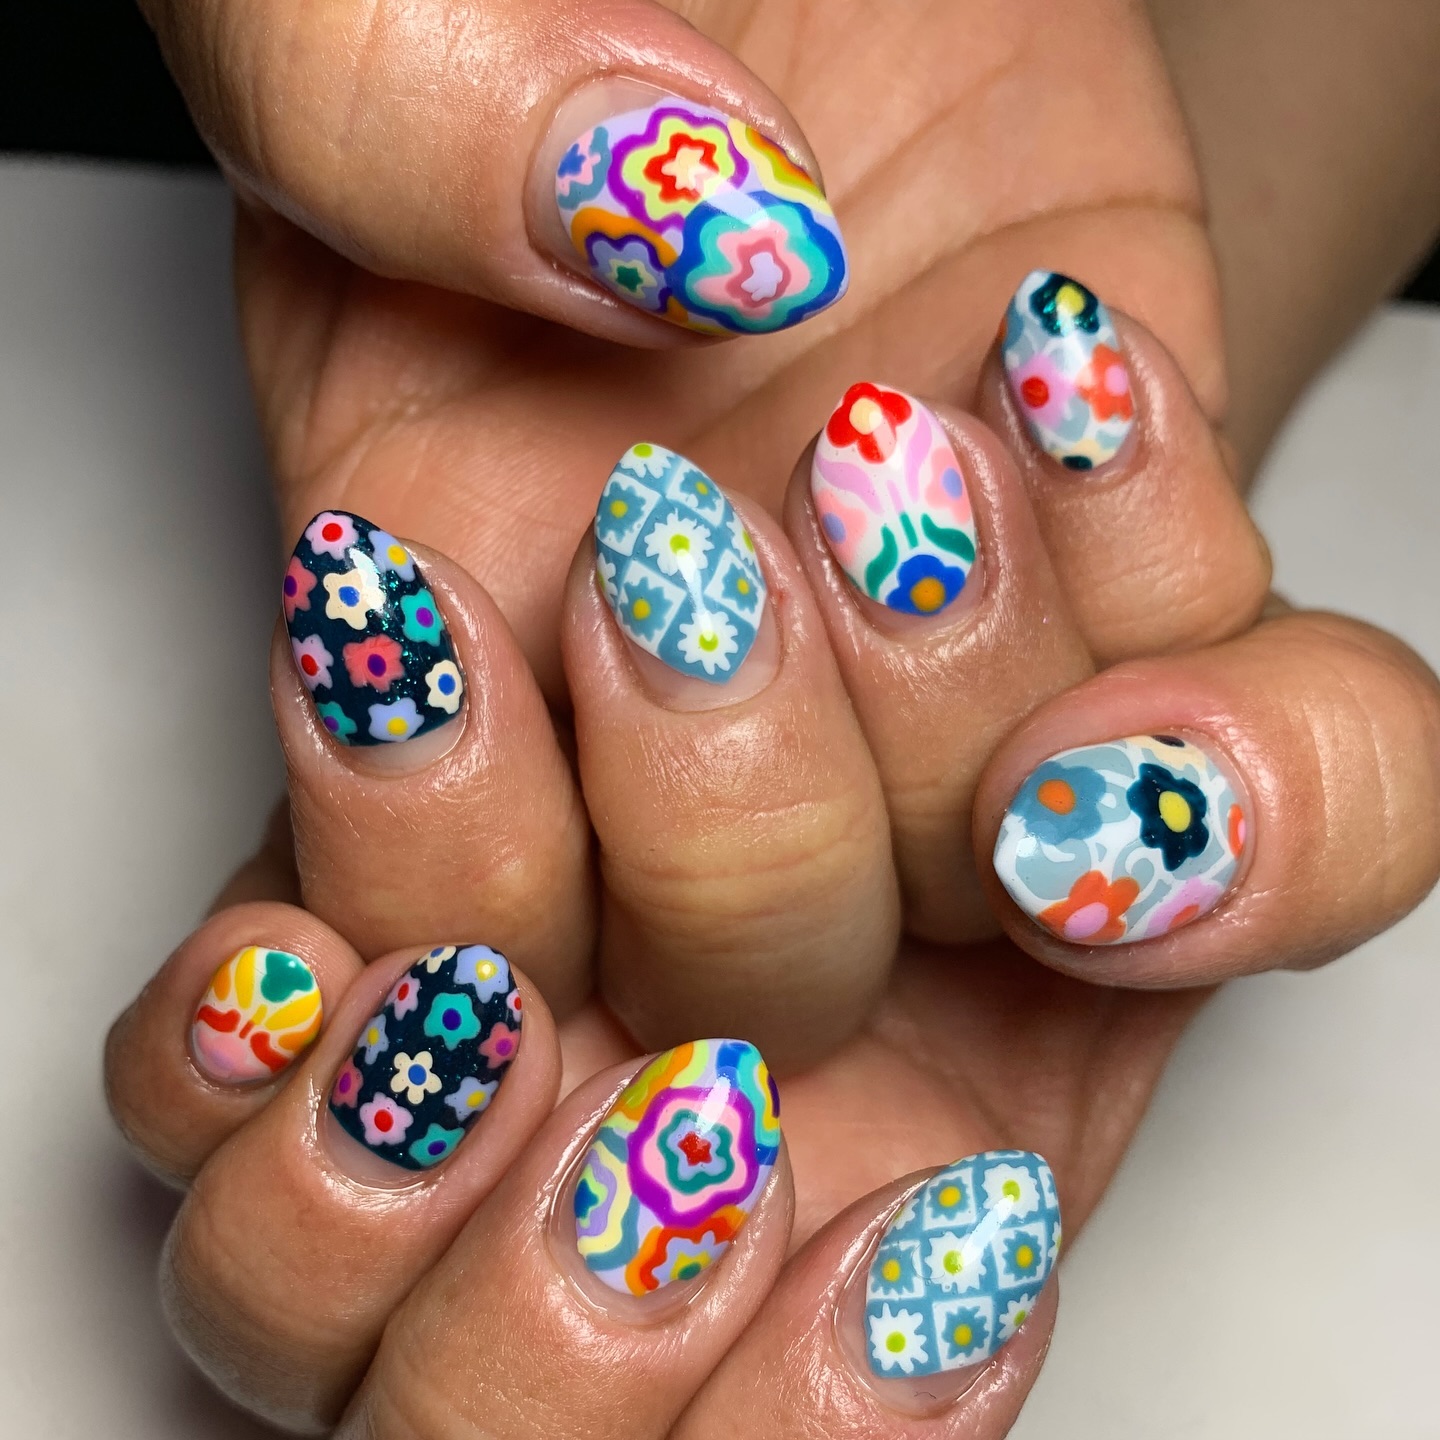
The beauty of wildflower nail art lies in its organized chaos—small blooms in varying shapes and colors scattered across the nail in seemingly random patterns. This approach works beautifully for those who prefer a more playful, bohemian aesthetic over formal garden-inspired designs.
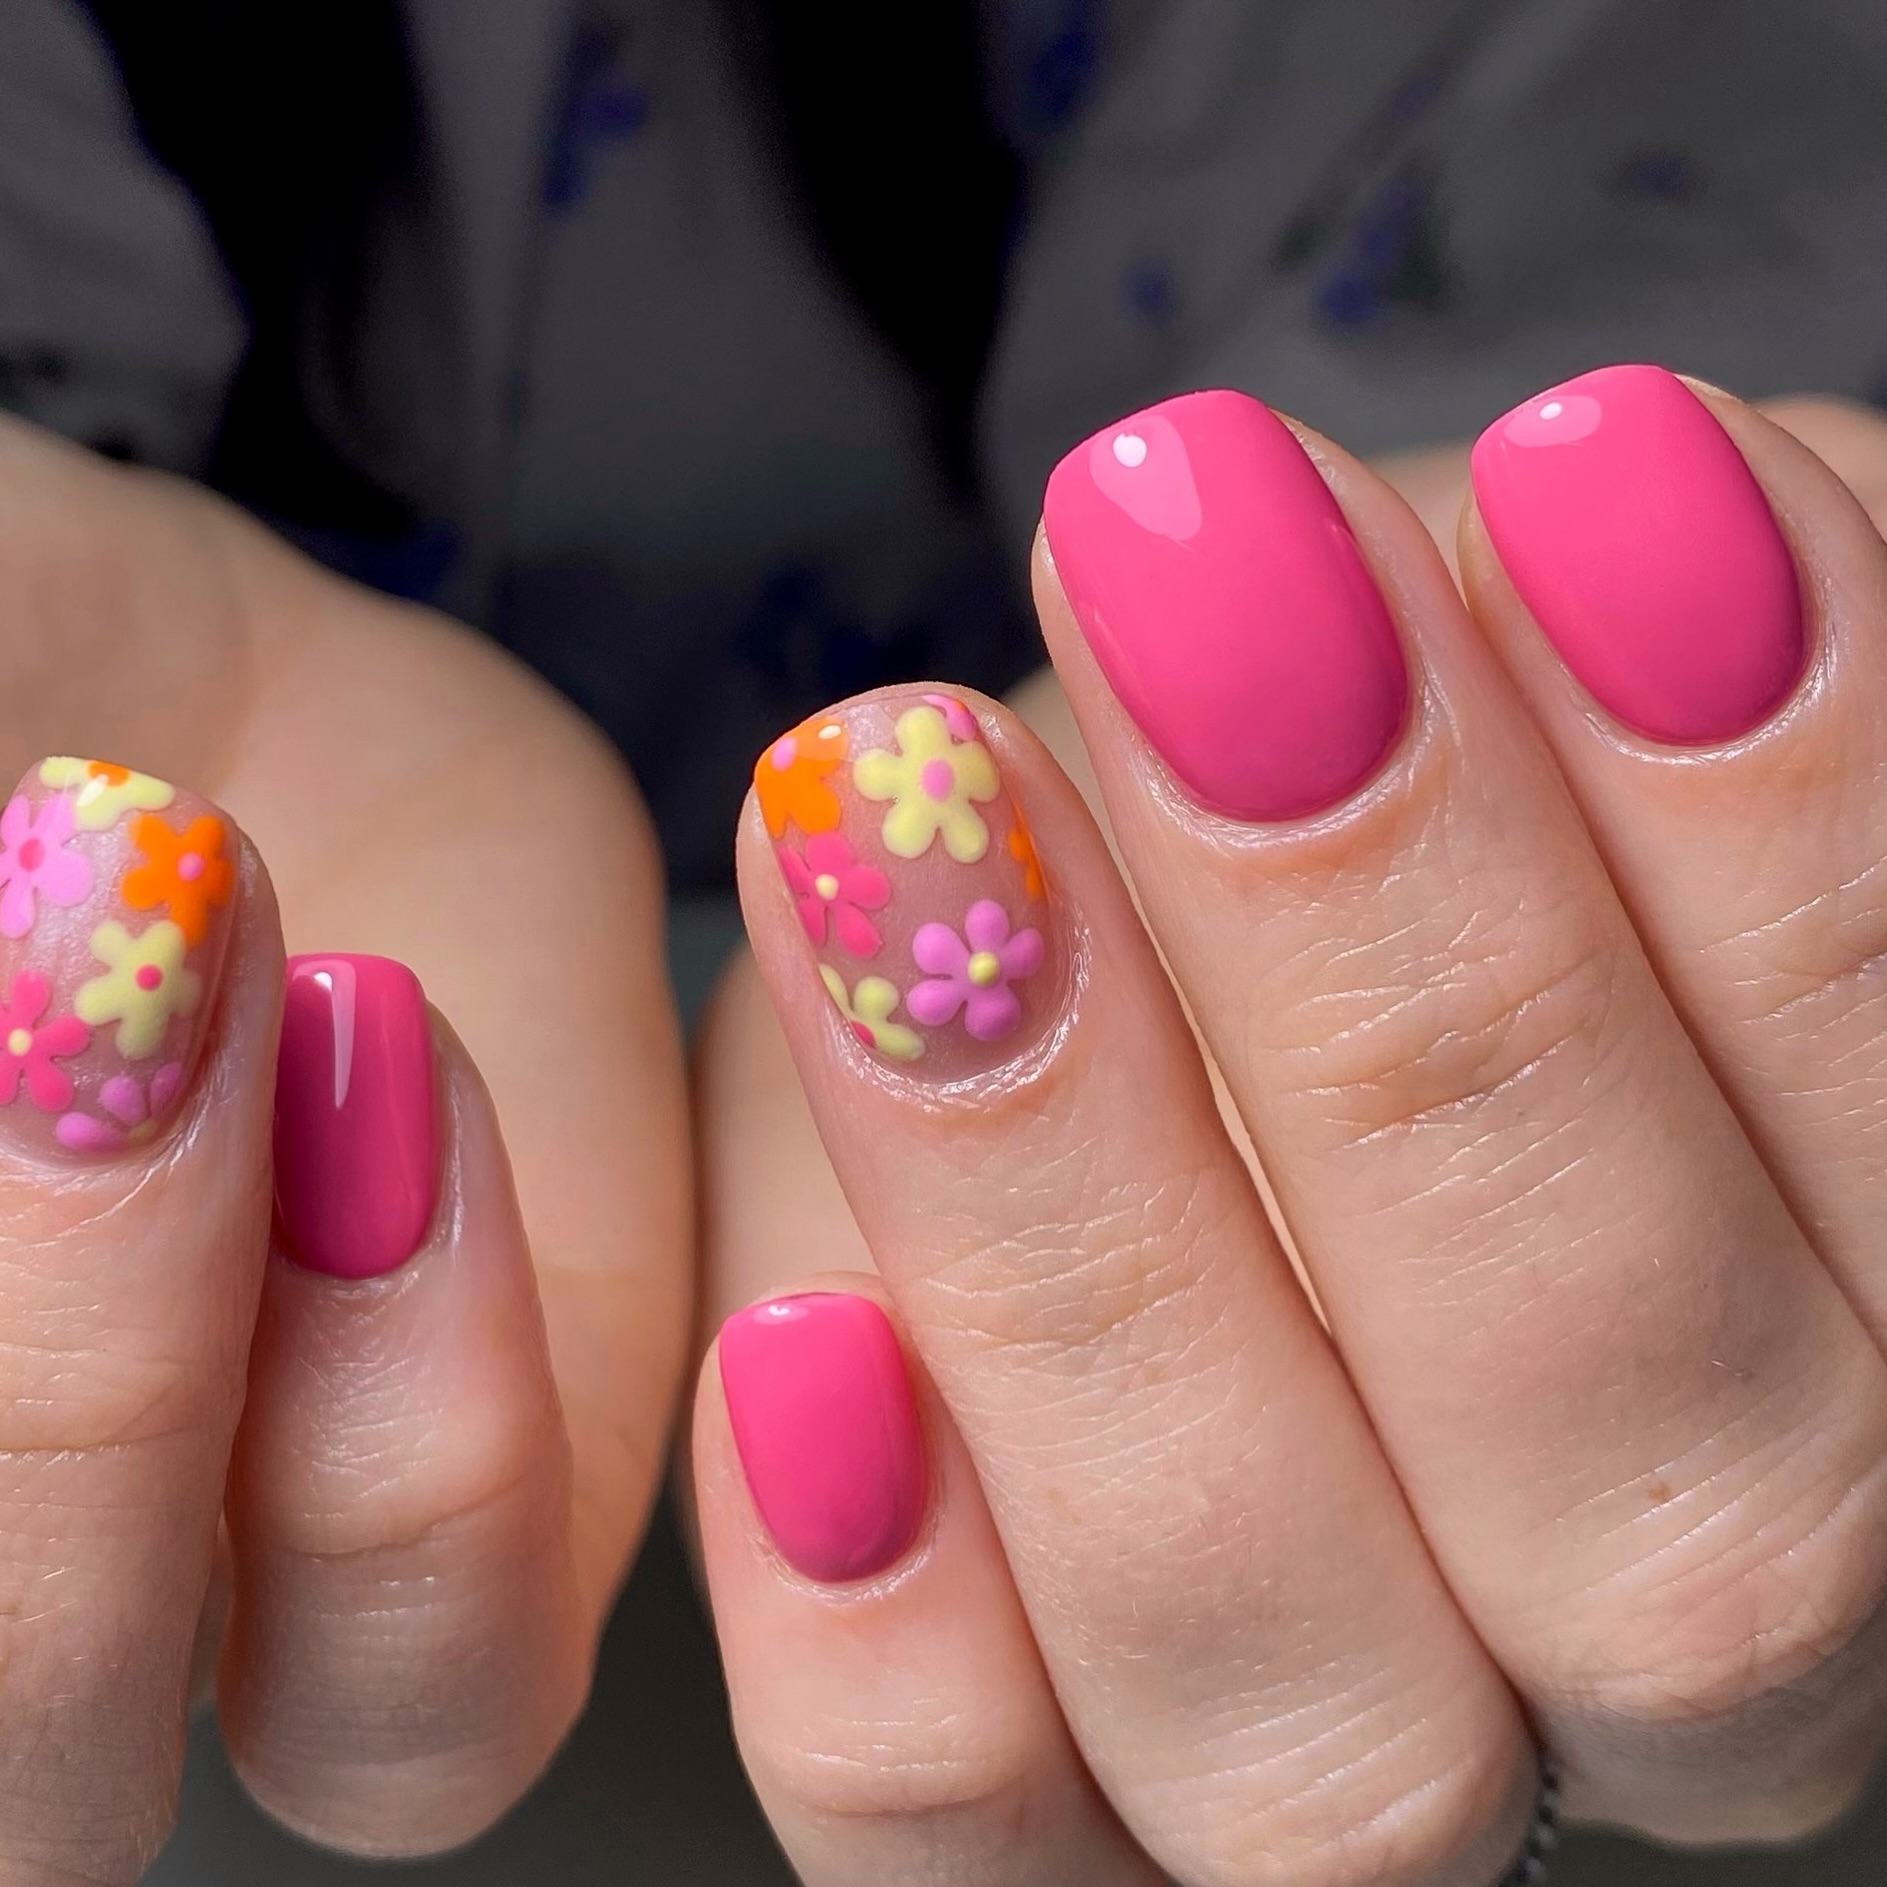
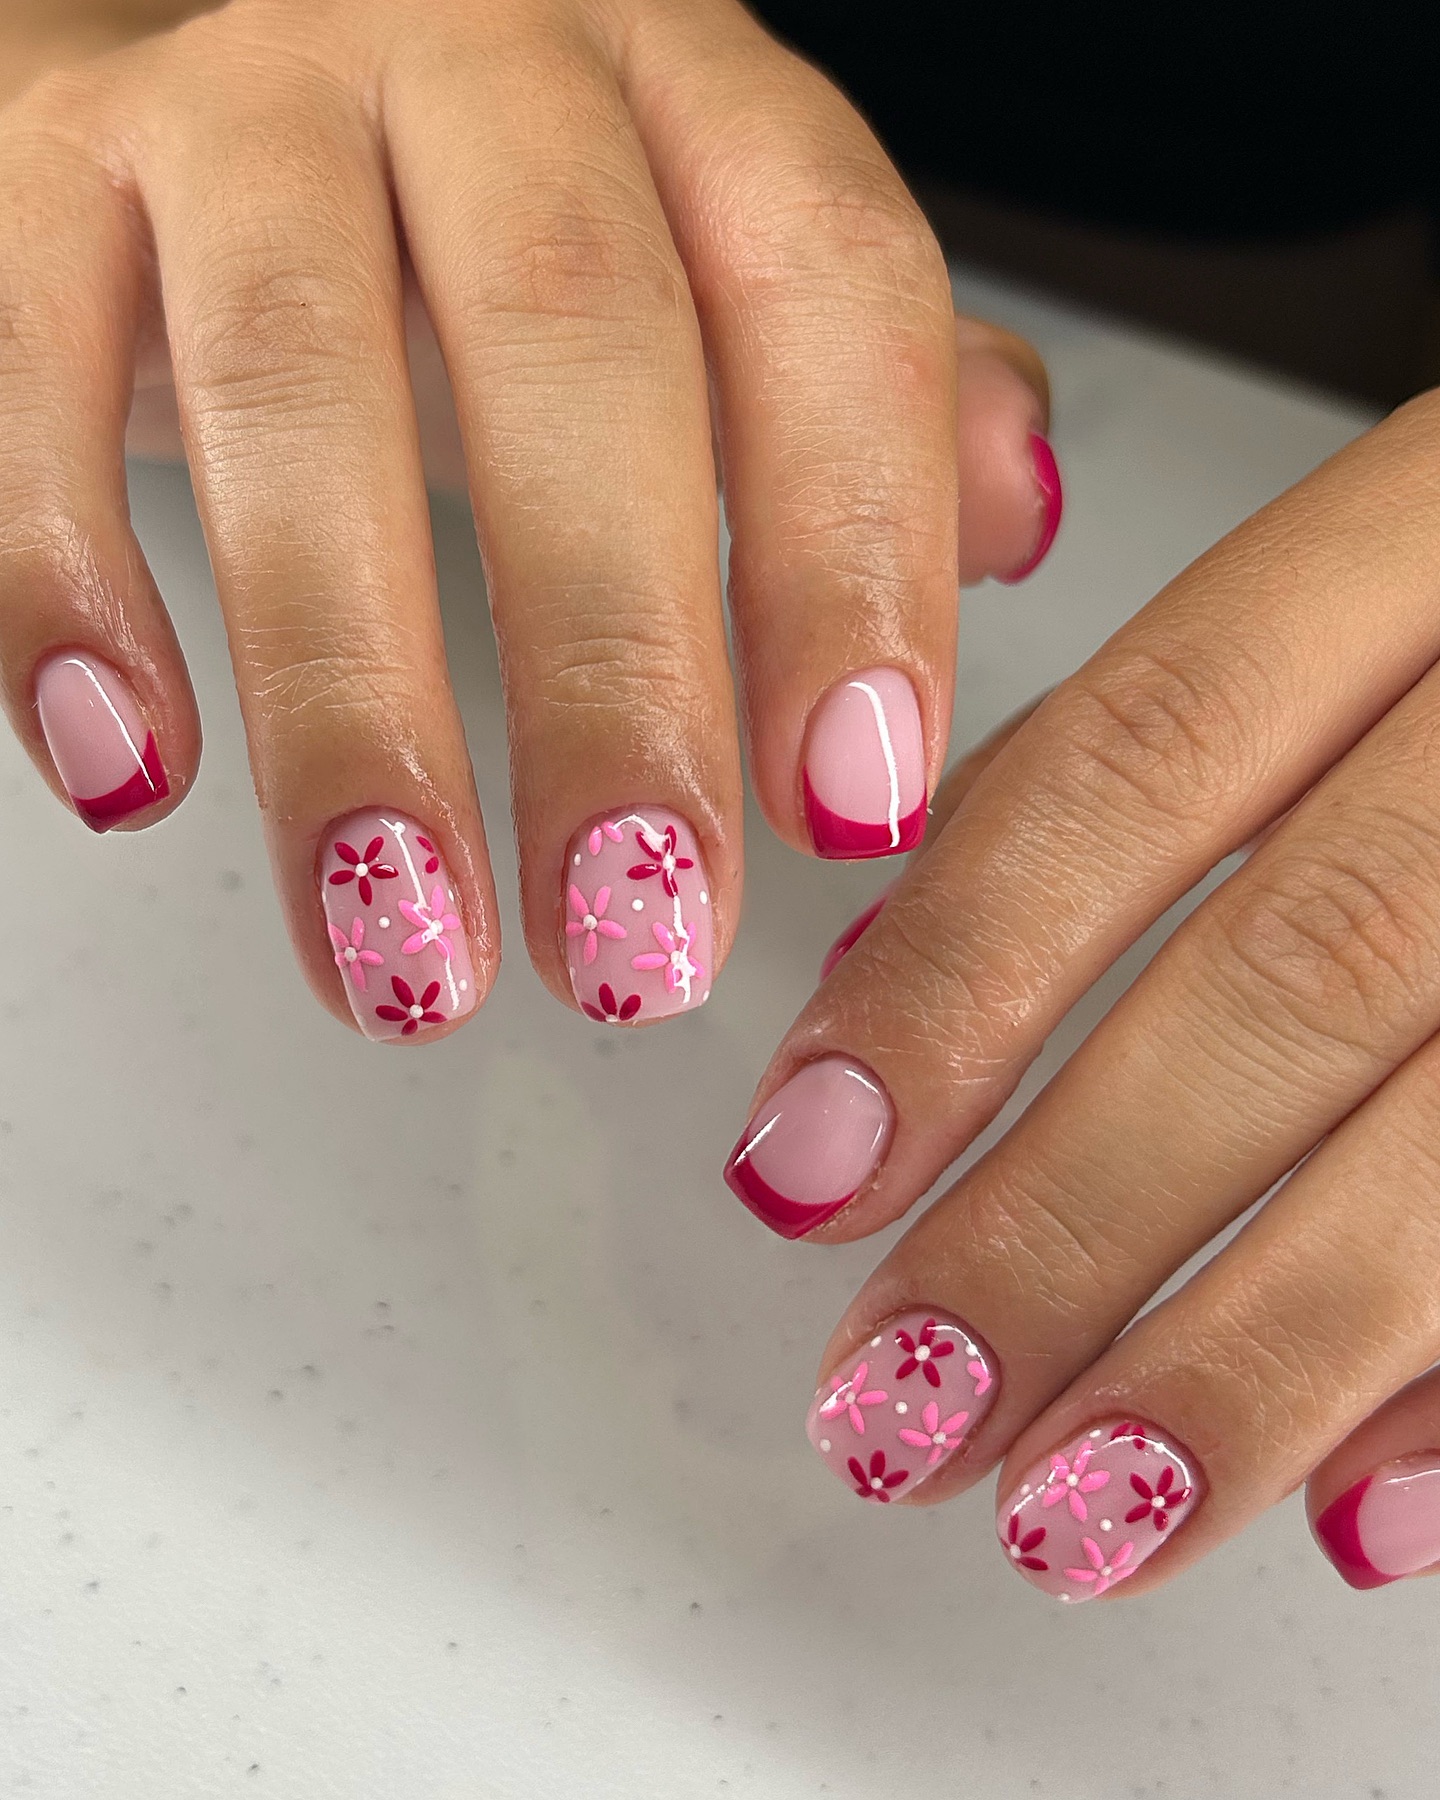
The technique typically involves using a thin detail brush to create tiny flowers in different colors, often with simple dot centers and five or six small petals. The background can range from natural nude to sky blue or even grass green for a complete meadow effect.
Magnolias and Peonies: Lush, Sophisticated Floral Statements
"When a client wants something truly luxurious, I turn to magnolias and peonies," reveals high-end nail artist Alexandra King. "These flowers have a lushness and complexity that creates show-stopping nail art."
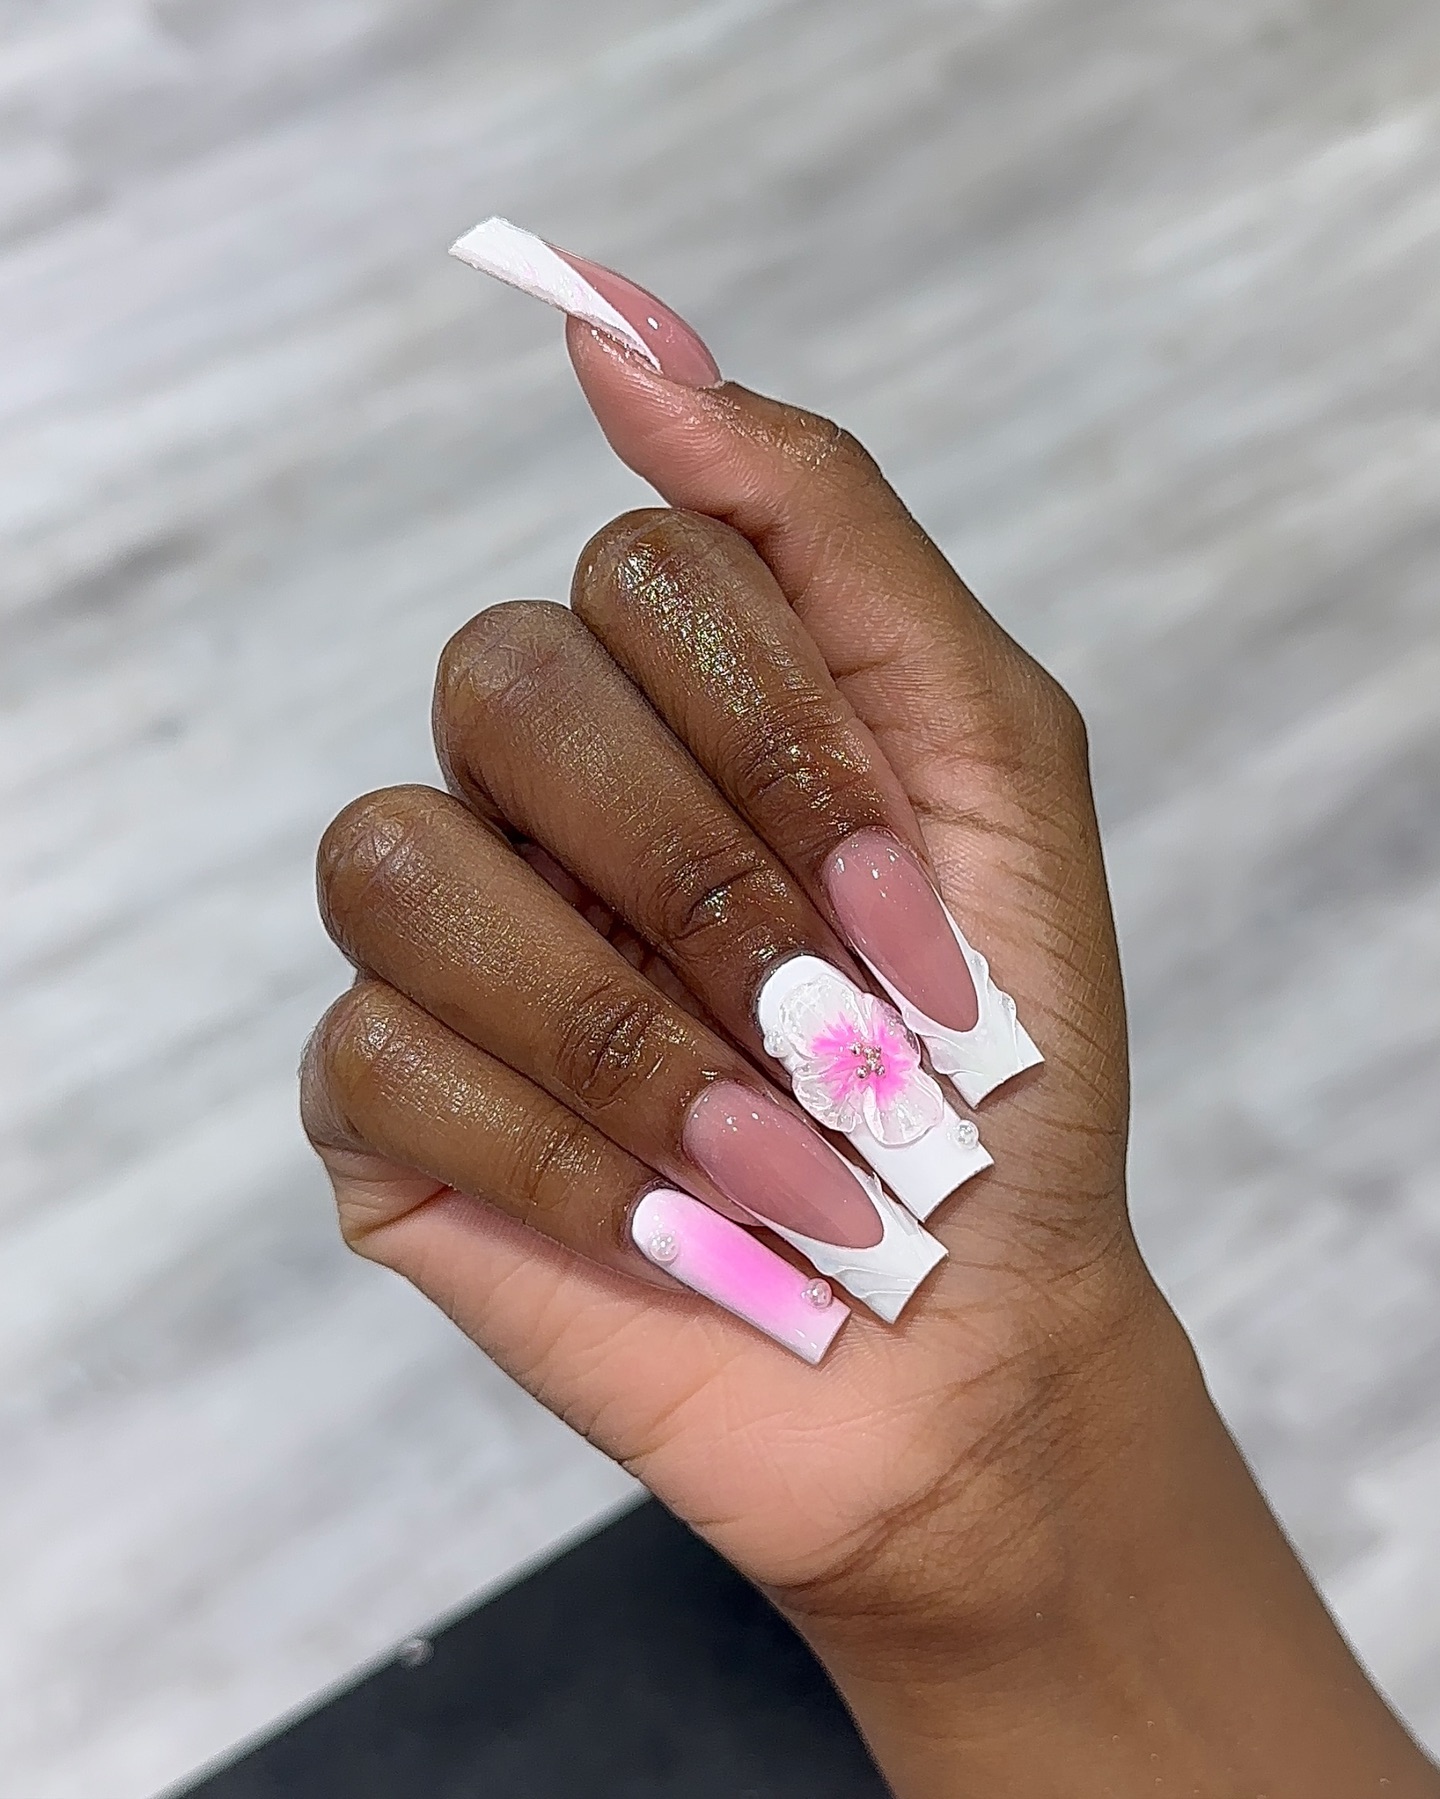
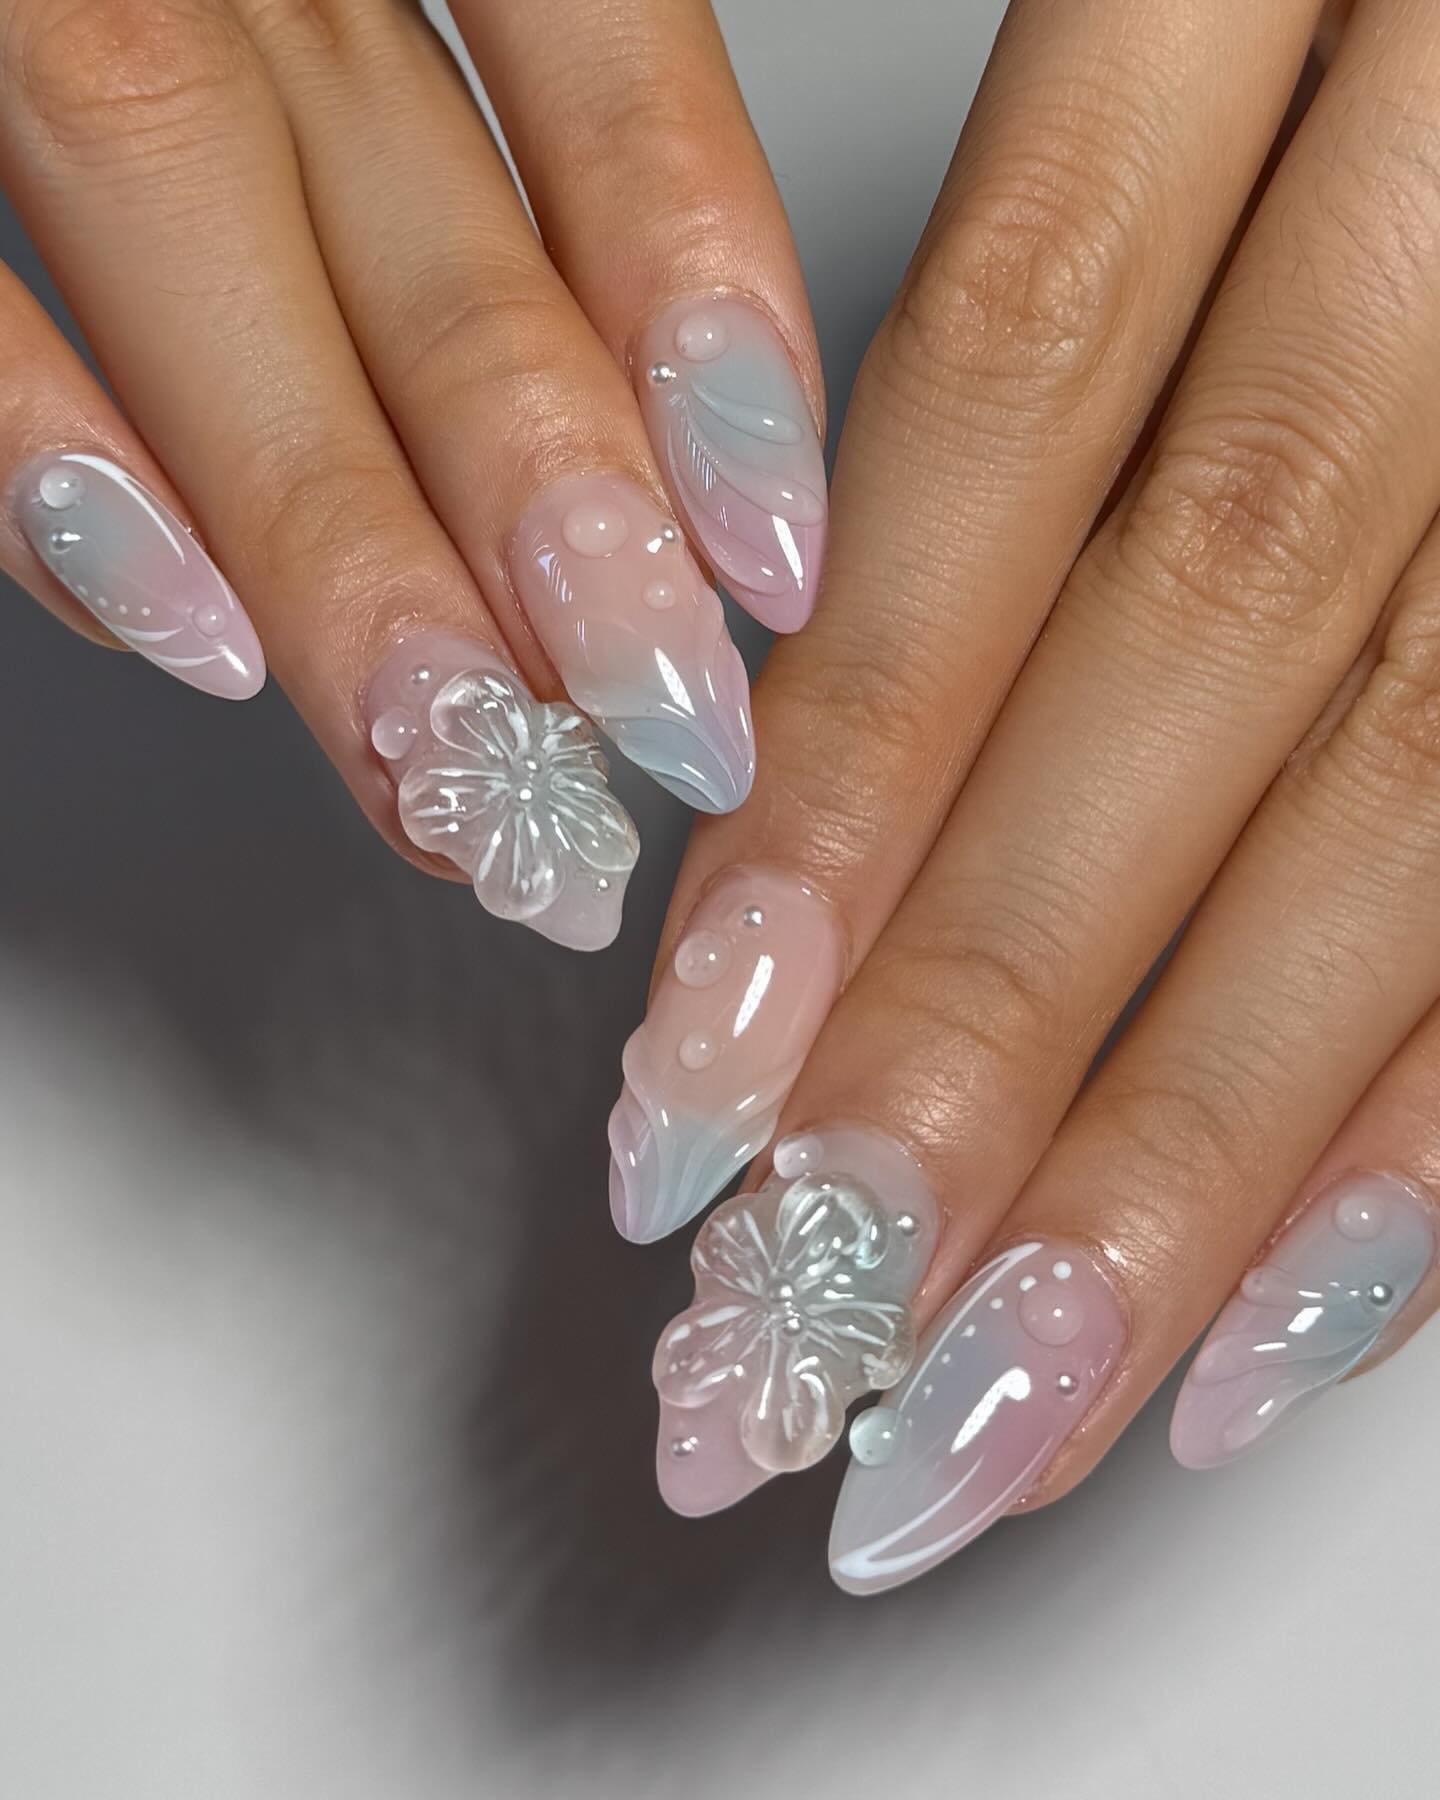
These larger blooms typically become the focal point of a manicure, often centered on one or two accent nails rather than covering the entire set. Their layered petals create opportunities for dimensional effects and sophisticated color gradients that showcase advanced nail art techniques.
Magnolias, with their clean lines and large petals, offer a more minimalist luxury, while peonies with their seemingly endless layers of petals create opportunities for intricate detail work. Both flowers lend themselves to romantic, feminine designs that feel timeless rather than trendy.
Techniques for Creating Realistic Blooms
The difference between amateur floral nail art and professional-looking designs often comes down to technique. Mastering a few fundamental approaches can dramatically improve your botanical creations.
Brush Control Basics for Painting Delicate Petals
"The secret to realistic floral nail art isn't having the steadiest hand—it's understanding how to use the brush you have," explains nail education specialist Jordan Rivera. "Even those with natural hand tremors can create beautiful flowers by mastering a few simple techniques."
The most important skill is learning to create different strokes with the same brush by varying pressure and angle. For thin lines like stems or petal edges, hold the brush perpendicular to the nail with very light pressure. For wider strokes like full petals, hold the brush at a 45-degree angle and apply more pressure.
Practice creating basic petal shapes on a silicone mat before attempting them on actual nails. Most flowers can be broken down into simple shapes—teardrops for rose petals, elongated ovals for tulips, and small rounds for forget-me-nots.
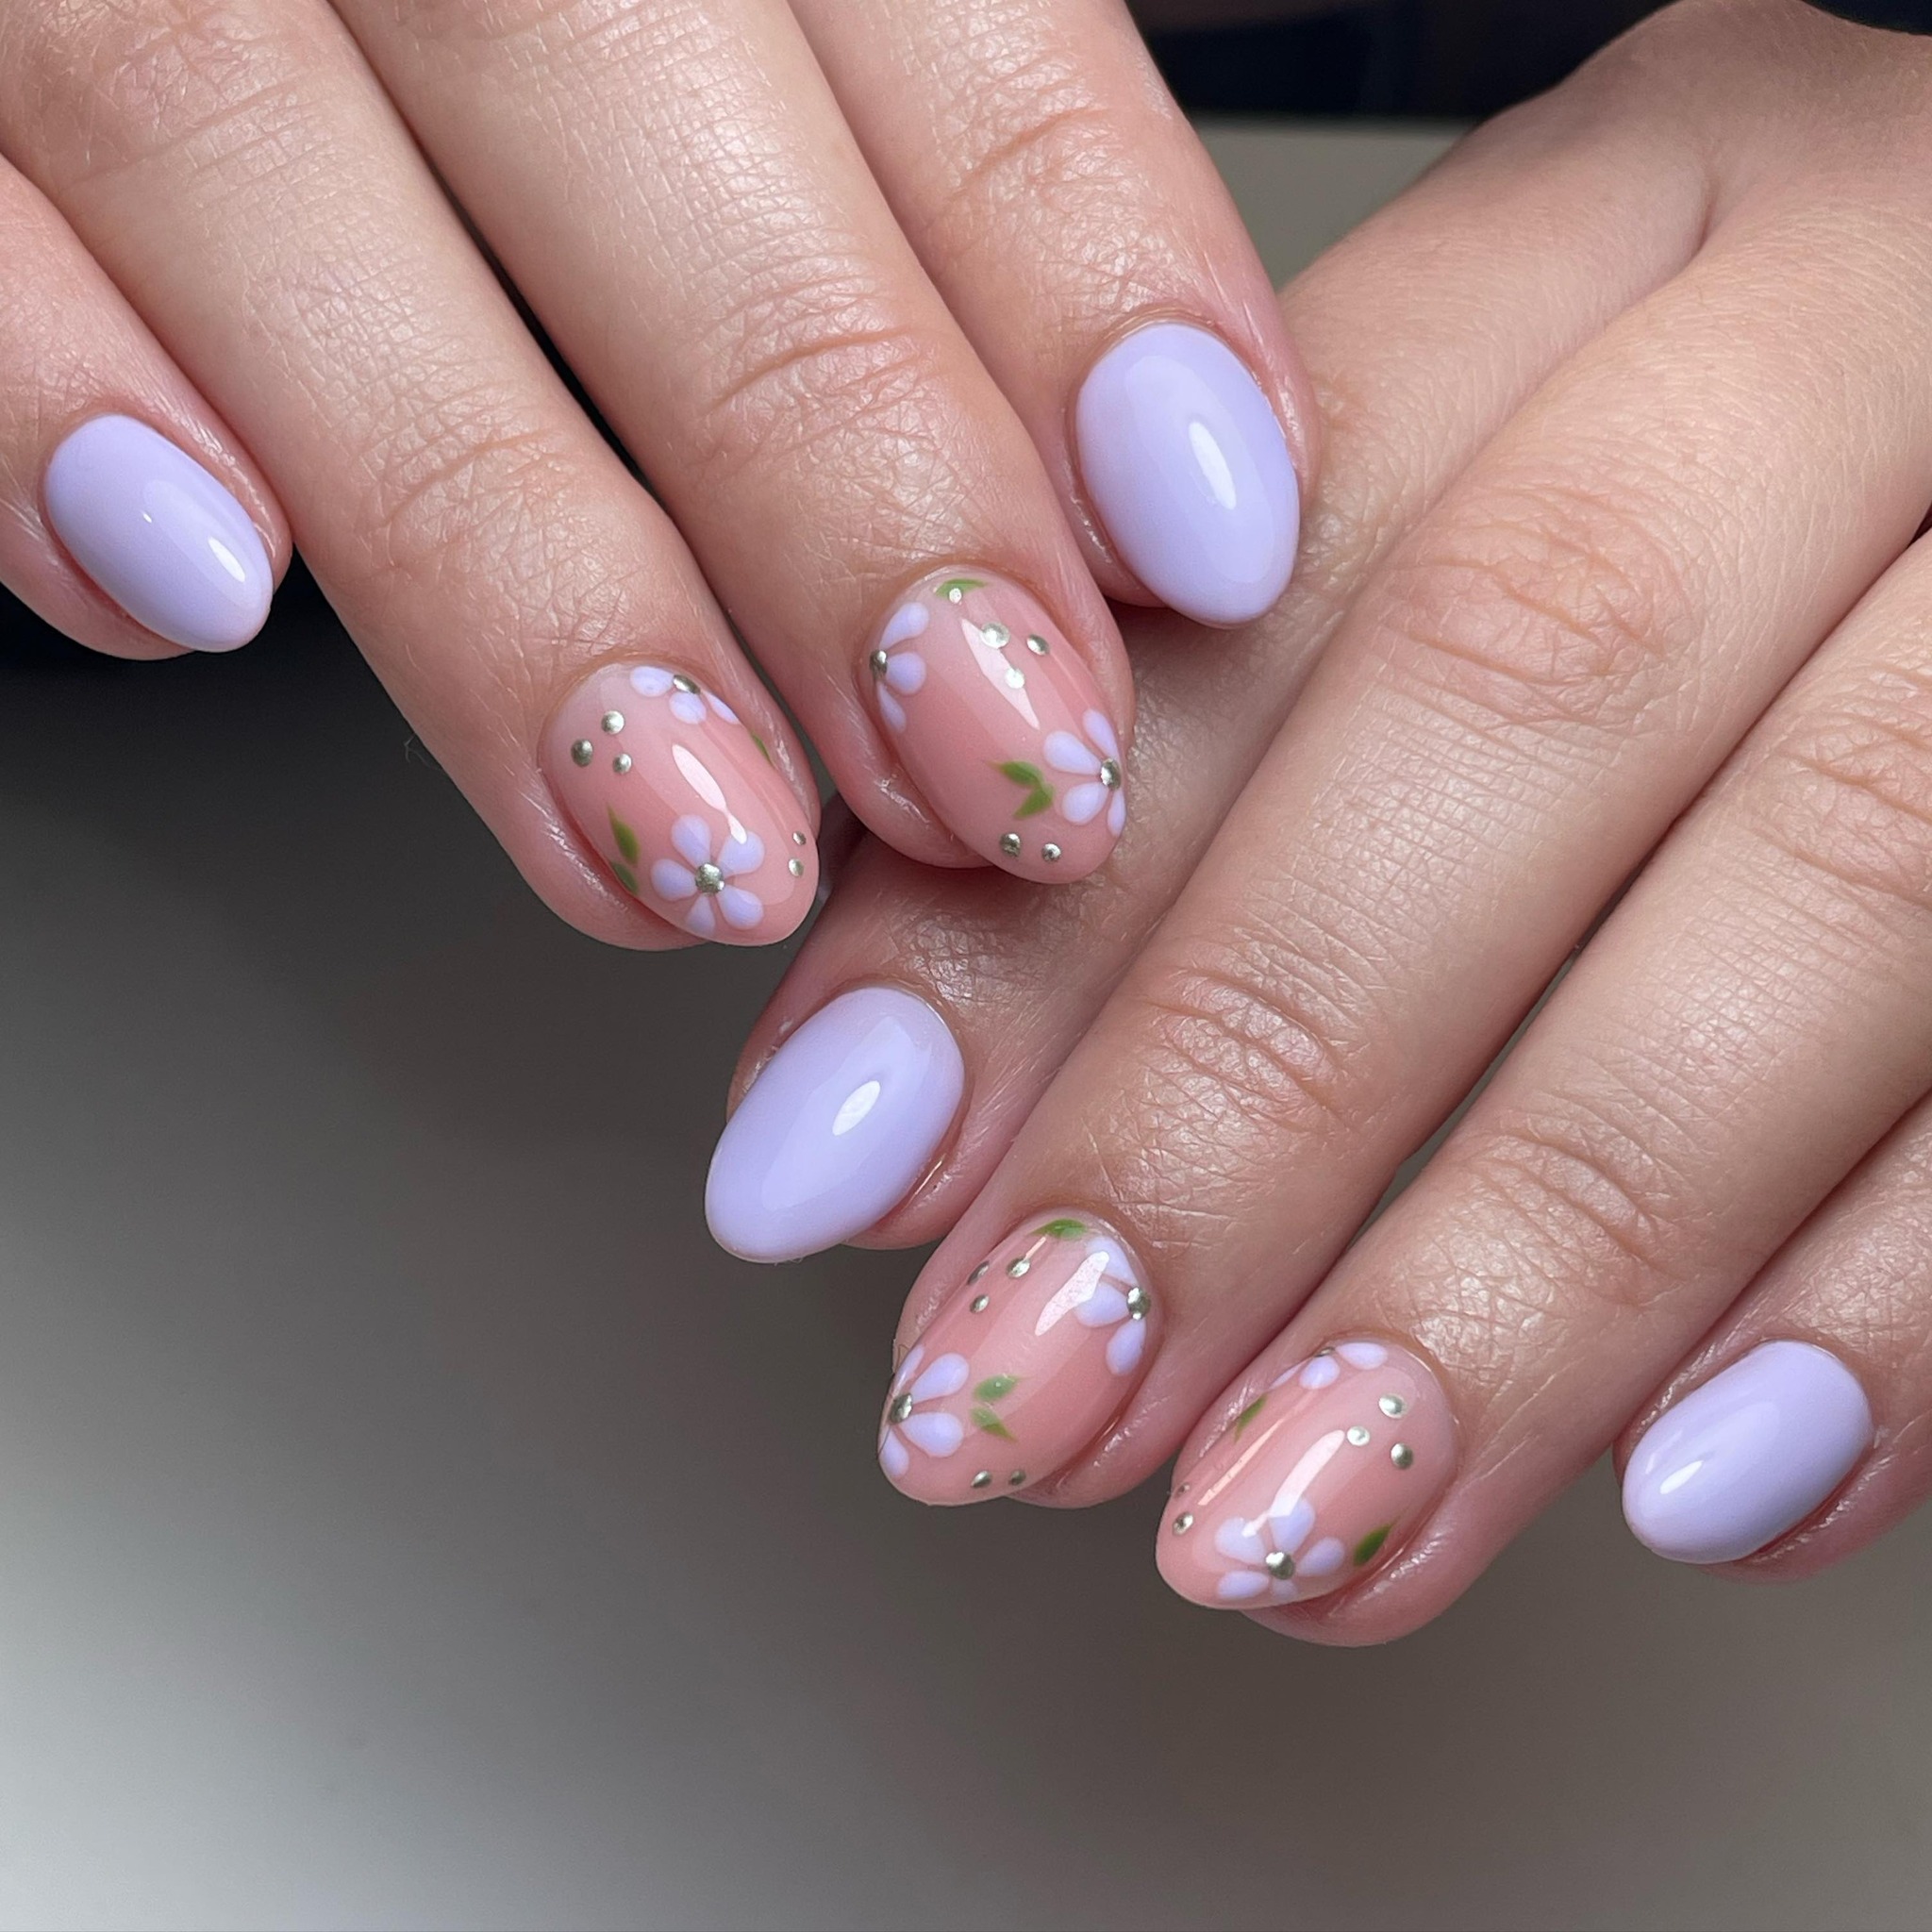
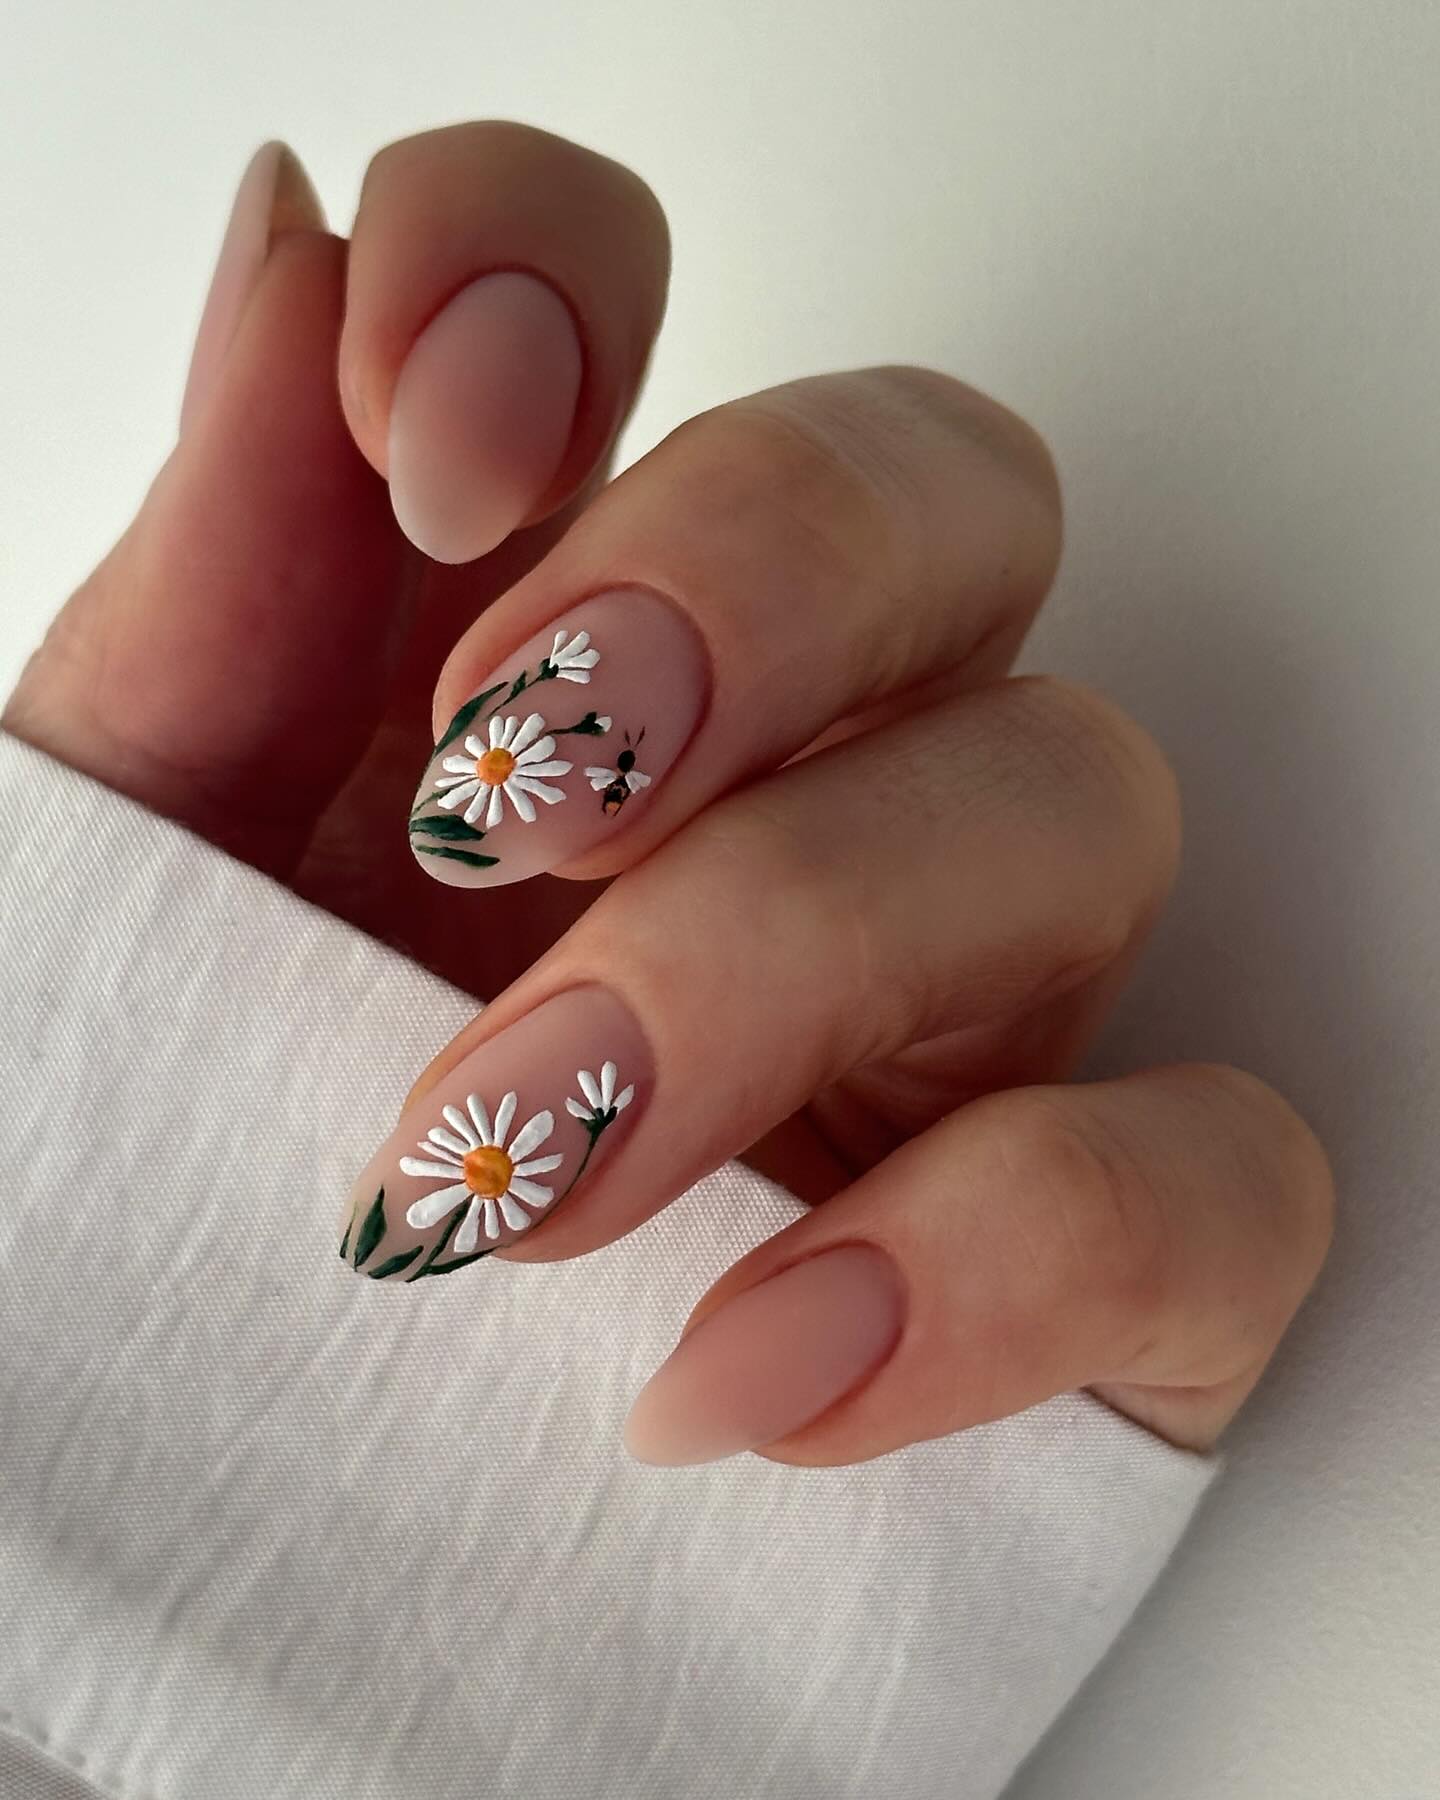
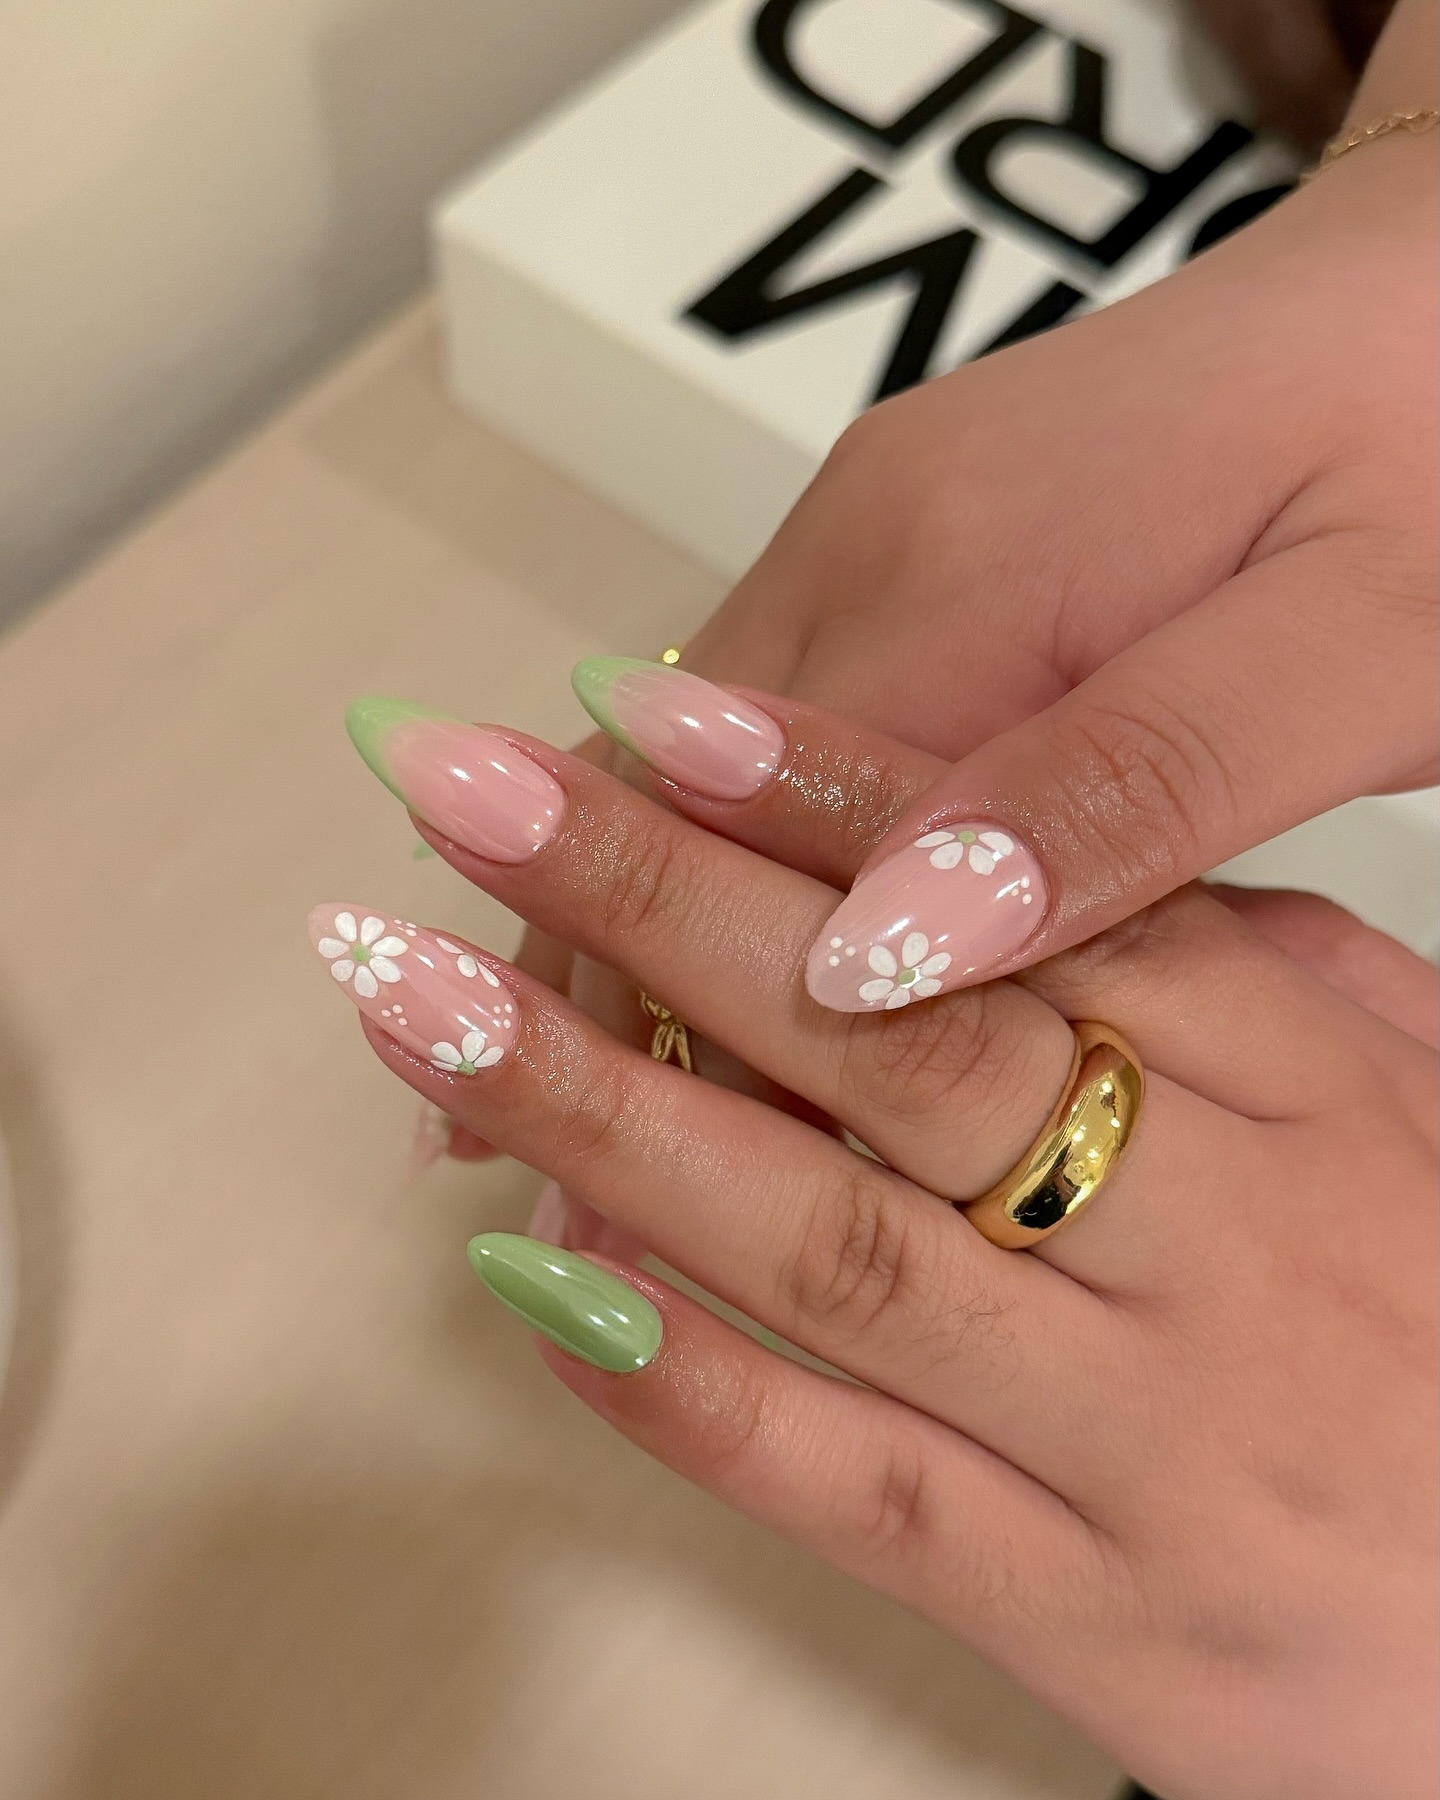
For those struggling with freehand techniques, dotting tools offer an excellent alternative for creating certain flowers. Five dots arranged in a circle with a center dot creates a perfect daisy, while graduated dots in a spiral pattern can suggest a rose.
Layering Methods to Create Depth in Floral Designs
"Flat flowers are pretty, but dimensional flowers are breathtaking," shares 3D nail art specialist Olivia Chen. "The key to creating depth isn't complex techniques—it's thoughtful layering."
The most basic layering approach involves working from background to foreground, allowing each layer to dry completely before adding the next. For instance, when creating a rose, start with the center in the darkest shade, then add progressively lighter petals moving outward.
For truly dimensional effects, consider using different product types for different layers. A jelly polish for background elements creates the illusion of depth, while opaque polishes for foreground elements make them appear closer to the viewer.
Another effective technique is "color dropping," where a small drop of wet polish is placed on the nail and then manipulated with a thin brush to create petal shapes with natural-looking color variations within each petal.
Color Blending Tricks for Natural-Looking Gradients
"Nature doesn't use solid colors, and neither should your floral nail art," advises color specialist Rebecca Lee. "Even the simplest flower has subtle color variations that create realism."
One accessible technique for creating natural color transitions is the "wet blend," where two colors are placed side by side while still wet and gently merged at their meeting point with a clean brush. This creates a soft gradient perfect for flower petals that transition from darker at the base to lighter at the tips.
For more precise control, try the "polish pickup" method. Apply a small amount of your lighter color to the nail, then dip your brush in the darker shade and touch it to the wet light color. The darker color will naturally blend outward, creating a soft gradient effect.
Don't forget that adding a tiny dot of white to the center or edge of a petal creates a highlight that suggests three-dimensionality. Similarly, a small amount of a darker shade at petal bases creates shadow depth.
Negative Space Techniques to Highlight Specific Blooms
"Sometimes what you don't paint is as important as what you do," explains minimalist nail artist Zoe Parker. "Negative space techniques create breathing room that makes your floral elements pop."
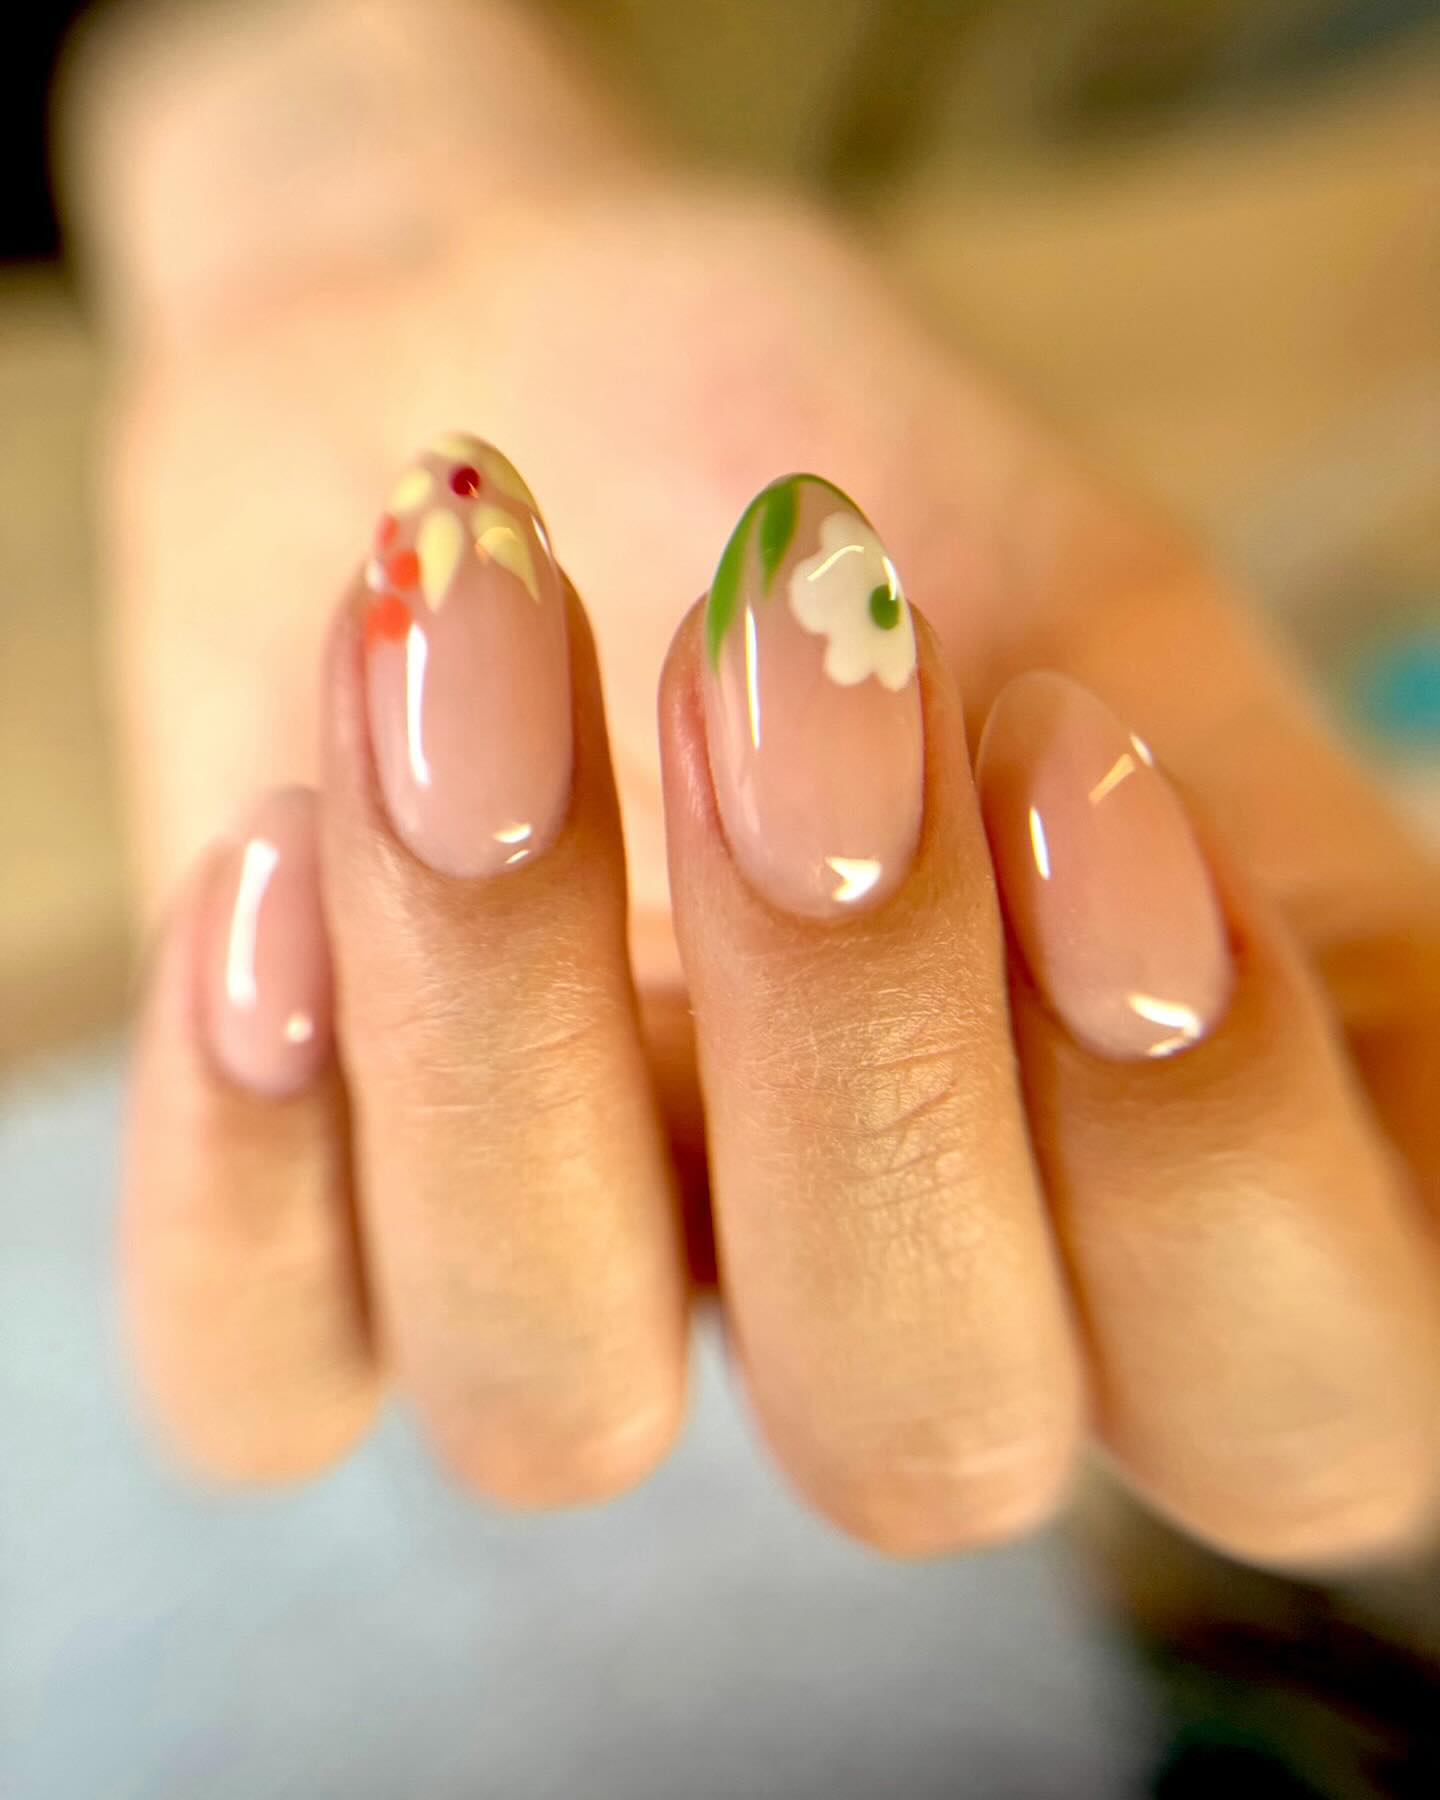
The simplest negative space approach involves leaving portions of the natural nail (or a neutral base color) visible around your floral designs. This creates a "floating flower" effect that feels modern and sophisticated.
For more structured negative space, use thin striping tape or vinyl stencils to block off geometric sections of the nail before adding your floral elements. When removed, these create clean lines that contrast beautifully with the organic shapes of your flowers.
Another effective technique is the "window" approach, where a sheer color is applied over the entire nail, then flowers are painted in opaque colors on top. This creates the illusion that you're looking at the blooms through colored glass, adding depth without complexity.
Beyond Flowers: Complete Spring Bloom Designs
While flowers might be the stars of spring nail art, creating truly captivating designs means considering the complete botanical picture.
Incorporating Greenery and Leaves for Balanced Compositions
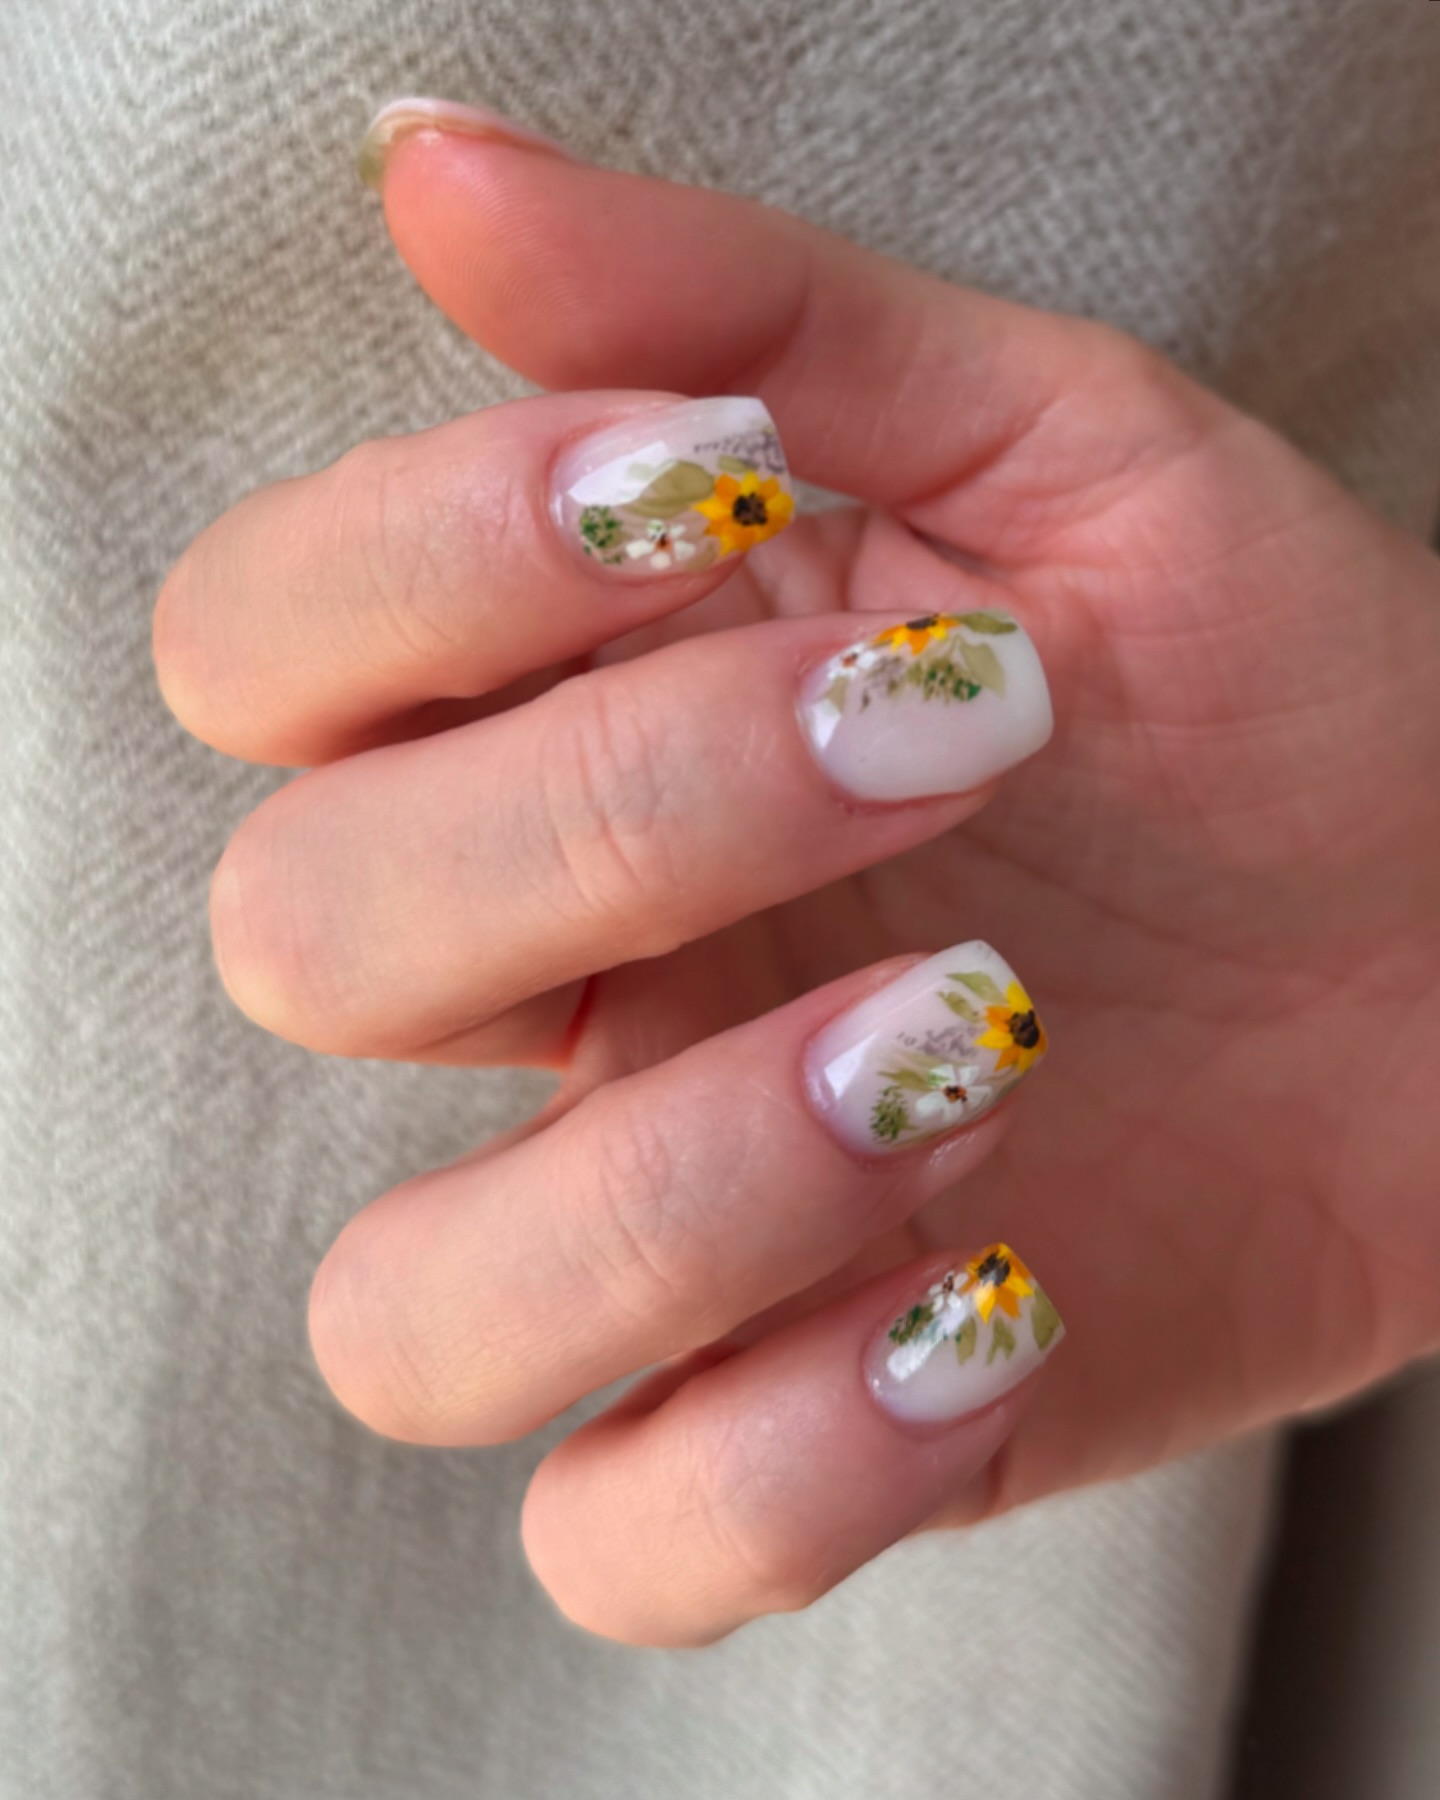
"Adding foliage to floral nail art isn't just about realism—it's about creating visual balance," explains composition specialist Tyler Kim. "Leaves and stems provide structure that makes your flowers look intentional rather than random."
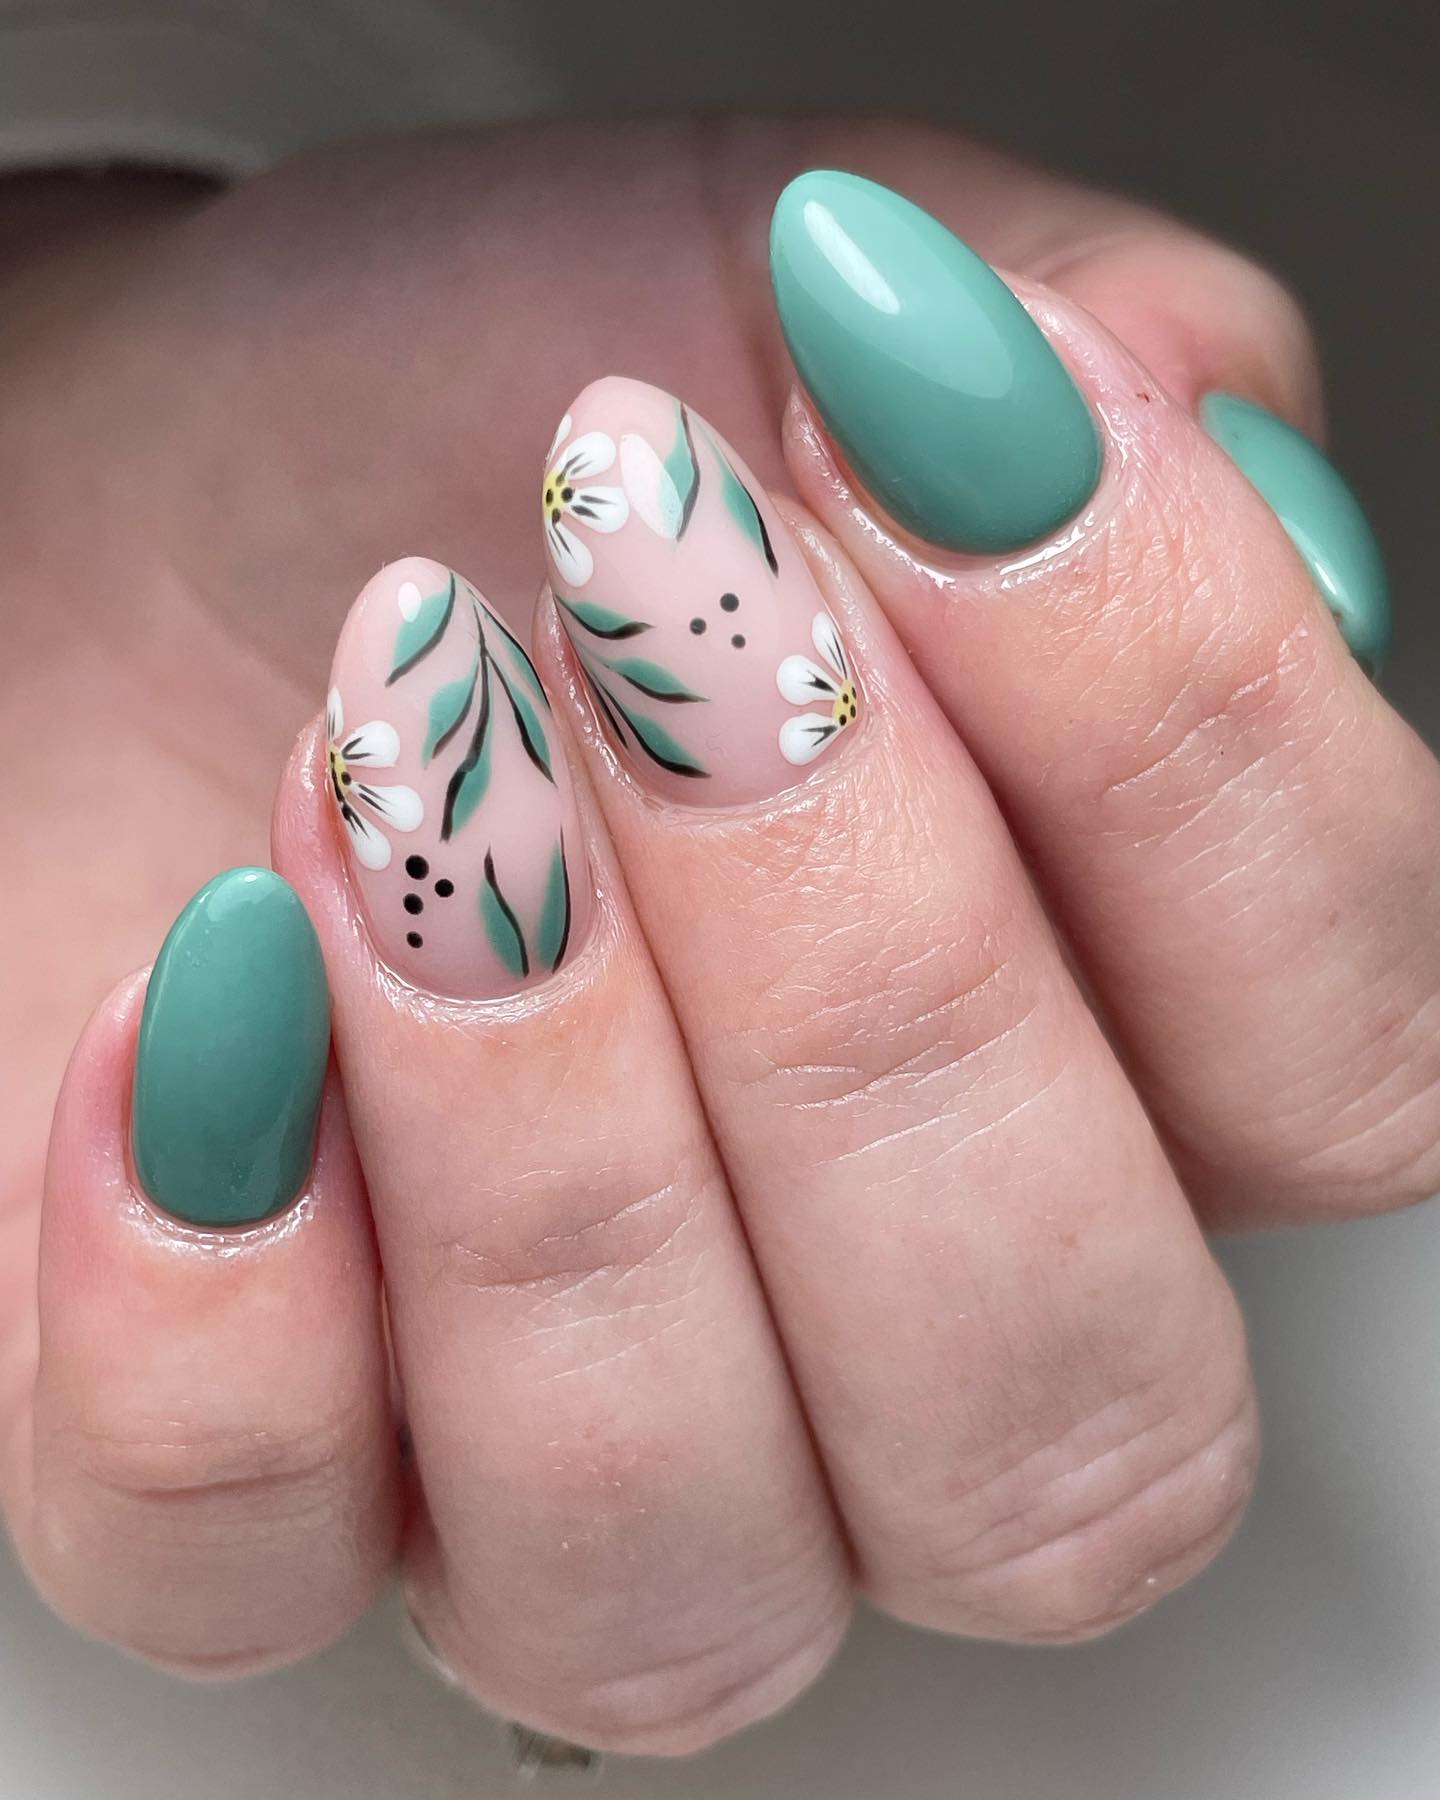
The simplest approach is adding thin green lines as stems beneath your blooms, but more sophisticated designs incorporate various leaf shapes. Small oval leaves work universally, while more distinctive shapes like fern fronds or monstera leaves create specific botanical references.
Consider varying your greens just as you would your flower colors. Nature uses everything from yellow-greens to blue-greens, often within the same plant. This variation adds authenticity to your designs.
For those seeking simplicity, even abstract green swirls or dots can suggest foliage without requiring precise leaf shapes. These abstract elements provide the visual balance of greenery without demanding advanced technique.
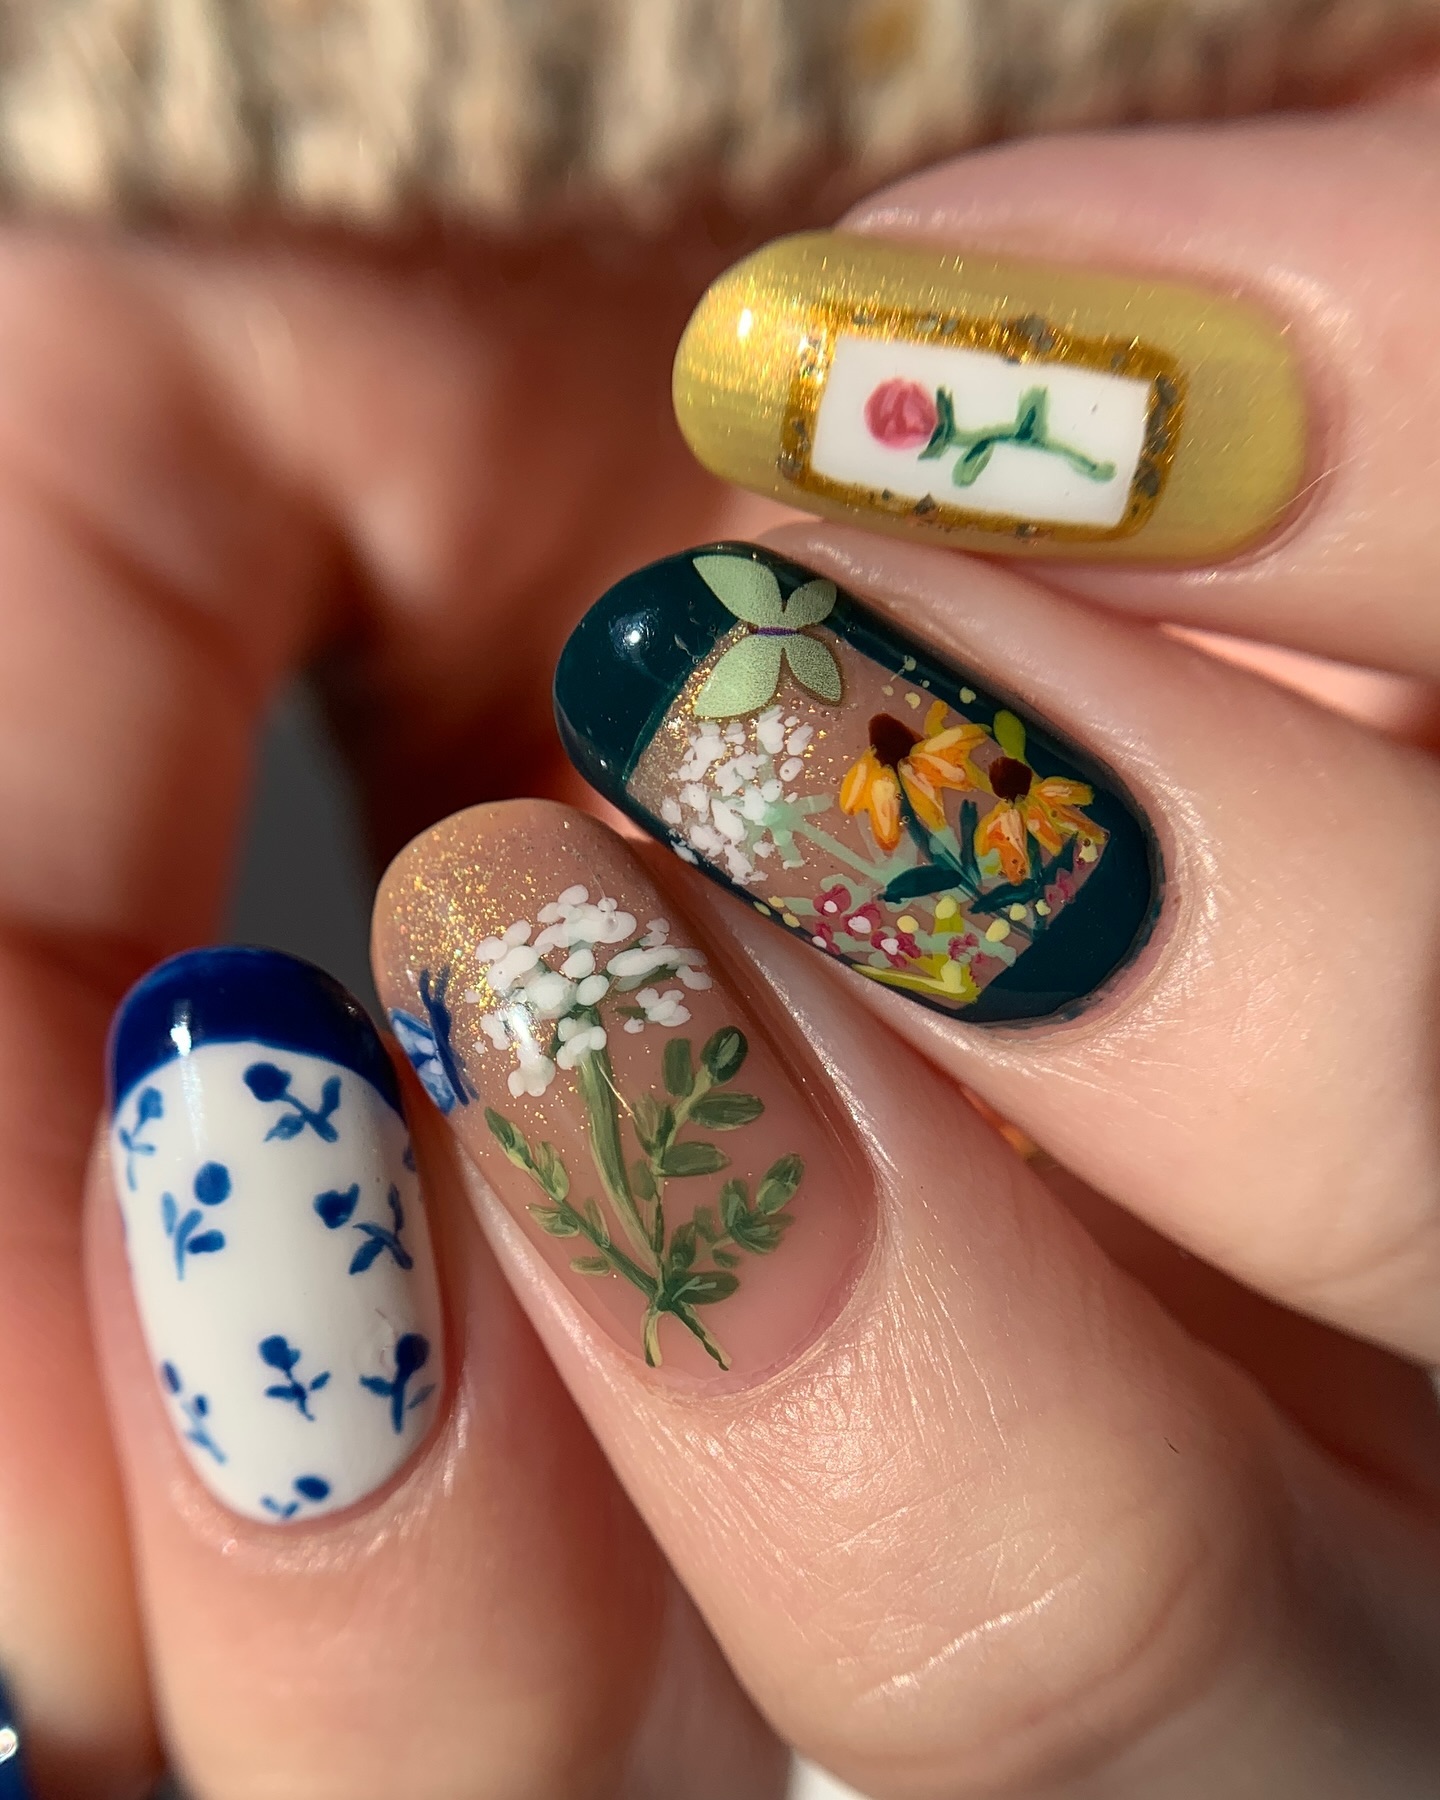
Adding Insects Like Butterflies and Ladybugs for Whimsical Touches
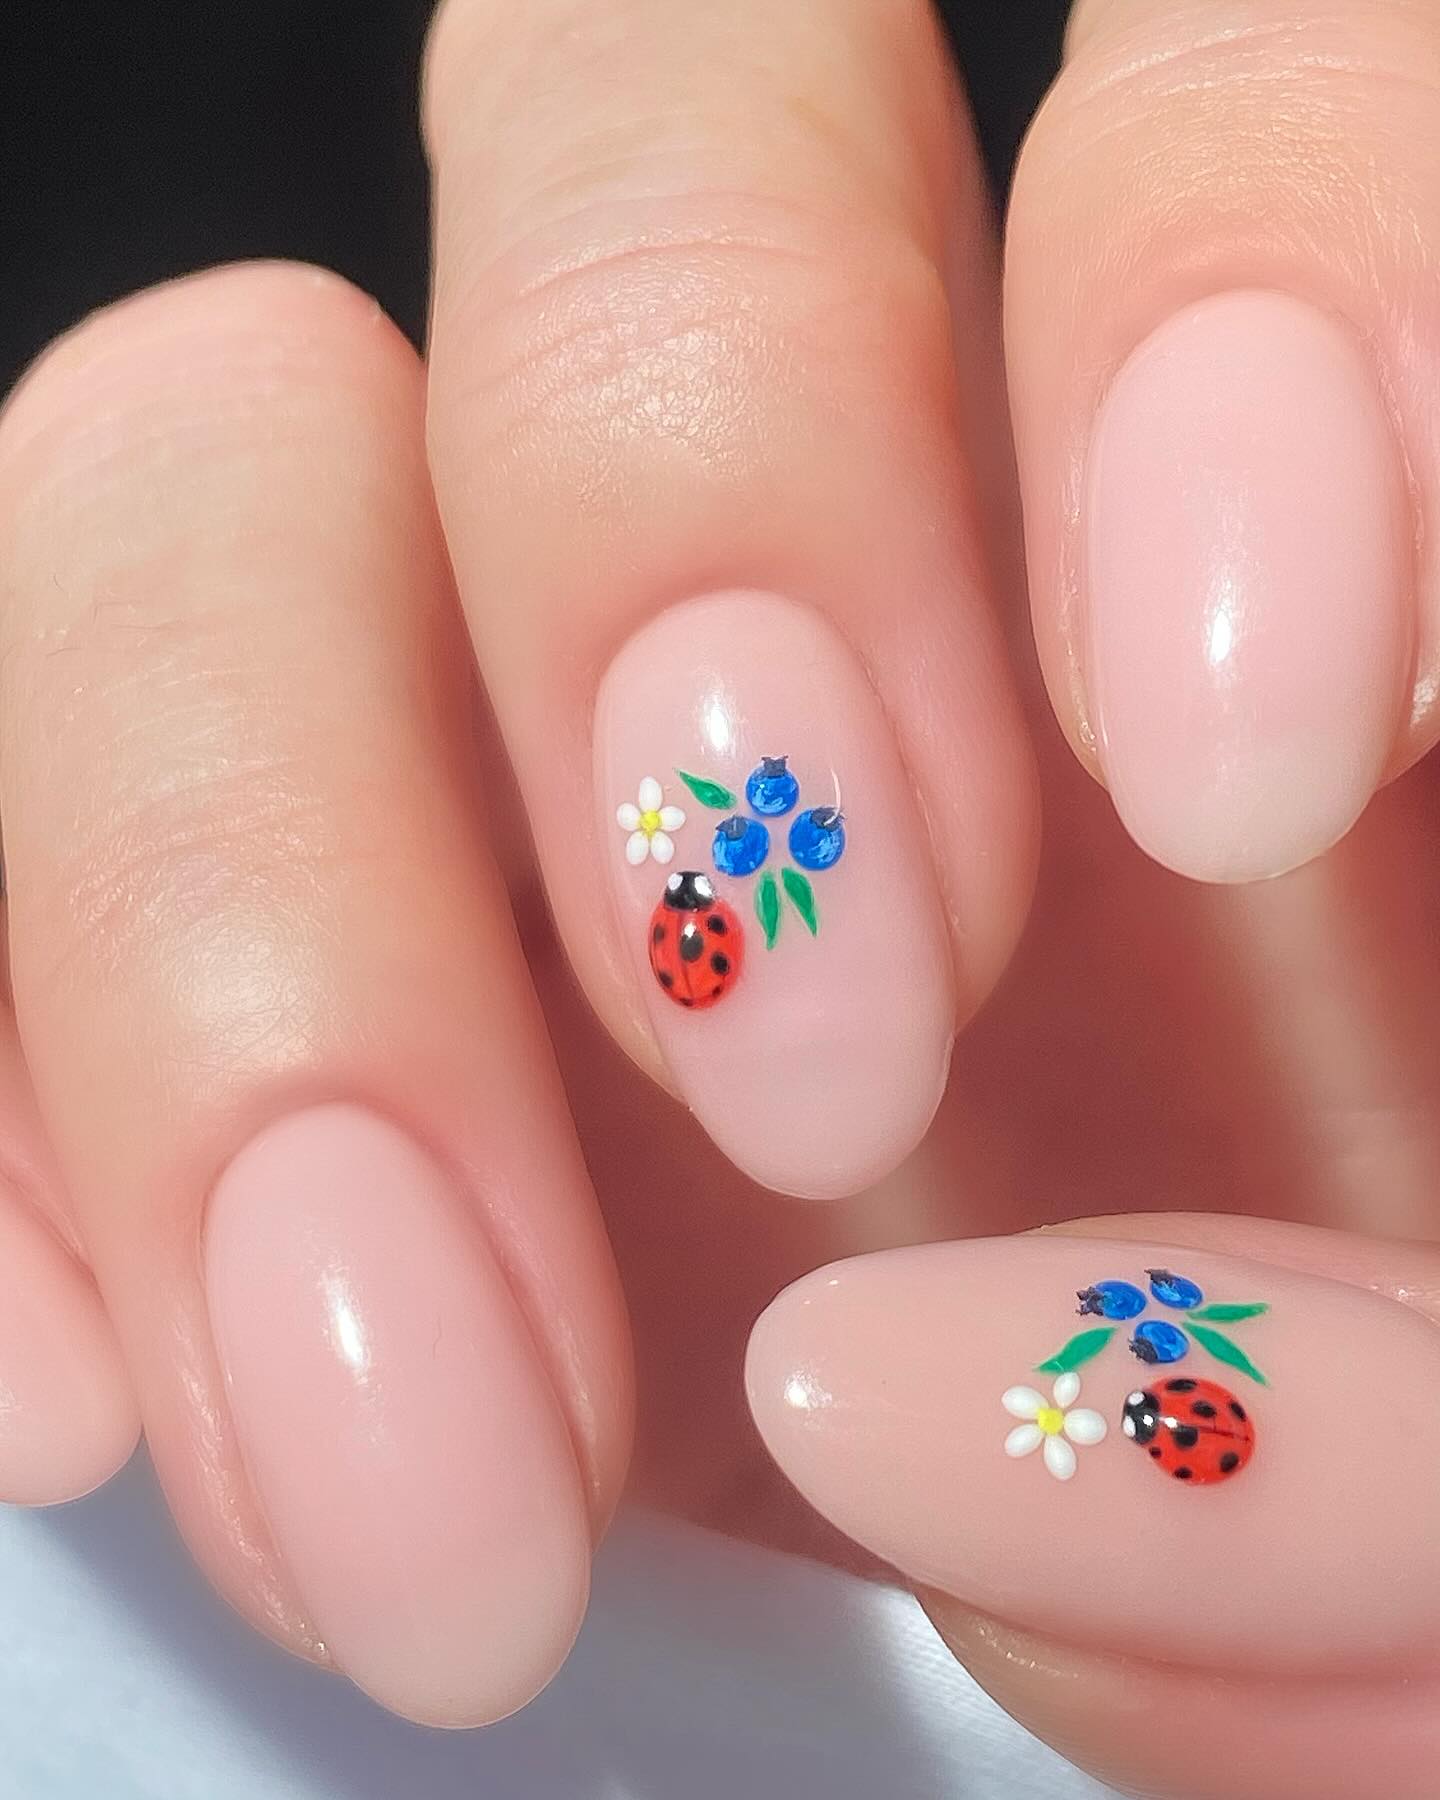
"Nothing makes clients smile quite like adding a tiny butterfly or ladybug to their floral manicure," shares whimsical nail artist Lily Chen. "These small creatures bring the design to life and tell a complete spring story."
Butterflies can be as simple as two tiny wing shapes with a central body line, or as complex as detailed monarchs with pattern work. They're typically placed as if they've just landed on a flower or are flying between blooms.
Ladybugs require even less detail—a red or pink dome shape with small black dots and a tiny head is instantly recognizable. Placing these at the edge of a nail or appearing to crawl between nails creates movement in your design.
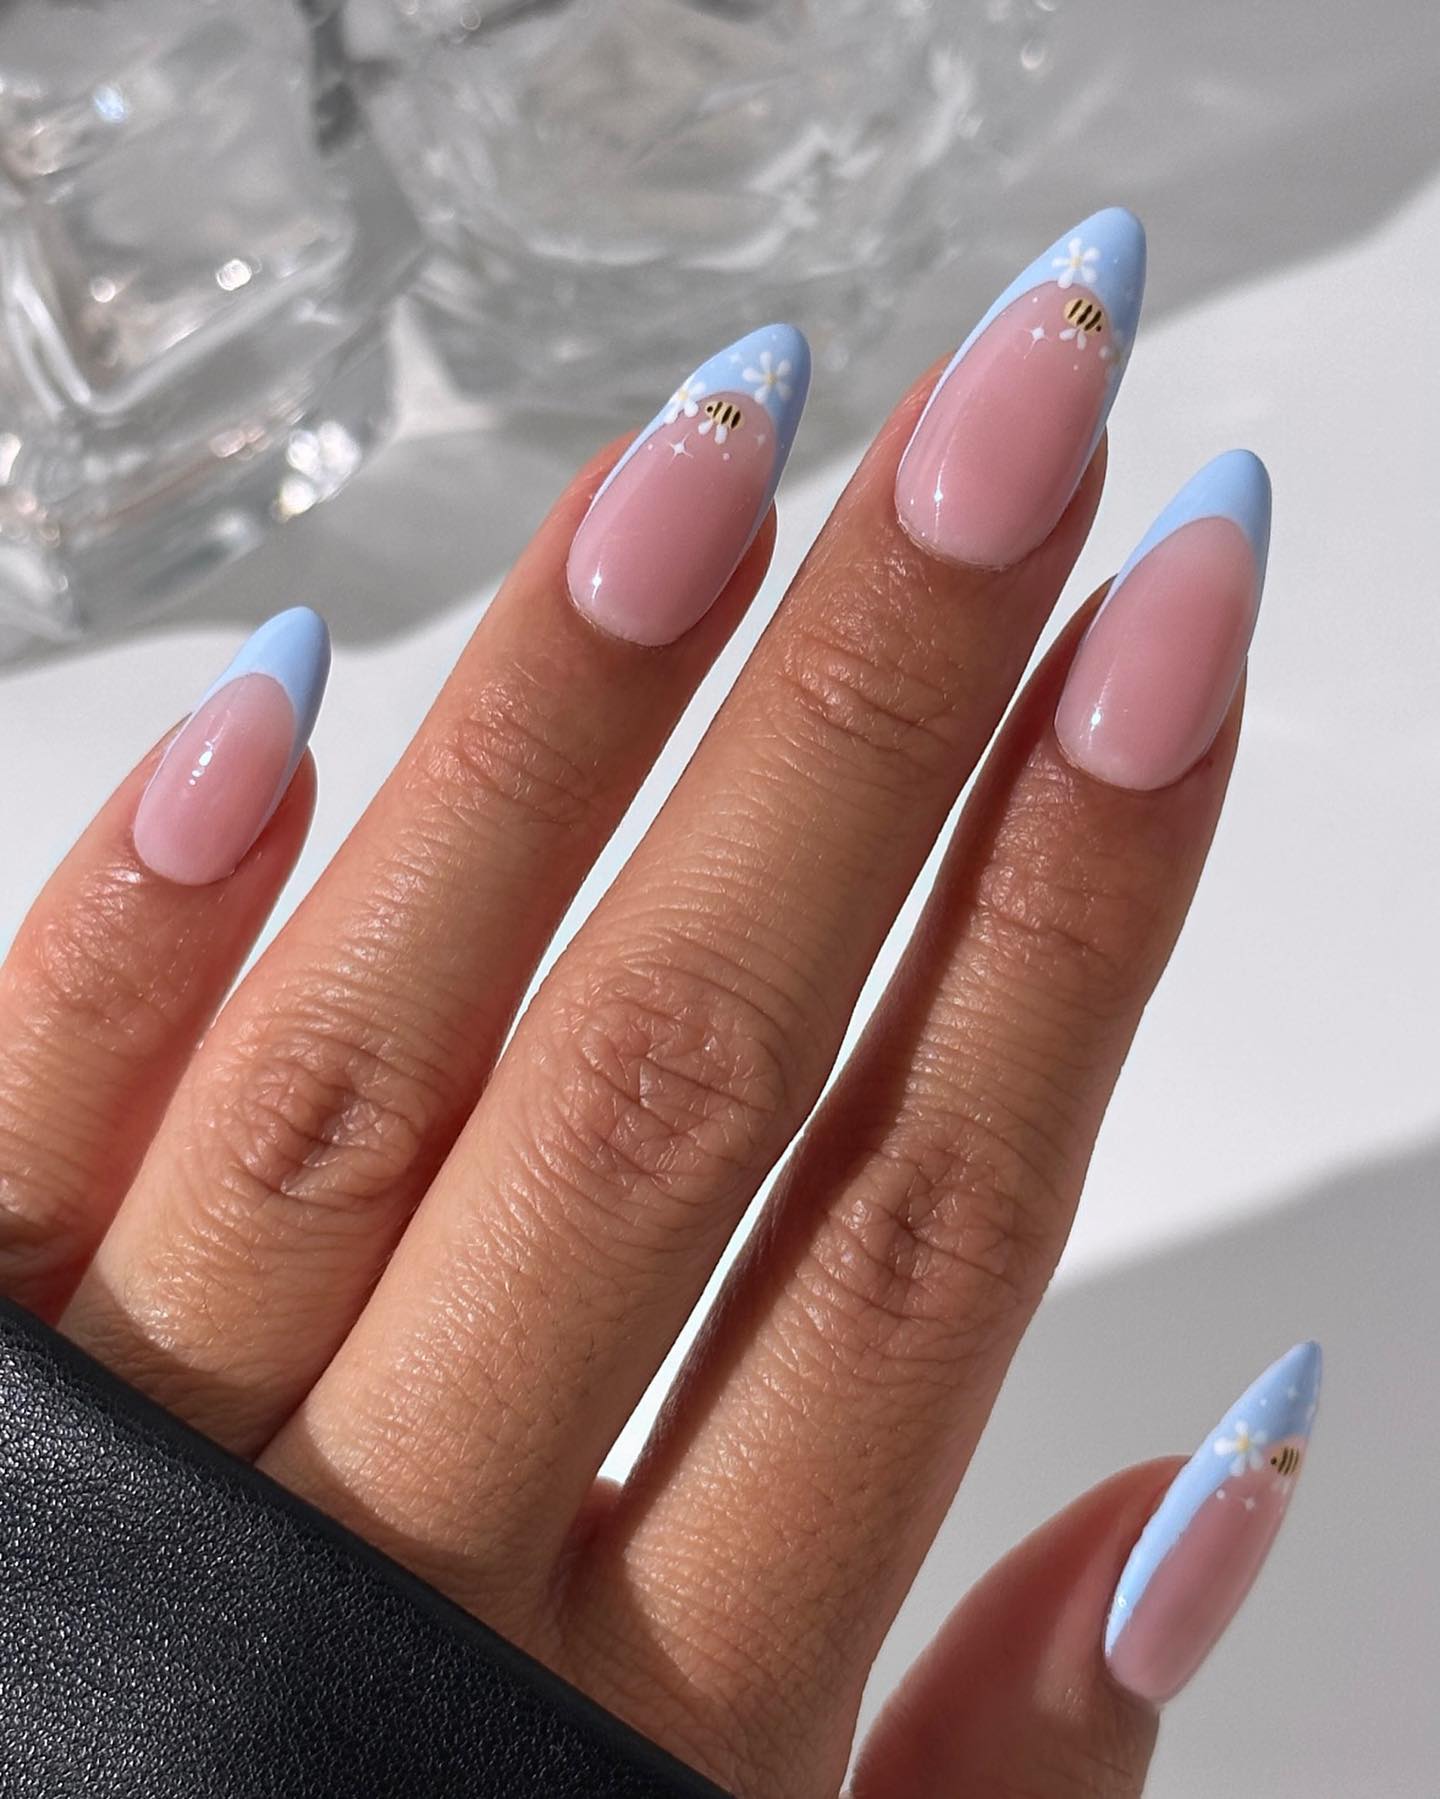
Bees, though slightly more complex, add both whimsy and an important environmental message. Simple yellow and black stripes with small transparent wings create recognizable bees that connect your nail art to spring's pollination story.
Branch and Stem Designs That Frame Your Floral Elements
"Branches and stems aren't just supports for your flowers—they're design elements in their own right," explains structural nail artist Jamie Wong. "They create pathways for the eye to follow across multiple nails."
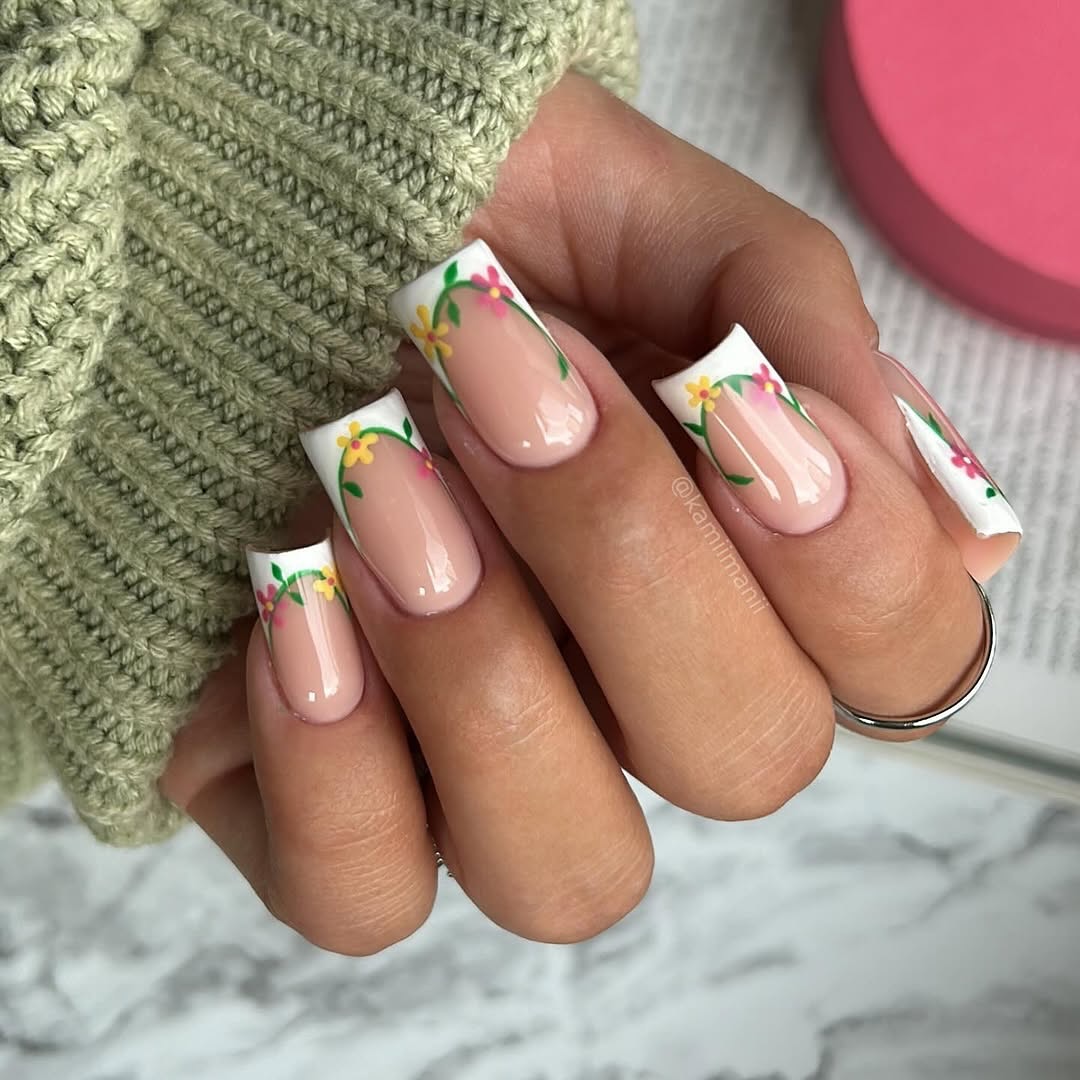
One effective approach is creating a continuous branch design that extends across several nails, with flowers positioned at strategic points. This creates a cohesive look that turns your manicure into a single artistic composition rather than ten separate canvases.
For a more dramatic effect, consider starting with dark branches on a light background, then adding small buds and blossoms in varying stages of opening. This tells the complete story of spring's progression on your nails.
Don't forget that branches and stems have texture. Adding small lines or dots to suggest bark or stem texture elevates your design from basic to botanically inspired.
Background Textures That Enhance Your Spring Bloom Story
"The background of your floral nail art sets the entire mood," advises environmental nail artist Sofia Martinez. "It's like choosing whether your flowers exist in a formal garden, a meadow, or a misty morning."
Subtle texture techniques like dry brushing (where most polish is removed from the brush before creating feathery strokes) can suggest grass or earth beneath your blooms. Sponging in light blue with white creates a sky effect perfect for taller flowers.
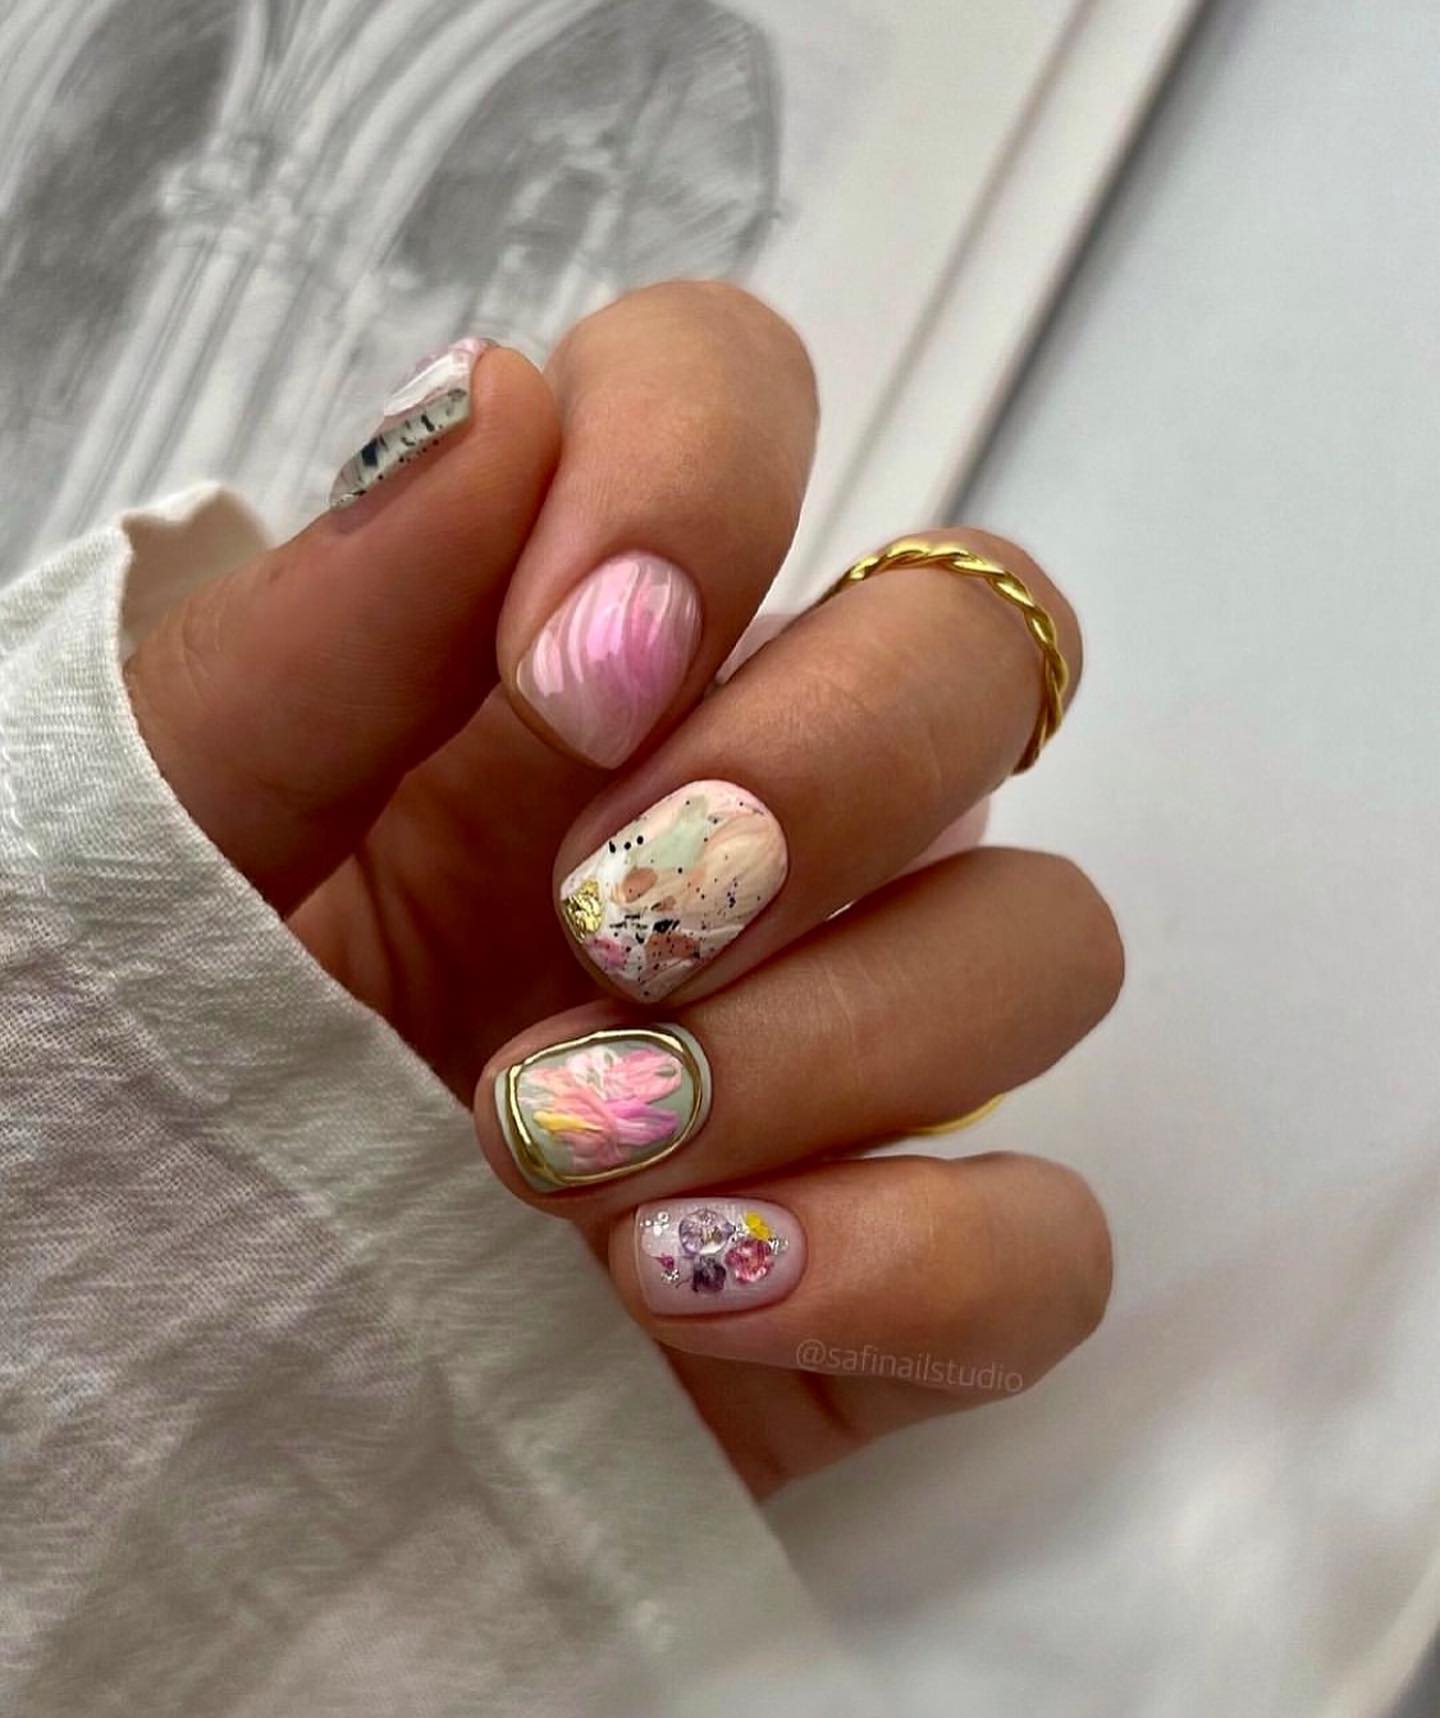
For more abstract backgrounds, consider a watercolor effect created by dropping polish into a clear base and gently swirling. This creates a dreamy, impressionistic backdrop that enhances delicate spring flowers.
Metallic backgrounds, particularly in soft gold or rose gold, create a luxurious setting for your blooms that's perfect for special occasions. The contrast between organic floral shapes and metallic shine creates sophisticated tension in your design.
Nail Shapes and Lengths for Optimal Bloom Display
The canvas you choose significantly impacts how your floral designs appear and wear in daily life.
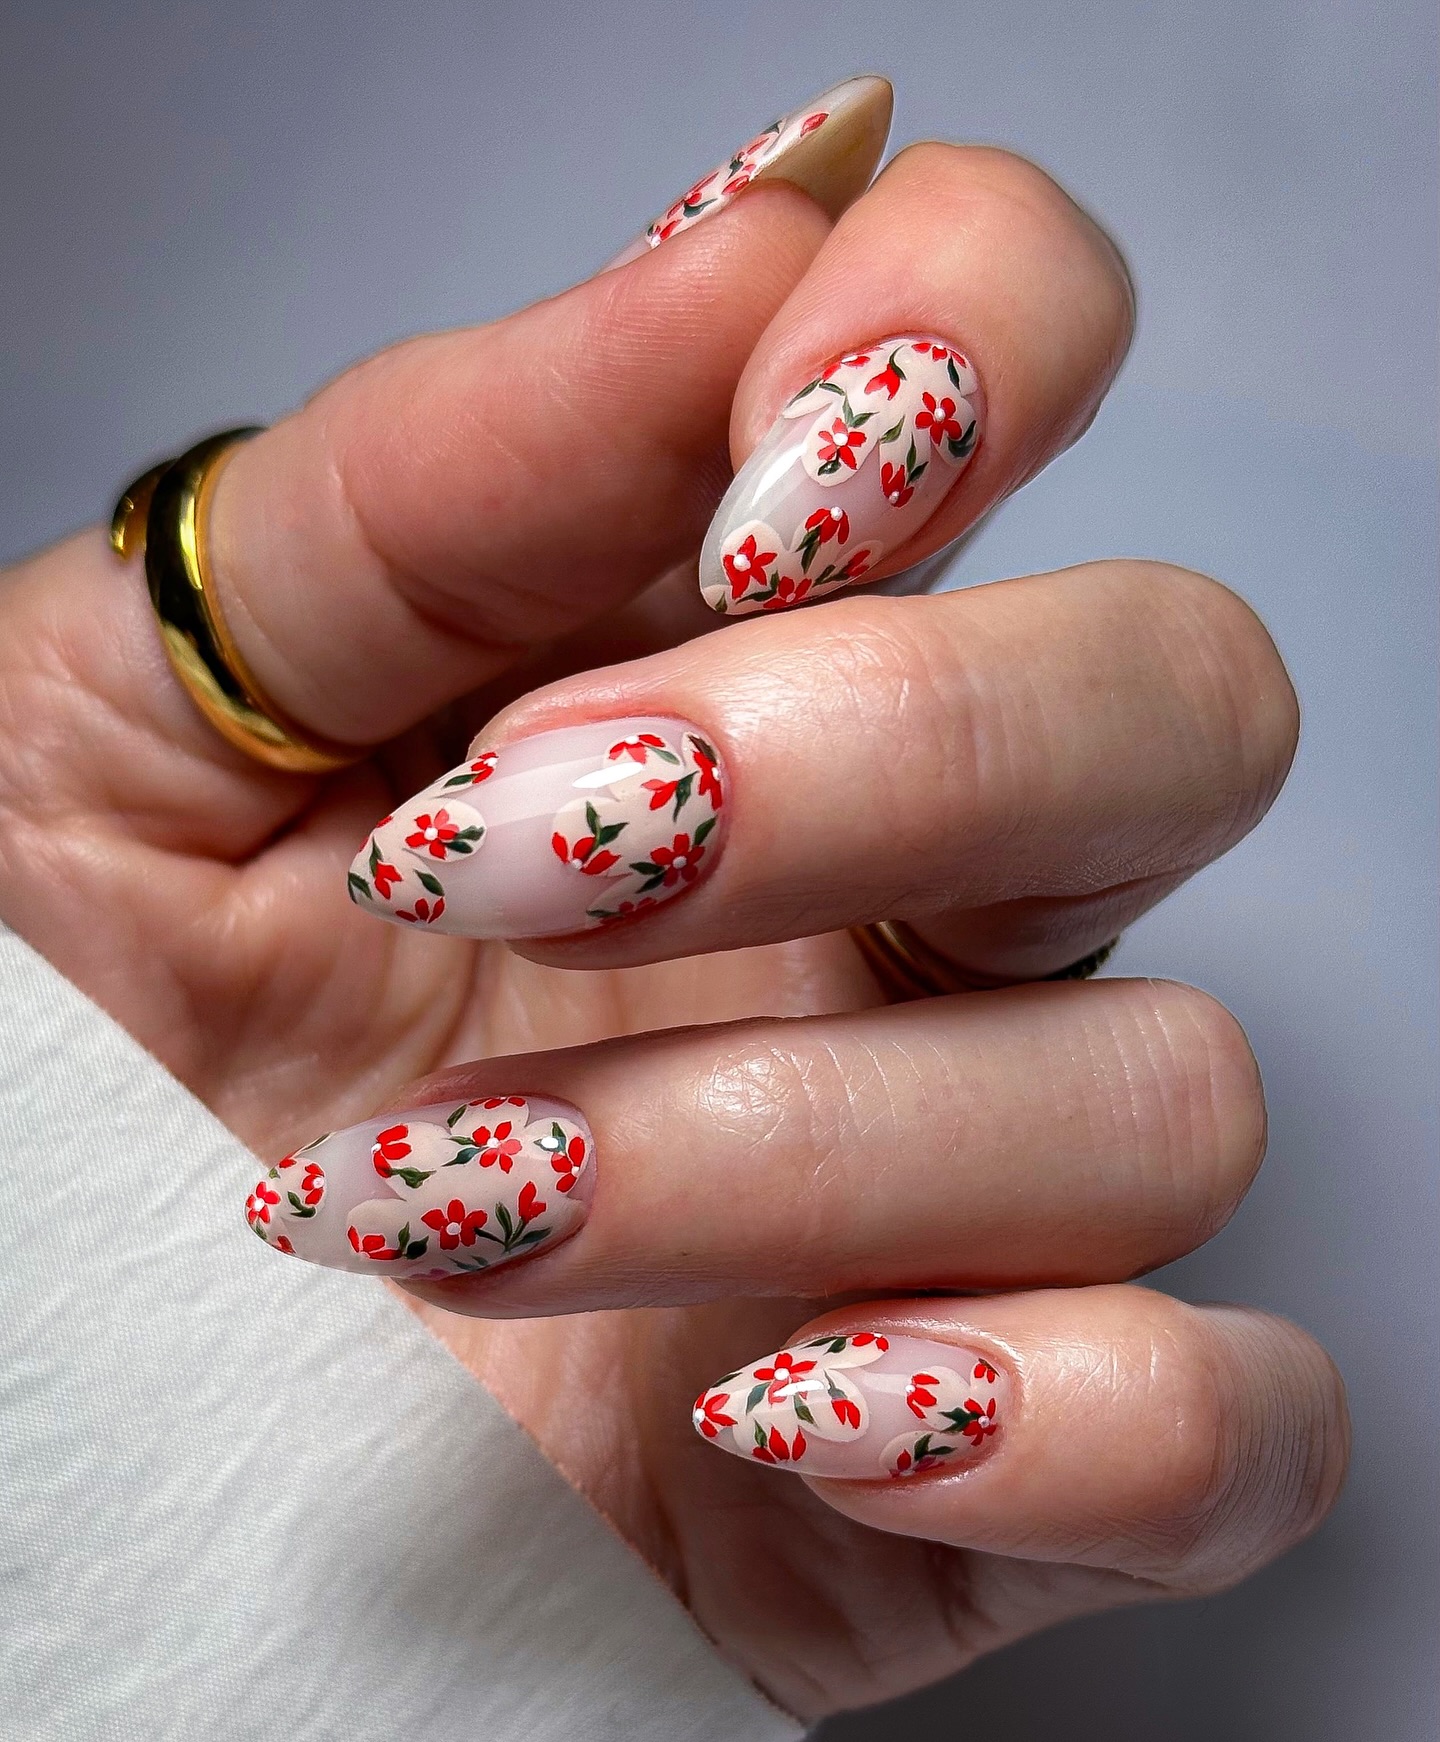
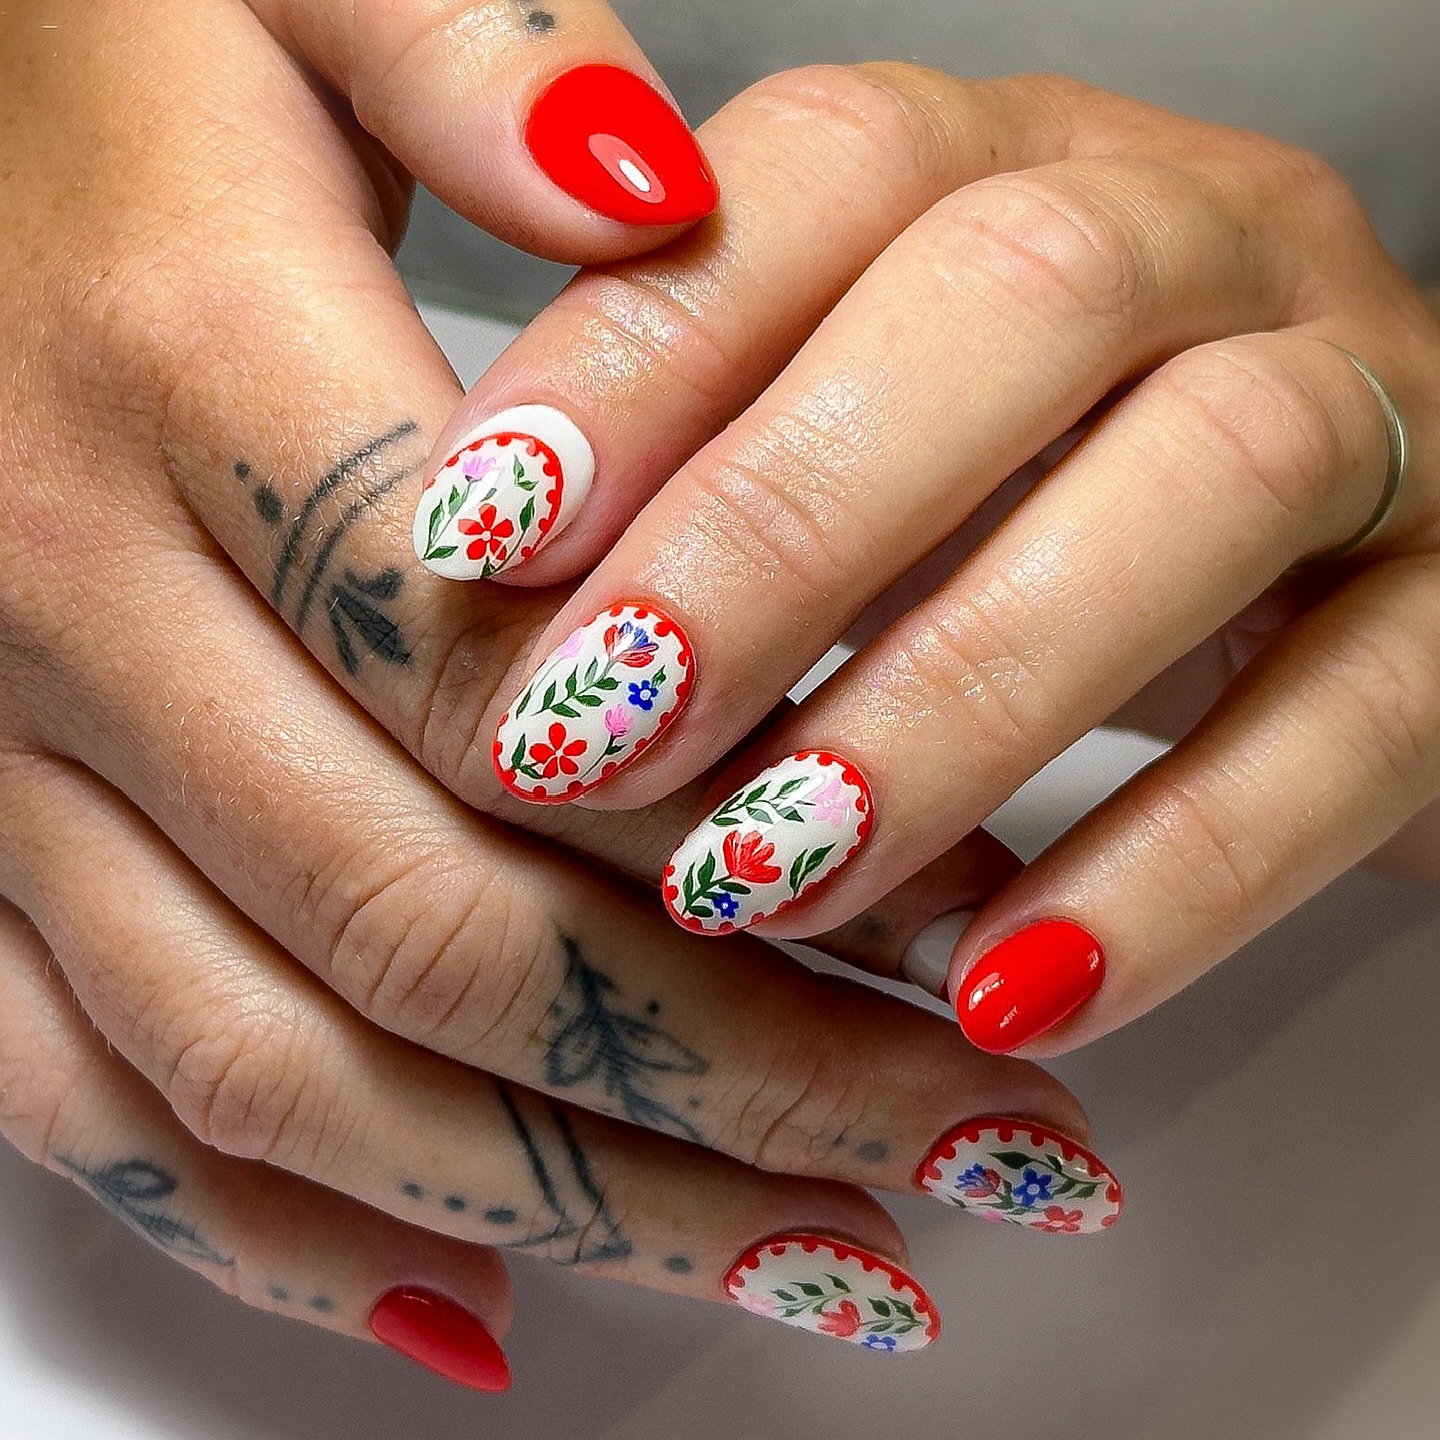
How Oval Nails Create a Natural Canvas for Delicate Flowers
"Oval nails have a naturally feminine shape that complements the organic lines of floral designs," explains shape specialist Dr. Jennifer Lee. "They provide enough space for detail without overwhelming delicate blooms."
The gentle curve of oval nails creates a surface that mimics the natural curves found in flower petals, creating harmony between the nail shape and the design it carries. This shape also tends to make fingers appear longer and more slender, enhancing the elegant effect of floral nail art.
For practical purposes, oval nails strike a balance between durability and wearability. Their lack of sharp corners means floral designs are less likely to chip at the edges, preserving your botanical masterpiece longer.
Using Extra Length for Dramatic Trailing Vine Designs
"Long nails aren't just a style choice—they're an expanded canvas that allows for storytelling," shares editorial nail artist Marcus Johnson. "A trailing vine design needs space to unfold its narrative."
Extended lengths, whether natural or enhanced, provide room for designs that flow from cuticle to tip. This creates opportunities for botanical stories like climbing roses, cascading wisteria, or twining morning glories that wouldn't be possible on shorter nails.
Consider using the length to create a progression—perhaps buds at the cuticle that gradually open into full blooms at the tips. This takes advantage of the expanded canvas while creating visual interest throughout the design.
For those who prefer more subtle approaches, long nails can showcase negative space designs where delicate vines or stems appear to grow organically across a neutral background, with blooms strategically placed for maximum impact.
Squoval Shapes for Practical Yet Beautiful Everyday Bloom Wear
"When clients want floral nail art that survives real life, I recommend squoval shapes," advises practical nail specialist Victoria Kim. "They combine the flattering aspects of oval with the durability of square."
The straight edge of the squoval provides a stable tip that resists breaking during daily activities, while the rounded corners prevent snagging and chipping. This makes it ideal for those who want to enjoy their spring bloom designs without babying their manicure.
The slightly wider surface of squoval nails compared to pure ovals provides more space for detailed floral work, making it easier to include multiple elements in your design. This shape works particularly well for clustered flower designs like hydrangeas or wildflower meadows.
For those who use their hands extensively at work, squoval shapes with floral designs concentrated away from the tips offer the best combination of beauty and practicality, allowing your spring blooms to flourish undamaged.
Stiletto and Almond Shapes for Statement Spring Manicures
"When a client wants their floral nail art to be noticed, pointed shapes create undeniable drama," explains avant-garde nail artist Aisha Johnson. "Stiletto and almond shapes transform garden-inspired designs into high fashion statements."
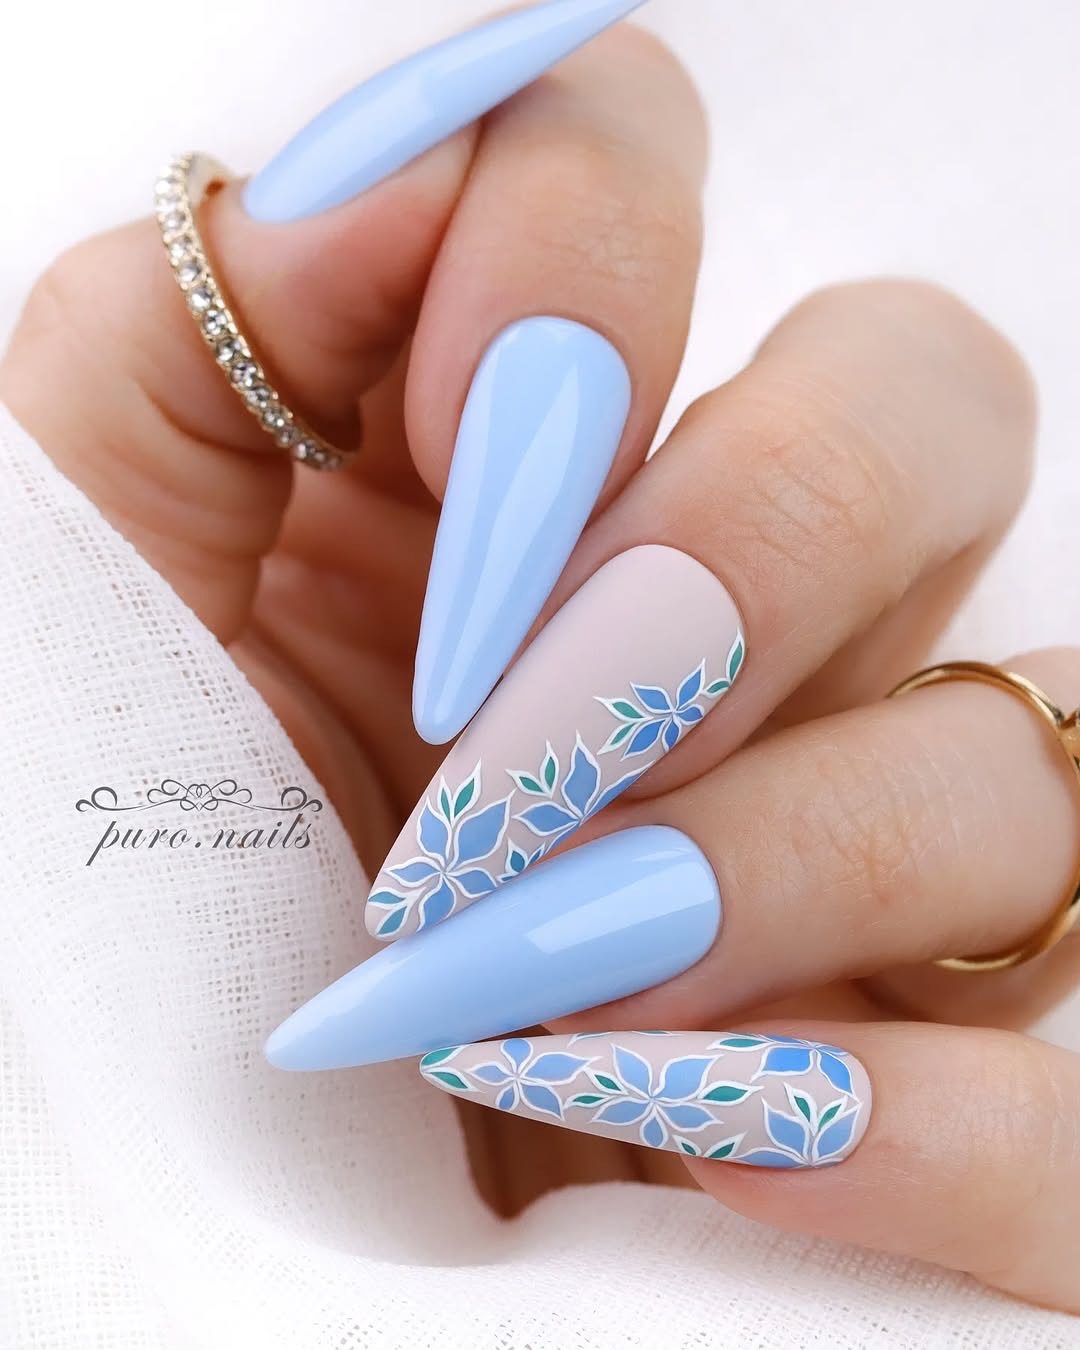
The elongated, tapered surface of these shapes creates a dynamic canvas that naturally draws the eye from base to tip. This movement can be enhanced by designing flowers that appear to grow toward the point, creating a sense of organic extension.
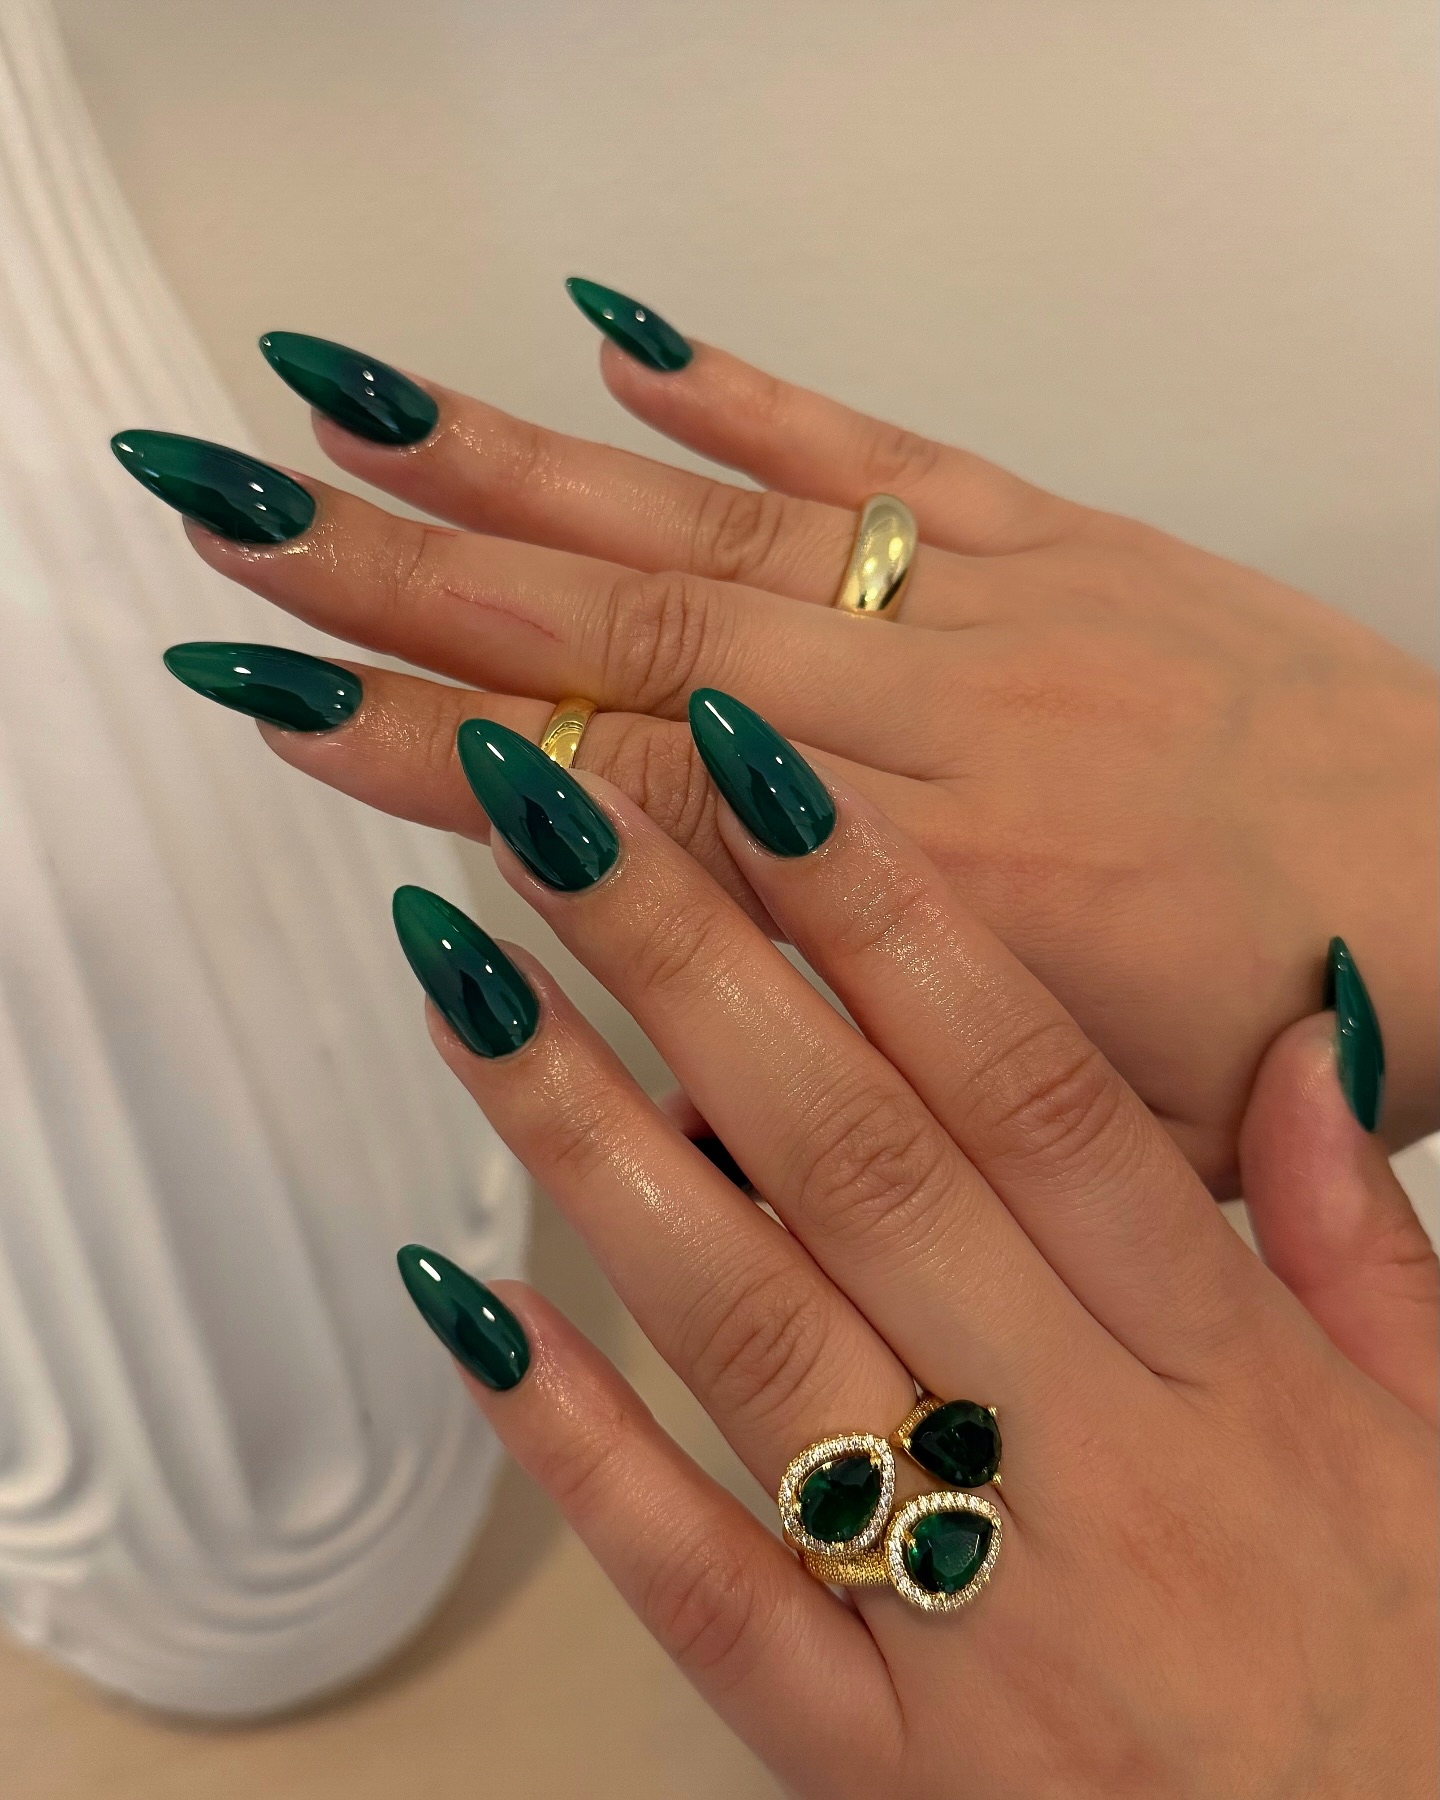
Almond shapes, with their softer point, provide elegance with wearability, making them perfect for sophisticated floral designs like magnolias or peonies that benefit from the elongated surface.
Stiletto shapes, with their sharper point, create dramatic contrast with the softness of floral elements. This juxtaposition of sharp and soft creates visual tension that elevates your spring bloom design from pretty to provocative.
Seasonal Color Combinations
The palette you choose for your spring bloom nail art can dramatically affect its impact and wearability.
Traditional Spring Pastels with Modern Twists
"Classic spring pastels will never go out of style, but there are ways to make them feel fresh and contemporary," advises color trend analyst David Park. "The secret is unexpected combinations and applications."
Traditional pastels like mint green, lavender, baby blue, and pale pink form the foundation of spring color stories. Modernize these classics by pairing them with unexpected elements like metallic accents, matte topcoats, or geometric negative space.
Another contemporary approach is creating "dirty pastels" by adding a tiny amount of gray or brown to your traditional pastel shades. This subtle muting creates sophisticated, complex colors that retain spring's lightness while adding depth and uniqueness.
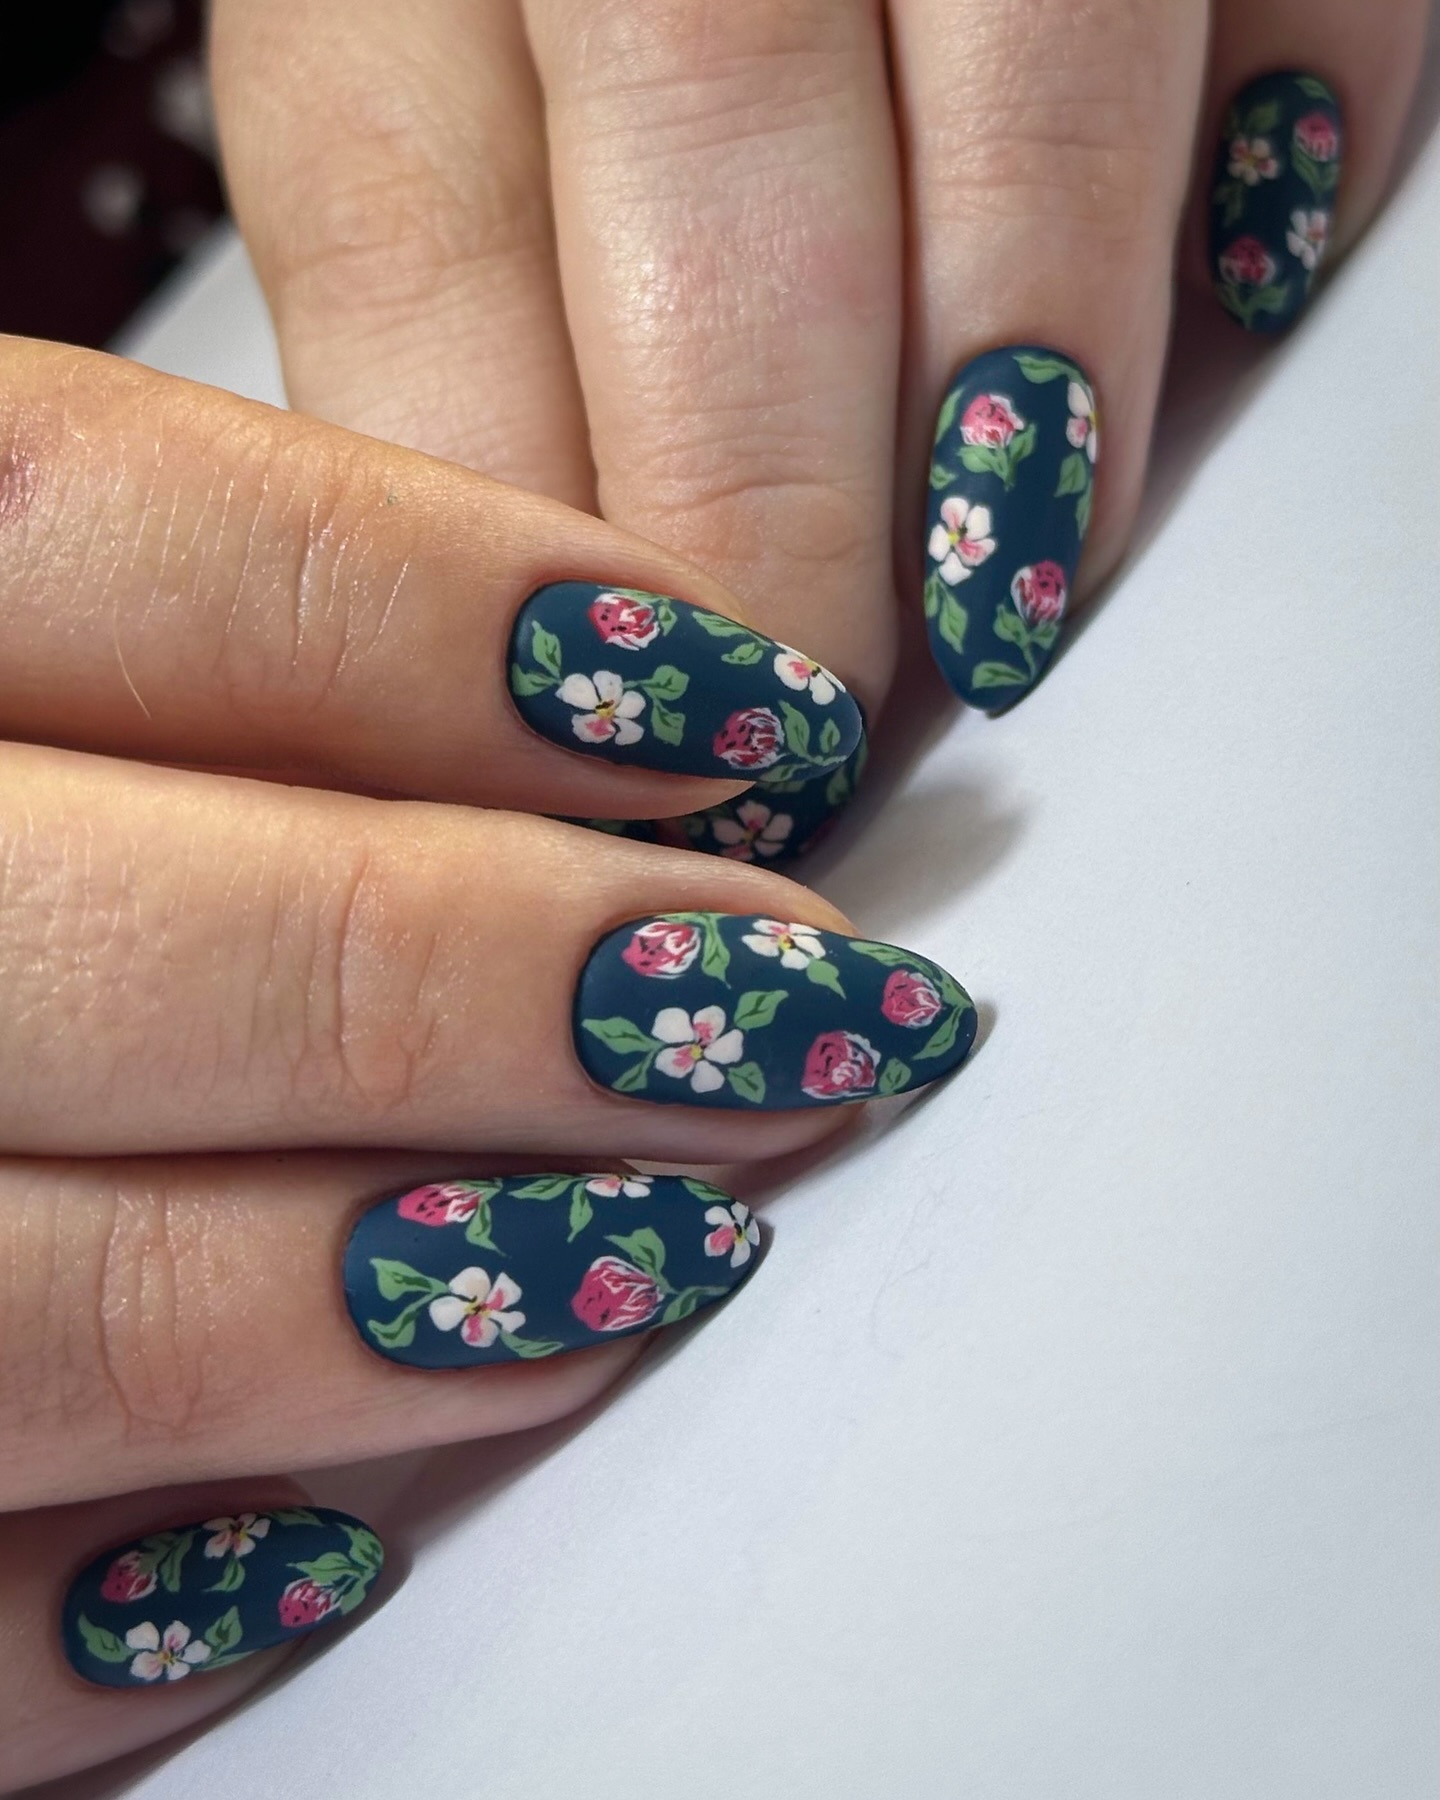
For those who find all-pastel designs too sweet, consider using pastels only for your floral elements against a more neutral or even dark background. This creates striking contrast that feels modern while still incorporating spring's traditional color language.
Unexpected Color Pairings That Make Your Bloom Designs Pop
"Breaking color rules is how you create truly memorable nail art," challenges color rebel Zoe Martinez. "Spring flowers don't have to be in expected colors to feel seasonal."
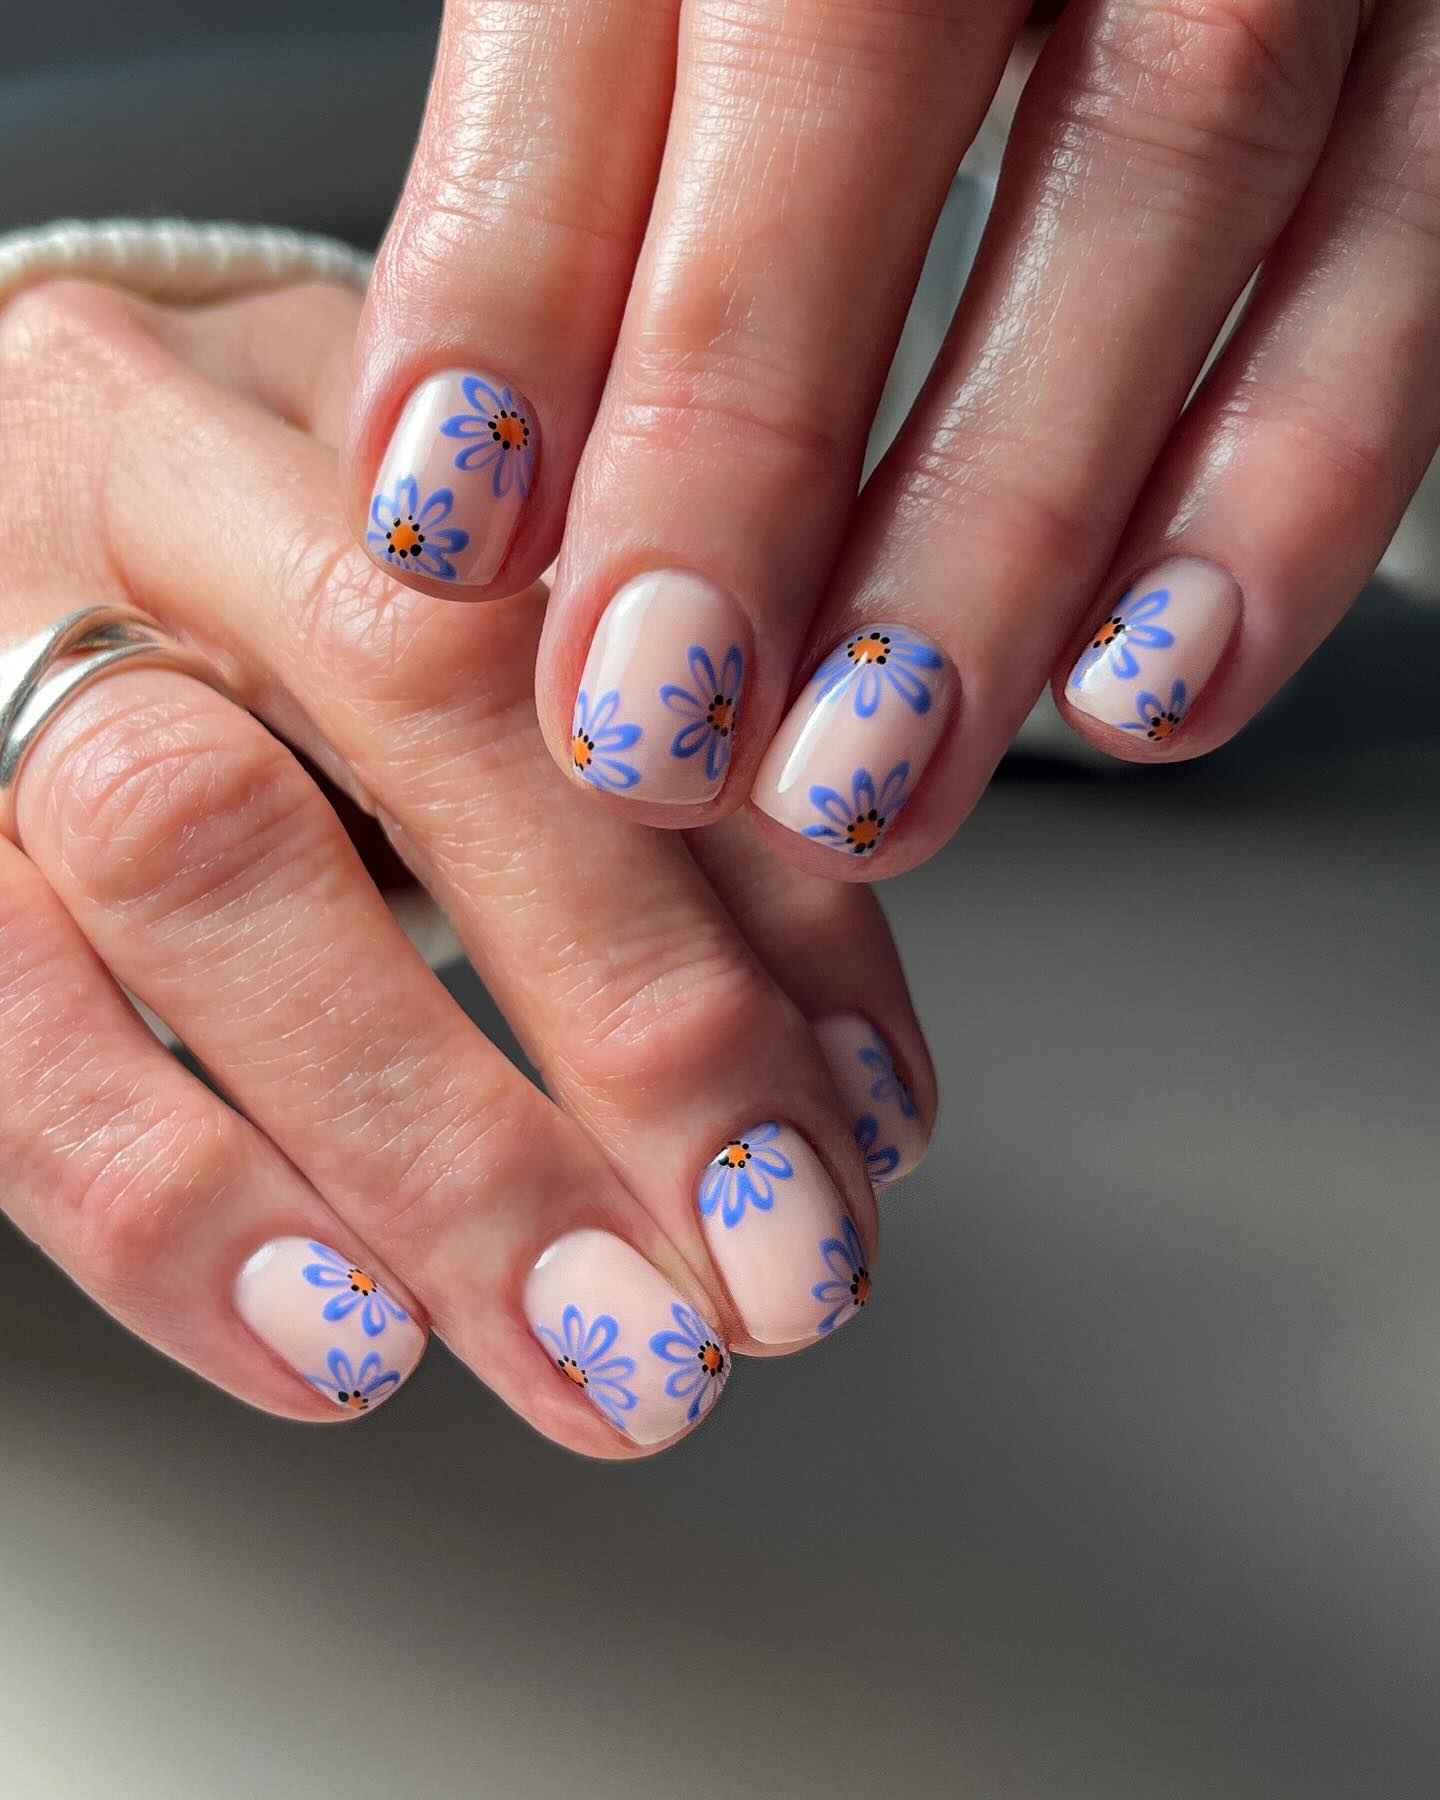
Consider complementary color pairings for maximum impact—purple flowers against a yellow background, or blue blooms set against soft orange. These opposites create vibration and energy that draws attention to your design.
Another unexpected approach is using color temperature contrasts. Cool-toned flowers like blue hydrangeas or purple violets set against warm backgrounds like coral or peach create sophisticated tension that draws the eye.
Don't forget that nature itself offers unexpected color inspiration. Look to unusual flower varieties like black dahlias, green roses, or blue orchids for color combinations that surprise while remaining botanically authentic.
Monochromatic Bloom Designs for Sophisticated Elegance
"Monochromatic floral designs have an understated luxury that makes them perfect for sophisticated occasions," explains minimalist nail artist Emma Thompson. "They require a thoughtful approach to texture and shade variation to prevent flatness."
The key to successful monochromatic designs is using at least three different shades of your chosen color—a light, a medium, and a dark tone. This creates depth and dimension even without color contrast. For example, a pink monochromatic design might include pale blush, rose pink, and deep fuchsia elements.
Varying finishes within your monochromatic palette adds another dimension of interest. Combining matte, cream, and shimmer finishes in the same color family creates textural contrast that keeps monochromatic designs from appearing flat.
Consider using your lightest shade for highlights and your darkest for shadows and outlines. This creates natural-looking dimension that gives your monochromatic blooms a realistic quality despite the limited palette.
Bold and Bright Options for Those Who Prefer Vibrant Spring Energy
"Not everyone wants subtle spring nails—some clients want designs that capture spring's exuberant energy," laughs color maximalist Jason Lopez. "Vibrant bloom designs celebrate the season's joy without apology."
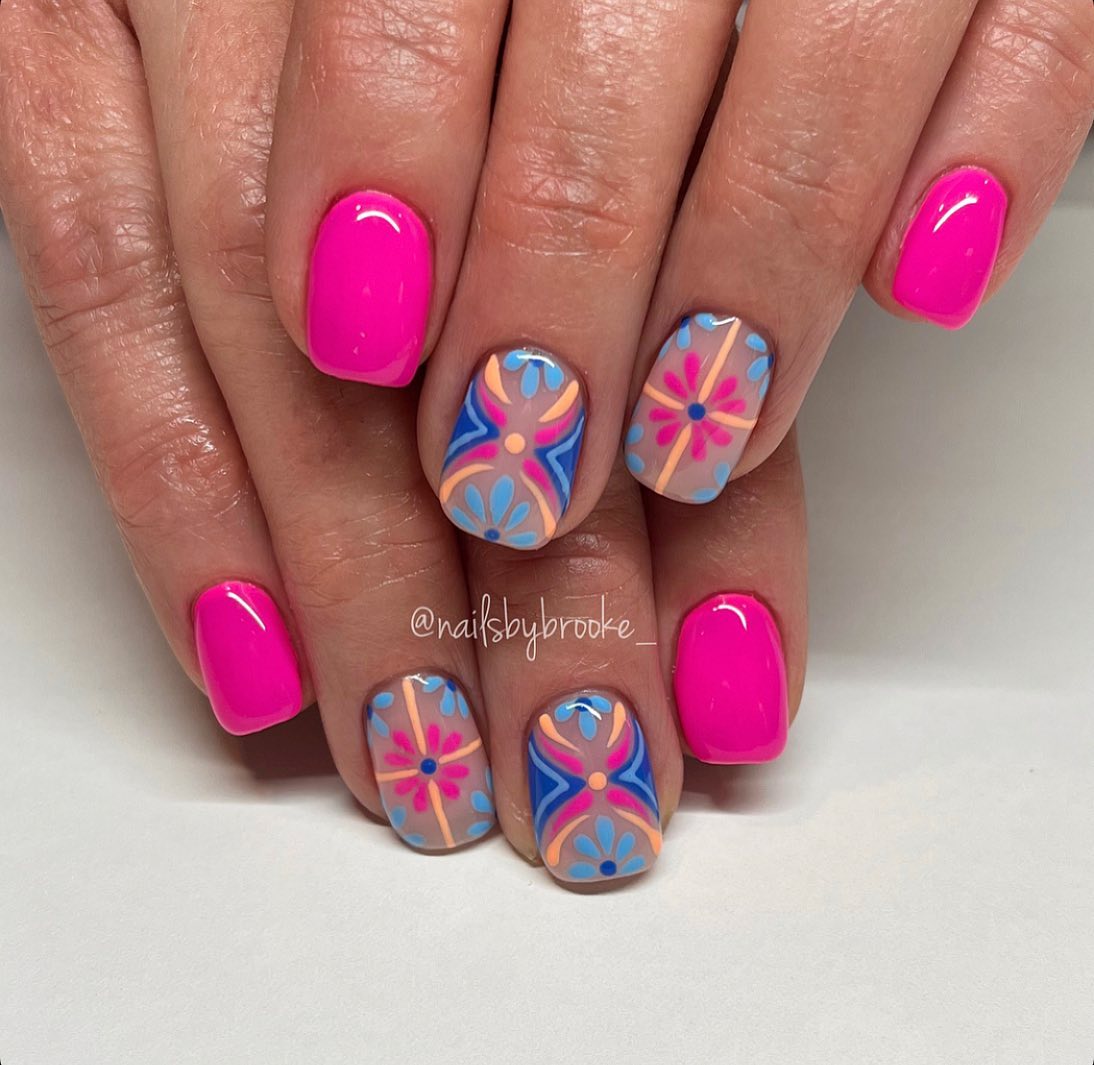
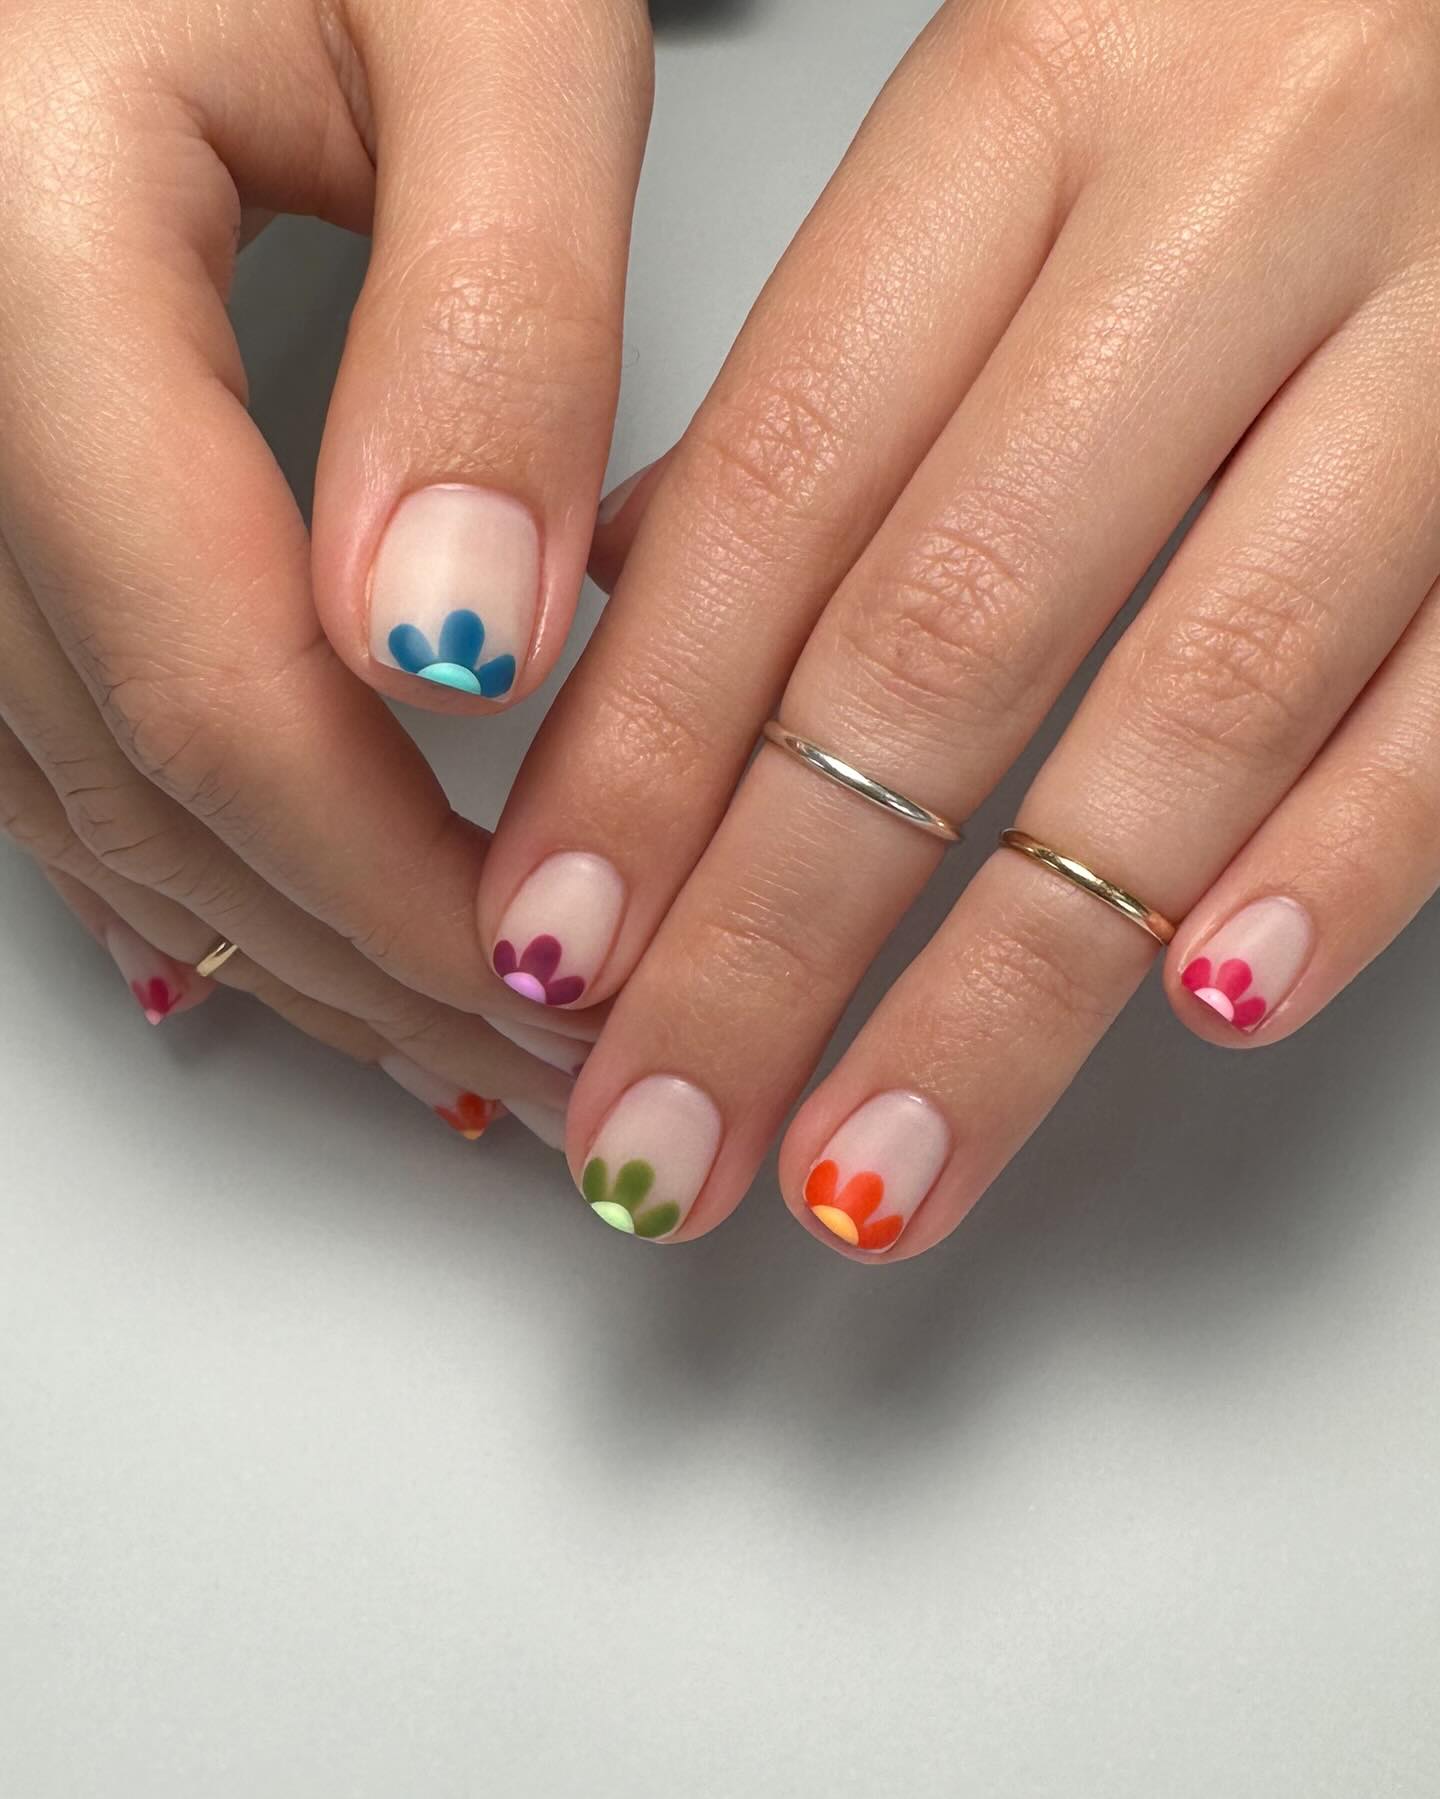
Neon-tinted flowers create unexpected pop that feels youthful and playful. Consider electric blue forget-me-nots, acid yellow daffodils, or hot pink cherry blossoms for designs that maintain spring themes while amping up the energy.
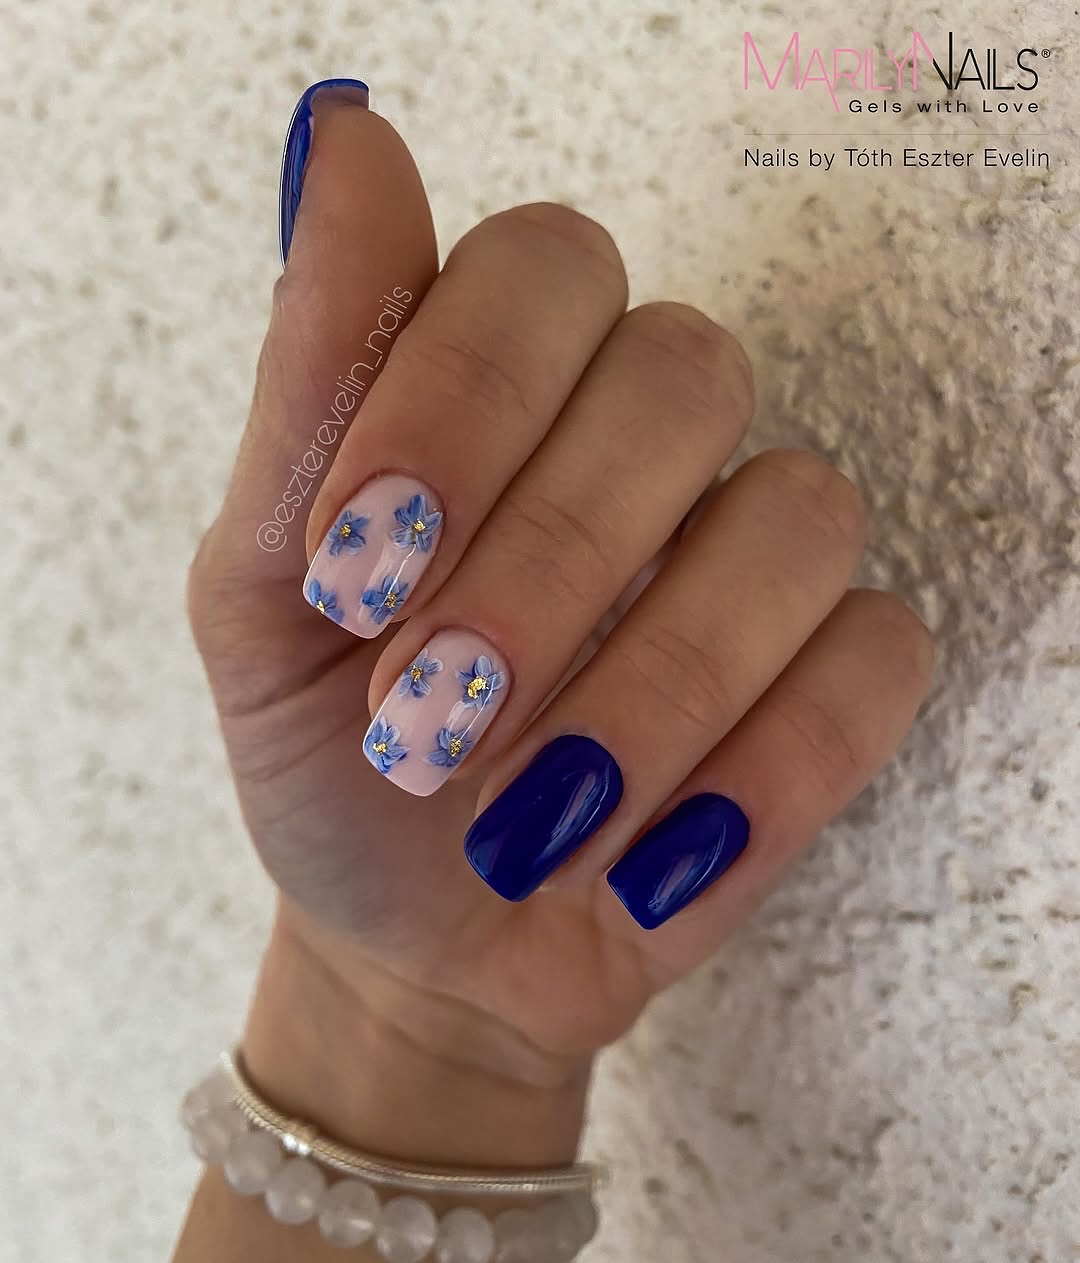
Contrasting bright flowers against dark backgrounds—like vivid tulips against black or navy—creates dramatic designs with almost neon-sign brilliance. This approach feels modern and edgy while still celebrating spring's floral abundance.
For those who love color but prefer a more cohesive look, try the "tropical spring" approach, using the vibrant but harmonious color palettes of tropical flowers like bird of paradise, hibiscus, and plumeria. These naturally bright blooms create vibrant designs that still feel botanically authentic.
Occasion-Specific Bloom Designs
Different settings and events call for different interpretations of spring's floral bounty. Adapting your bloom designs to specific contexts ensures they always feel appropriate.
Subtle Office-Appropriate Spring Bloom Accents
"Professional environments don't mean you have to abandon spring's floral beauty," reassures workplace style consultant Rebecca Chen. "The key is strategic placement and subtle execution."
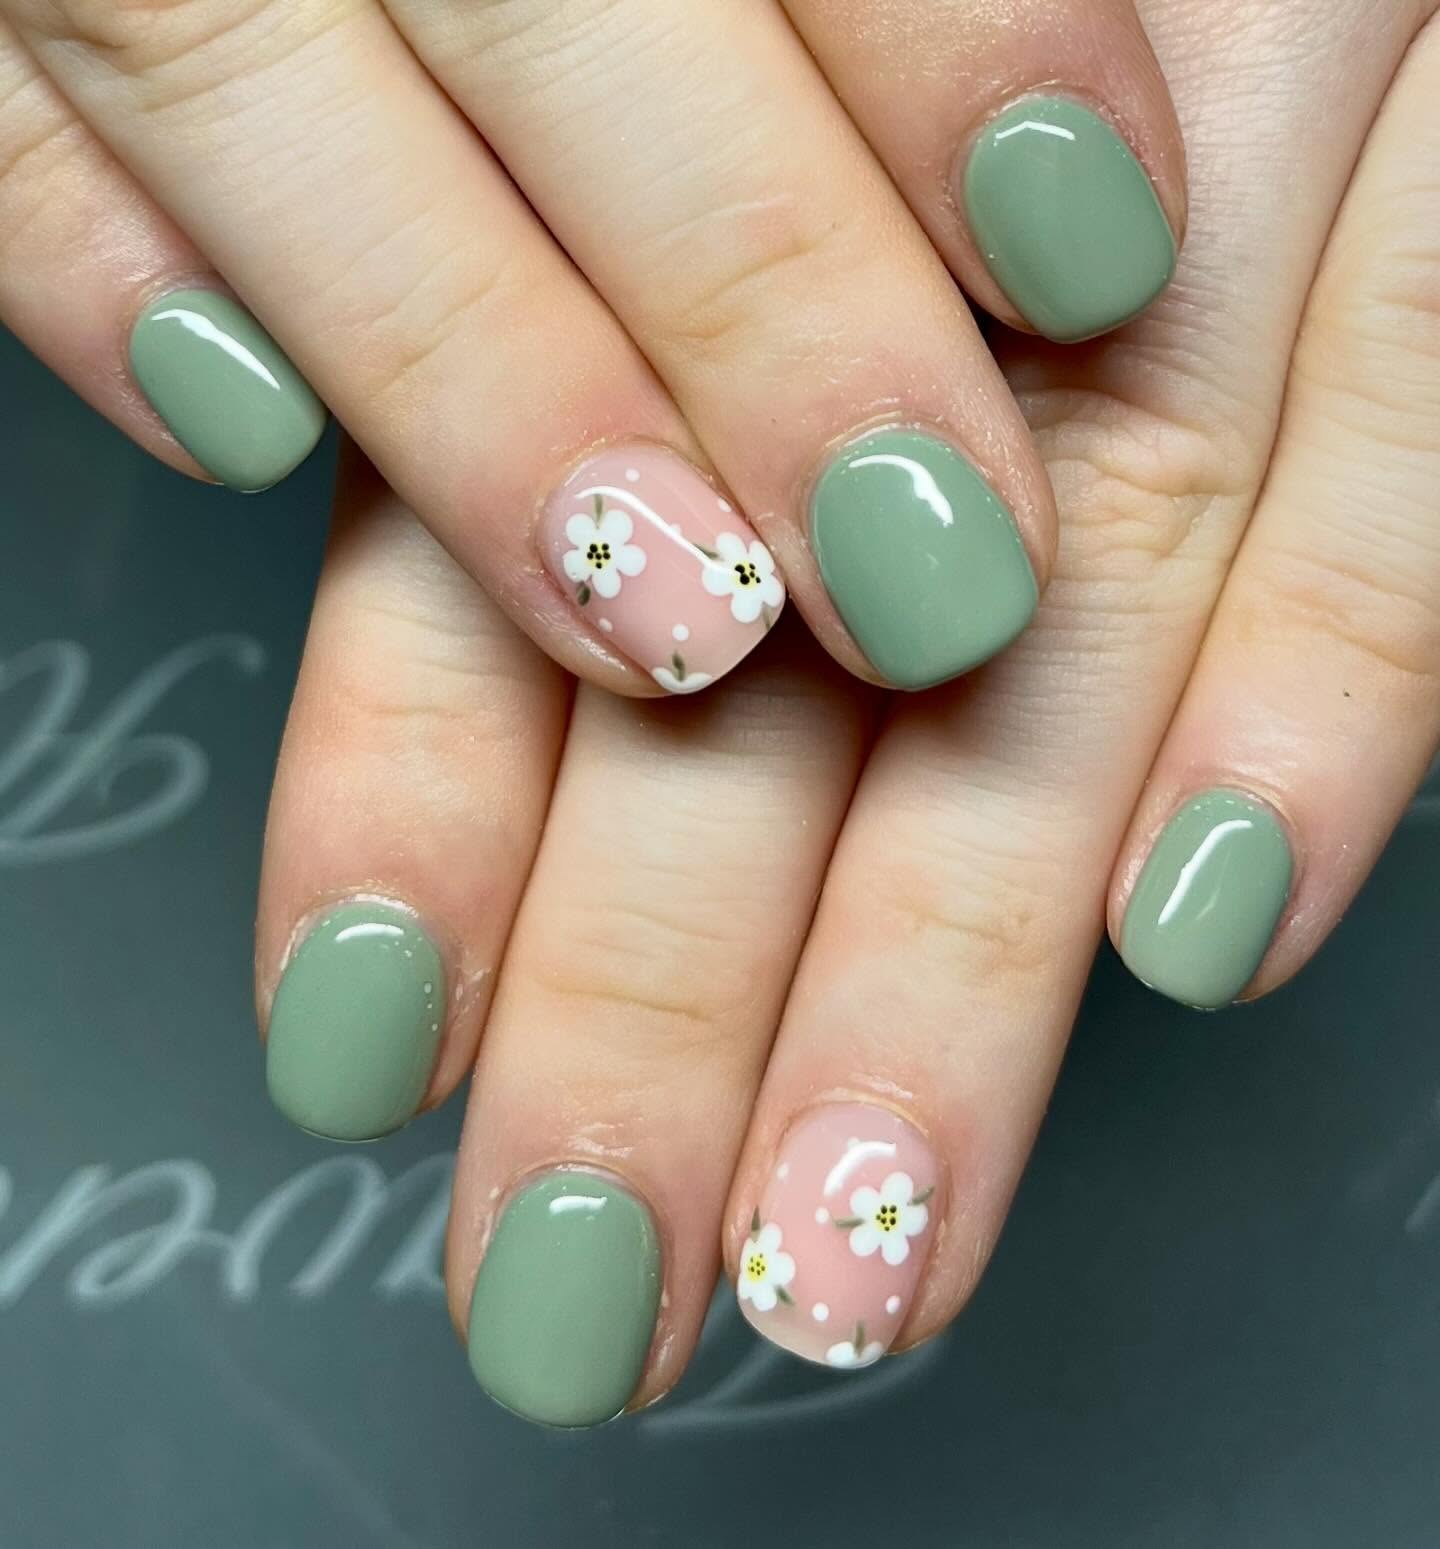
For conservative workplaces, consider a single accent nail with a minimalist floral design—perhaps a small branch of cherry blossoms or a few tiny wildflowers. Keep the remaining nails in neutral tones that complement the floral elements without competing for attention.
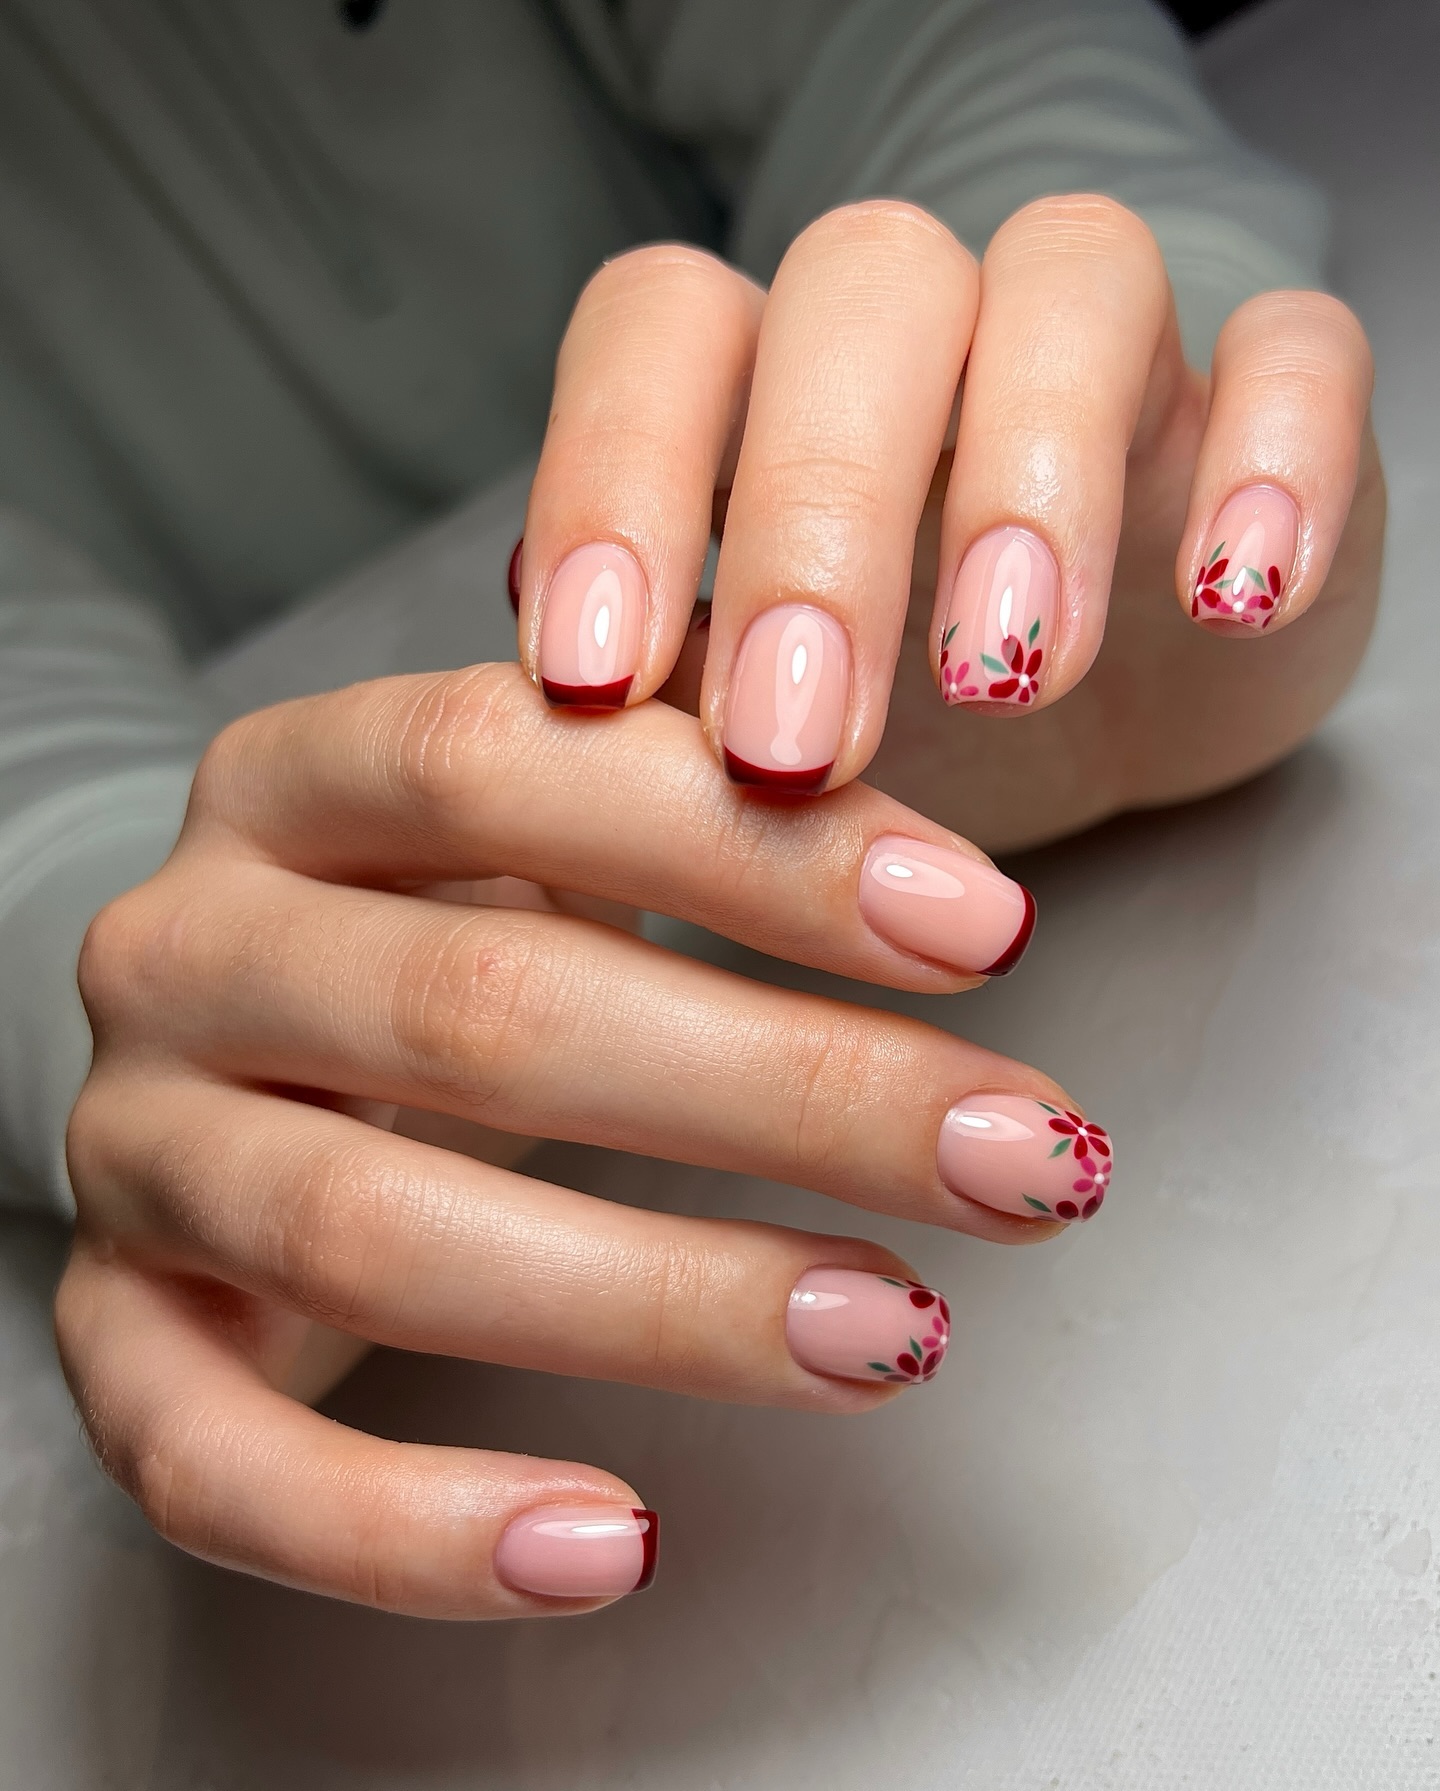
Another office-friendly approach is the "hidden bloom" technique, where floral elements are placed near the cuticle or along one side of the nail. This creates a design that's visible to you but doesn't dominate your professional presentation.
French tips with subtle floral accents offer another workplace-appropriate option. Replace the traditional white tip with a soft green, then add tiny flowers along the smile line for a spring touch that maintains professional structure.
Weekend-Ready Full Coverage Floral Masterpieces
"Weekends are when you can really let your floral fantasies bloom," encourages leisure nail artist Sofia Park. "Full coverage designs make a statement that celebrates spring's abundance."
All-over floral patterns create maximum impact, transforming your nails into miniature gardens. For the most wearable approach, choose a cohesive color story—perhaps all pink flowers with green accents, or a rainbow progression across all ten nails.
Consider creating a narrative across your nails, perhaps showing the progression of a flower from bud to full bloom, or depicting different flowers from the same garden family. This creates a cohesive collection rather than random floral elements.
For those who enjoy conversation-starting nail art, try the "secret garden" approach—creating an immersive floral world with tiny details that reward close inspection. Hidden insects, miniature garden paths, or tiny garden structures add whimsical elements to discover.
Special Event Blooms That Complement Spring Outfits
"Spring events like weddings and garden parties call for nail art that enhances rather than competes with your outfit," advises special occasion stylist Olivia Martinez. "Think of your nails as the perfect accessory."
For formal events, consider matching your floral nail art to your outfit's color palette rather than exactly matching specific colors. This creates harmony without appearing overly coordinated. For example, if wearing a dress with blue and yellow flowers, incorporate those same flowers in your nail design.
When wearing floral prints, avoid exact duplication on your nails. Instead, extract one or two key flowers from the print and create a simplified version for your nails. This creates connection without redundancy.
For solid-colored spring outfits, your nails can introduce complementary floral elements. A solid pastel dress pairs beautifully with nails featuring flowers in deeper or lighter shades of the same color family, creating sophisticated tonal harmony.
Holiday-Specific Spring Flowers (Easter, Mother's Day, etc.)
"Spring holidays have their own floral languages that can be beautifully translated into nail art," explains cultural nail artist Michael Chen. "These designs celebrate both the season and the specific occasion."
Easter-inspired designs might feature lilies (traditional Easter flowers) in white or gold, perhaps with subtle cross patterns or pastel accents that reference traditional Easter colors without being overly literal.
Mother's Day manicures often incorporate birth month flowers or the recipient's favorite blooms. Adding small heart shapes integrated with the floral design creates a subtle nod to the loving nature of the holiday.
For spring equinox or Earth Day, consider designs that show flowers emerging from soil, perhaps with small seed or root details visible at the cuticle. This celebrates the cyclical nature of growth that these observances honor.
DIY vs. Salon: Getting Your Perfect Spring Bloom Look
Whether you create your floral masterpiece at home or seek professional help depends on your skill level, budget, and the complexity of your desired design.
When to Attempt Bloom Designs at Home
"Being realistic about your skill level is the first step to successful DIY floral nail art," advises home manicure specialist Jordan Rivera. "Start simple and build your confidence before attempting complex designs."
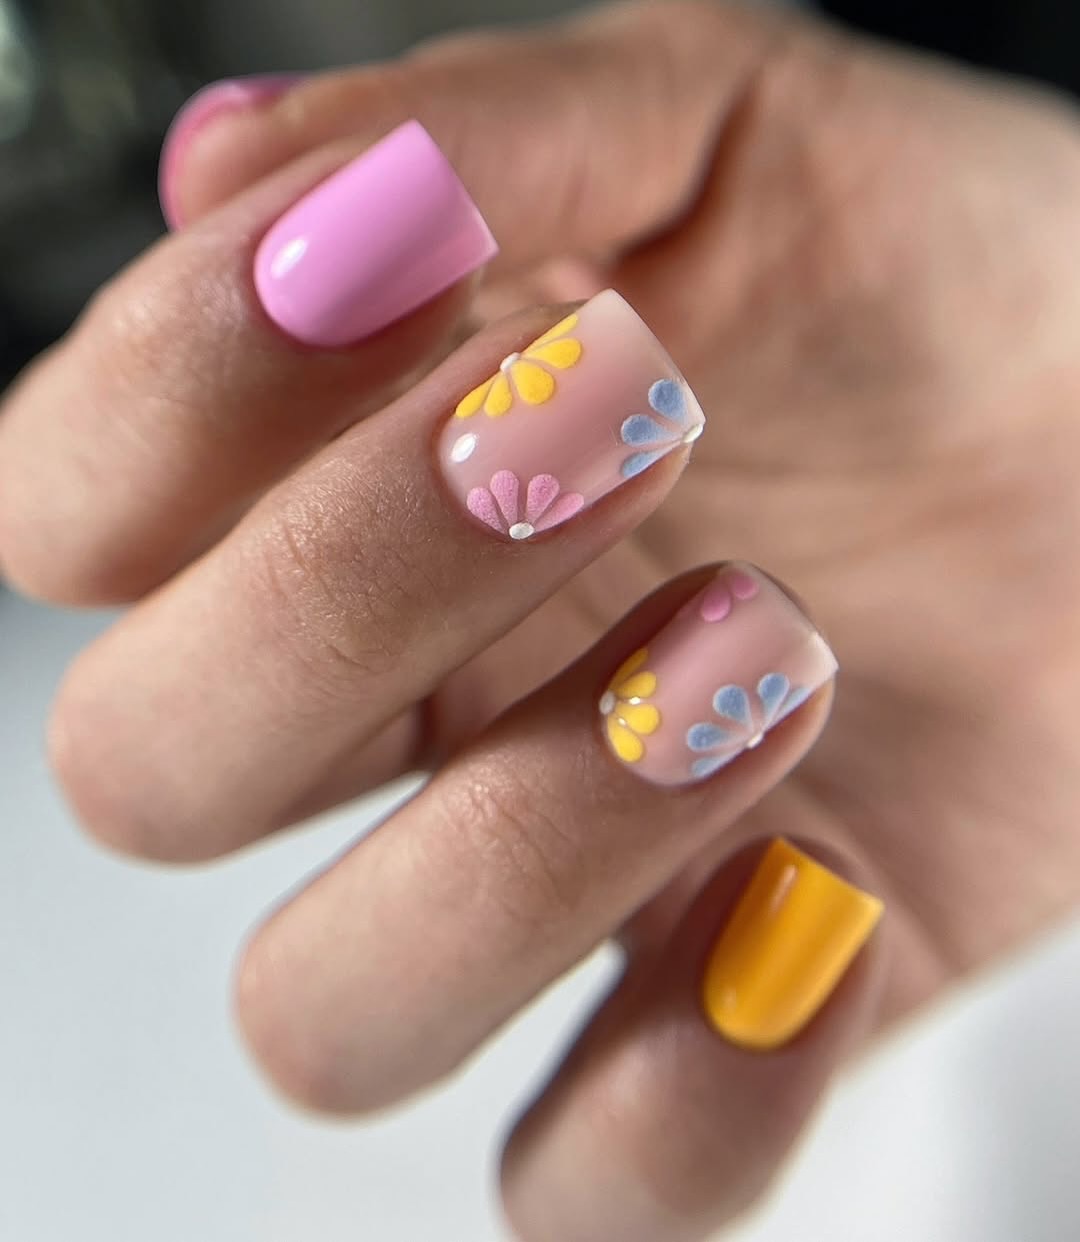
Simple floral elements like daisies, small roses, or abstract flower shapes created with dotting tools are accessible even for beginners. These designs require minimal specialized equipment and can be created with basic polish colors.
Consider starting with accent nails rather than all-over designs for your first attempts. This allows you to focus your time and attention on perfecting a smaller area while keeping the rest of your manicure simple and neat.
Nail stamping offers another accessible entry point for DIY floral designs. Floral stamping plates allow you to transfer detailed designs to your nails without freehand painting skills. Look for spring-specific plates with various bloom options.
What to Ask for at the Salon for Best Results
"Communication is everything when requesting floral nail art at a salon," emphasizes client education specialist Victoria Lee. "Bringing visual references and using specific terminology ensures you and your nail tech share the same vision."
Always bring reference images of designs you love, but be open to your technician's advice about what will work best with your nail shape and length. Ask if they have a portfolio of previous floral work to ensure their style matches your expectations.
Be specific about the level of detail you want—terms like "minimalist," "abstract," or "realistic" help clarify your expectations. Also discuss longevity requirements; more detailed designs might require gel or acrylic for adequate durability.
Don't forget to discuss maintenance. Some intricate designs may be difficult to repair if they chip, so ask about touch-up options or how the design might be simplified for repair if damage occurs.
Products That Make DIY Bloom Designs Easier
"The right tools can transform floral nail art from frustrating to fun," encourages DIY specialist Emma Johnson. "Investing in a few key items makes a tremendous difference in your results."
Detail brushes in various sizes are essential for floral work. Look for thin, synthetic brushes with firm bristles that hold their shape. Sets marketed specifically for nail art typically include the range of sizes needed for different floral elements.
Dotting tools create perfect circles for flower centers, small buds, or simplified petals. A set with various tip sizes allows for different sized dots without requiring brush control mastery.
Nail art pens offer another user-friendly option, functioning like fine-tipped markers for precise lines and details. These are particularly helpful for creating stems, leaves, and petal outlines.
For those serious about DIY floral designs, consider investing in a gel system with a curing lamp. Gel polish doesn't dry until cured, giving you unlimited working time to perfect your designs without rushing—a significant advantage for detailed floral work.
Preserving Your Bloom Manicure Throughout the Season
"A beautiful floral manicure deserves to be protected," advises longevity specialist Dr. Sarah Williams. "Simple daily habits can dramatically extend the life of your spring nail art."
Apply a fresh layer of top coat every 2-3 days to seal and protect your design. This is particularly important for textured or 3D floral elements that might catch on fabric and lift prematurely.
Wear gloves for cleaning and gardening (ironically, actual gardening is one of the quickest ways to damage garden-inspired nail art). The harsh chemicals in cleaning products can fade delicate color work in floral designs.
Be mindful of exposure to sunlight, particularly for vibrant floral designs. UV rays can fade certain polish colors, changing the appearance of your carefully crafted blooms. Apply SPF to your hands and nails when spending extended time outdoors.
For minor chips or wear, keep similar colors on hand for touch-ups. Small imperfections in background colors can often be disguised with strategic placement of additional small floral elements—turning damage into design opportunity.
How Spring Bloom Nail Art Celebrates the Season's Fleeting Beauty
As our exploration of spring bloom nail art concludes, it's worth reflecting on why these designs resonate so deeply with both creators and wearers.
"Floral nail art captures something profoundly meaningful about spring itself," muses philosophical nail artist Jordan Kim. "Both are temporary, requiring us to appreciate their beauty in the moment, knowing it will eventually fade and transform."
This ephemeral quality creates a special relationship with spring bloom manicures. Unlike more abstract or geometric designs, floral nail art connects us directly to the natural world and its cycles of renewal. Each time you glance at your blooming nails, you're reminded of spring's promise—that after every winter comes new growth and beauty.
The personal nature of nail art also allows each wearer to find their own connection to spring's awakening. Whether you're drawn to the delicate romance of cherry blossoms, the bold optimism of tulips, or the wild freedom of meadow flowers, your chosen blooms express something unique about your relationship with the season.
As you experiment with different floral designs, don't be afraid to develop your personal bloom style. Perhaps you're drawn to botanical accuracy, creating miniature scientific illustrations on your nails. Or maybe you prefer impressionistic suggestions of flowers, capturing their essence rather than their exact form. Your interpretation of spring's bounty becomes a form of self-expression that evolves with your technique and preferences.
The joy of carrying a piece of spring's renewal wherever you go extends beyond aesthetics. In a world increasingly dominated by digital experiences, floral nail art reconnects us to the tangible, natural world. Your blooming nails become tiny ambassadors of the season, reminding you and others of the beauty unfolding outside our windows and screens.
So whether you're creating a simple daisy accent nail or an elaborate garden across all ten fingers, remember that your spring bloom nail art is more than just a pretty manicure—it's a celebration of renewal, growth, and the precious beauty of fleeting moments captured at your fingertips.
Ready to get inspired? Check out our gallery of 30 stunning spring bloom nail designs below. From delicate cherry blossoms to bold tulip statements, these images showcase the incredible versatility of floral nail art. Which bloom style speaks to you? Save your favorites and bring them to life on your own nails this season!
